Cambridge Audio azur 840A User Manual
Cambridge audio integrated amplifier azur 840a user's manual
Hide thumbs
Also See for azur 840A:
- Service manual (63 pages) ,
- User manual (26 pages) ,
- White paper (23 pages)
Advertisement
Table of Contents
- 1 Table of Contents
- 2 Introduction
- 3 Safety Precautions
- 4 Important Safety Instructions
- 5 Rear Panel Connections
- 6 Front Panel Controls
- 7 Remote Control
- 8 Connections
- 9 Operating Instructions
- 10 Amplifier Setup
- 11 Multi-Room
- 12 Custom Installation Use
- 13 CAP5 Protection System
- 14 Troubleshooting
- 15 Technical Specifications
- 16 Limited Warranty
- Download this manual
Advertisement
Table of Contents

Related Manuals for Cambridge Audio azur 840A


Summary of Contents for Cambridge Audio azur 840A
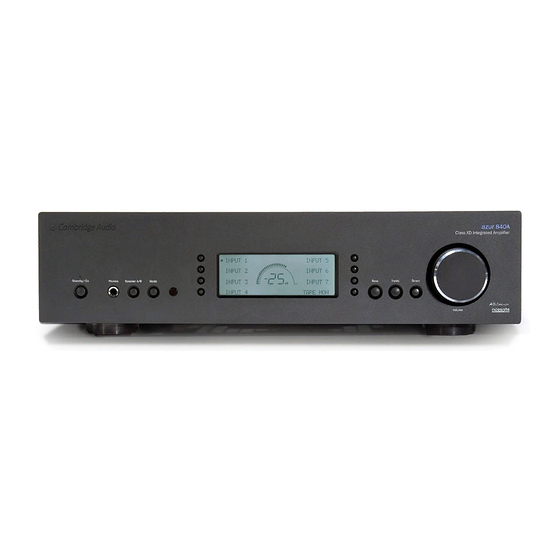
- Page 1 840A Class XD Integrated Amplifier User’s Manual...
-
Page 2: Table Of Contents
CONTENTS Introduction ...3 Safety precautions ...4 Important safety instructions ...5 Rear panel connections...6 Front panel controls ...8 Remote control...10 Connections ...11 Operating instructions ...14 Amplifier setup ...15 Multi-Room ...18 Custom installation use...19 CAP5 protection system ...20 Troubleshooting...22 Technical specifications ...23 Limited warranty ...24 2 Azur Class XD integrated amplifier... -
Page 3: Introduction
INTRODUCTION Thank you for purchasing this Azur 840A Class XD Integrated Amplifier. This unit is part of our new '8' Series taking Cambridge Audio to new levels of audio excellence as part of our commitment to the on-g g oing development of the Azur range. -
Page 4: Safety Precautions
If the power cord is fitted with a moulded mains plug the unit must not be used if the plastic fuse carrier is not in place. Should you lose the fuse carrier the correct part must be reordered from your Cambridge Audio dealer. -
Page 5: Important Safety Instructions
To turn the unit off completely switch off on the rear panel. If you do not intend to use this unit for a long period of time, unplug it from the mains socket. -
Page 6: Rear Panel Connections
In - Allows un-modulated commands from multi-rooms systems or other components to be received by the unit. Out - Loop out for control bus commands to another unit. Also allows the 840A to control some Cambridge Audio units. Multi-Room Input 1 Balanced Audio... - Page 7 CD recorder using an interconnect cable from the recorder's Line Out sockets to the amplifier's Tape In sockets. The Tape Input circuit of the 840A is a "monitor" type, different from the other 7 inputs. For the 7 normal inputs, the source selected for listening to will be sent out of the Tape Out for recording.
-
Page 8: Front Panel Controls
If the combined resistance measured on the loudspeaker terminals is too low the amplifier may not switch out of Standby mode until a suitable load resistance is detected. For more information refer to the CAP5 section of this manual. - Page 9 (but the recorded signal can be checked using the tape input Tape Monitor). Display LCD used to control the 840A. Please refer to the ‘Operating instructions’ and ‘Amplifier setup’ section of this manual for more information. 840A Class XD integrated amplifier...
-
Page 10: Remote Control
REMOTE CONTROL The 840A is supplied with an Azur Navigator remote control that operates both this amplifier and Cambridge Audio Azur CD players. Insert the supplied AAA batteries to activate. The 840A/C remote control comes with an Amplifier Control button, that when pressed, puts the remote into Amp mode, allowing operation of the 840A. -
Page 11: Connections
Co-axial Optical Co-axial N2409 840A Class XD integrated amplifier Tape connection The diagram below shows how to connect the amplifier to a tape recorder or other source with a record and monitor connection. Please note that either of the tape loop outputs can be used (as they are both the same signal in parallel). - Page 12 Note: When using two pairs of speakers, use speakers with a nominal impedance of between 6-8 ohms each minimum. 8 8 4 4 0 0 A A Power Designed in London, England azur 840A Class XD ™ Integrated Amplifier IR Emitter Control Bus...
- Page 13 Balanced audio connections The diagram below shows how to connect the 840A to the Azur 840C Upsampling CD player using the Balanced Audio inputs via three-pin XLR connectors (Note: the 840A can also be connected to non-Cambridge Audio sources with balanced outputs).
-
Page 14: Operating Instructions
OPERATING INSTRUCTIONS The 840A has a custom-made display on the front of the unit showing the current status and allowing you to access the 840A System Configure menus. Here you can adjust the listening settings of the amplifier to personal preference. The menu system is easy to navigate... -
Page 15: Amplifier Setup
AMPLIFIER SETUP The 840A features many advanced settings that allow its use to be be customised to user preference. The inputs can be named to reflect the actual source units you have, each input can be trimmed so that each sounds the same in terms of loudness when you switch between them and other options. - Page 16 AV receiver connect to the fixed gain input chosen on the 840A. As the gain can be fixed to any value it is easy to match the level of the 840A to that of the other AV channels.
- Page 17 (see diagram) by RCA/phono leads. The sockets are colour- coded orange on the rear panels of compatible Azur models. Loop out from the 840A Control Bus Out to the Control Bus In on another Azur model (e.g. 840C). Continue the chain to other Azur models if required.
-
Page 18: Multi-Room
LeisureTech Electronics Pty Ltd Keypad 2 The 840A is Incognito Ready Type II, which means the keypads can operate independently of the amplifier in terms of volume/bass/treble etc, be independently turned on and off, and can also listen to a different source from that which is currently selected on the amplifier. -
Page 19: Custom Installation Use
“learn” the source's remote control codes (including those from other manufacturers) and change source input on the amplifier etc. On the front panel display of the 840A the extra multi-room zones are indicated by a circle outline next to the input source (see Fig. 1). When listening to the same source, the circle outline and solid circle overlap (see Fig. -
Page 20: Cap5 Protection System
Safe Operating Area (SOA). The SOA is a set of limits given by the output transistor manufacturer to ensure reliability. The 840A deals gracefully with brief periods of overload by controlling the drive to the output transistors. If... - Page 21 840A Class XD integrated amplifier It is possible to disable the short circuit detection feature by pressing the SHORT DT button to off when in the 840A System Configure menu. This would only be required if the loudspeakers have very low DC resistance.
-
Page 22: Troubleshooting
TROUBLESHOOTING There is no power Ensure the AC power cord is connected securely. Ensure the plug is fully inserted into the wall socket and is switched on. Check fuse in the mains plug or adaptor. There is no sound Make sure the unit is not in Standby mode. Check that source component is properly connected. -
Page 23: Technical Specifications
This guide is designed to make installing and using this product as easy as possible. Information in this document has been carefully checked for accuracy at the time of printing; however, Cambridge Audio's policy is one of continuous improvement, therefore design and specifications are subject to change without prior notice. -
Page 24: Limited Warranty
If your dealer is not equipped to perform the repair of your Cambridge Audio product, it can be returned by your dealer to Cambridge Audio or an authorised Cambridge Audio service agent. You will need to ship this product in either its original packaging or packaging affording an equal degree of protection. - Page 25 840A Class XD integrated amplifier Azur Class XD integrated amplifier 25...
- Page 26 840A www.cambridge-a a udio.com Part No. AP18646/2...