Advertisement
Quick Links
Advertisement

Related Manuals for Pfaff smarter C1100 Pro


Summary of Contents for Pfaff smarter C1100 Pro
-
Page 2: Safety Instructions
SAFETY INSTRUCTIONS When using an electrical appliance, basic safety should always be followed, including the following: Read all instructions before using this sewing machine. DANGER -To reduce the risk of electrical shock: 1. An appliance should never be left unattended when plugged in. 2. - Page 3 PLEASE READ BEFORE USING THIS MACHINE For safe operation 1. Be sure to keep your eye on the needle while sewing. Do not touch the handwheel, thread take- up lever, needle or other moving parts. 2. Remember to turn OFF the power switch and unplug the cord when: Operation is completed.
-
Page 4: Table Of Contents
CONTENTS INSTRUCTIONS SAFETY INSTRUCTIONS ........................1-2 CONTENTS............................3-5 ACCESSORIES ............................6 PRINCIPAL PARTS OF THE MACHINE ....................7 FOOT CONTROL ............................8 OPERATION BUTTONS........................9-11 START/STOP button........................9 Thread Snips ..........................9 Reverse button ..........................10 Auto-lock button ..........................10 Needle position button ........................11 FUNCTION BUTTONS ........................12-15 Stitch width adjustment button ....................12 Stitch length adjustment button ....................13 Tension adjustment buttons ......................13 FUNC selection button ........................14... -
Page 5: Contents
CONTENTS Attaching the presser foot ......................34 Removing the presser foot ......................34 Type of presser foot chart ......................35 Two-step presser foot lifter ......................36 DUAL FEED SYSTEM (DFS) ......................37-38 To engage the DFS system ......................37 To disengage the DFS system ....................38 Fabric positioning ........................38 SEWING BASICS STITCH CHART ..........................39-40 MATCHING NEEDLE/ FABRIC/ THREAD ...................41... - Page 6 CONTENTS To adjust the evenness of darning stitch ..................65 NARROW HEMMING ...........................66 QUILTING .............................67 Hand-look quilting stitch ......................67 Decorative patchwork stitching....................67 ATTACHING THE EDGE/ QUILTING GUIDE ..................68 DECORATIVE TECHNIQUES CORDING..............................69 Single cording..........................69 Triple cording..........................69 FAGOTING............................70 GATHERING............................71-72 SATIN STITCH SEWING ........................73 SCALLOP STITCH ..........................74 Scallop hem..........................74 Scallop edging..........................74...
-
Page 7: Accessories
ACCESSORIES 1. Standard Presser Foot 0A 2. Zipper Foot 4 3. Gathering Foot 4. Rolled Hem Foot 7 5. Three-groove Cording Foot 6. Fancy Stitch Foot 1A 7. Buttonhole Foot 8. Blindhem Foot 3 9. Fancy Stitch Foot 2A 10. Pack of needles 11. -
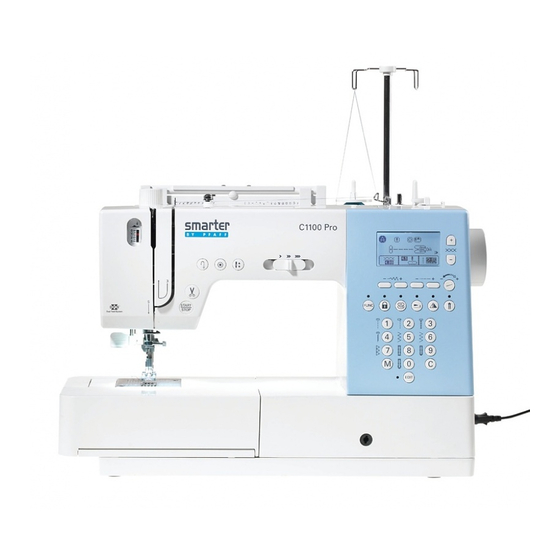
Page 8: Principal Parts Of The Machine
PRINCIPAL PARTS OF THE MACHINE Bobbin thread guide Sewing speed control Spool pins Retractable thread guide Stitch chart Bobbin winder Presser foot pressure dial Bobbin winder switch Operation buttons and thread cutter LCD screen Face plate LCD screen brightness control Thread cutter Function buttons Buttonhole lever... -
Page 9: Foot Control
FOOT CONTROL With the sewing machine turned off, insert the foot control plug and the power supply cord into their appointed connectors on the sewing machine. Turn on the sewing machine, and then slowly depress the foot control to start sewing. Release the foot control to stop the sewing machine.