Viessmann EM-EA1 Installation And Service Instructions For Contractors
Function extension
Hide thumbs
Also See for EM-EA1:
Table of Contents
Advertisement
Quick Links
Installation and service instructions
for contractors
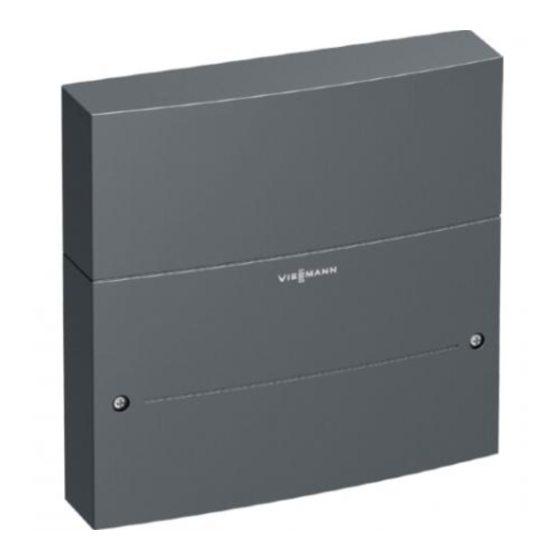
EM-EA1 extension
Function extension
Safety instructions
Please follow these safety instructions
closely to prevent accidents and material
losses.
Safety instructions explained
Danger
This symbol warns against the risk of injury.
!
Please note
This symbol warns against the risk of material
losses and environmental pollution.
Note
Details identified by the word "Note" contain additional
information.
Installation, initial start-up, inspection, maintenance
and repairs must only be carried out by a competent
person (heating engineer
Application information
The functions that can be connected depend on the
settings made at the heat generator. See the service
instructions for the heat generator and/or control unit.
Only one function can be connected to each EM-EA1
extension.
6020379 GB
6/2018
installation contractor).
/
Before working on the equipment
late the power supply (e.g. by removing a separate
mains fuse or by means of a mains isolator) and safe-
guard against unauthorised reconnection.
When using gas as fuel, also close the main gas shut-
off valve and safeguard against unauthorised reopen-
ing.
Repairing components which fulfil a safety function can
compromise the safe operation of your heating system.
For replacements, use only original spare parts sup-
plied or approved by Viessmann.
Up to max. 3 EM-EA1 extensions can be connected to
a heat generator.
VIESMANN
heating system, iso-
/
Advertisement
Table of Contents

Related Manuals for Viessmann EM-EA1


Summary of Contents for Viessmann EM-EA1
- Page 1 Viessmann. Application information The functions that can be connected depend on the Up to max. 3 EM-EA1 extensions can be connected to settings made at the heat generator. See the service a heat generator. instructions for the heat generator and/or control unit.
-
Page 2: Mounting On The Wall
Mounting on the wall Fig. 1 Electrical connections fÖ 1 2 3 4 5 6 Fig. 2 Digital input 1 230 V relay output with 230 V input Digital input 2 Power supply fÖ Digital input 3 Power supply for additional accessories fÖ... - Page 3 Electrical connections (cont.) Function Connections PWM1 0 - 10 V 0 - 10 V Z1-1 Z1-L 230 V 230 V Flue gas damper Output Z1-L opens flue gas damp- er. Feedback contact from Z1-1 comes back from flue gas damper. Burner control unit is enabled.
- Page 4 Electrical connections (cont.) Function Connections PWM1 0 - 10 V 0 - 10 V Z1-1 Z1-L 230 V 230 V External demand (digital) If contact Z1-1 Z1-L is closed, a – demand is sent to the heat gener- ator according to an adjustable set flow temperature (parameter 528.0).
-
Page 5: Configuring Functions
Rotary switch S1 Set rotary switch S1 to a consecutive number as shown in the example below: ■ 1st extension EM-EA1: Rotary switch to 1 ■ 2nd extension EM-EA1: Rotary switch to 2 3rd extension EM-EA1: Rotary switch to 3 ■... -
Page 6: Power Supply
Connecting the PlusBus to the heat generator control unit Note If making the connection to the heat generator with an DI1 DI2 DI3 external plug for the bus connection, disconnect plug and connect the wires directly. 1 2 3 4 5 6 Heat generator installation and service instruc- tions Fig. - Page 7 Power supply (cont.) Danger Isolators for non-earthed conductors The absence of system component earthing can ■ The mains isolator (if installed) must simultaneously lead to serious injury from electric current if an isolate all non-earthed conductors from the mains electrical fault occurs. with a minimum contact separation of 3 mm.
-
Page 8: Connection And Wiring Diagram
Connection and wiring diagram Fig. 11 Digital input 1 230 V relay output with 230 V input Digital input 2 Power supply fÖ Digital input 3 Power supply for additional accessories fÖ 0 - 10 V IN 0 - 10 V input Connection for fault message signalling 0 - 10 V OUT 0 - 10 V output equipment (floating switching contact) - Page 9 Parts list (cont.) 0015 0002 0014 0013 0006 0004 0005 Fig. 12 Type plate Pos. Part 0002 Casing top 0004 Connecting cable fÖ 0005 PlusBus cable 0006 Plug set DIO 0013 Strain relief fittings 0014 Fuse 2.0 A (slow), 250 V~ (10 pce) 0015 Installation and service instructions...
-
Page 10: Specification
Rated breaking capacity of output Z1 1 A 230 V~ Declaration of Conformity We, Viessmann Werke GmbH & Co. KG, D-35107 Conformity has been verified with the CE designation. Allendorf, declare as sole responsible body that the Using the serial number, the full Declaration of Con-... - Page 12 Viessmann Werke GmbH & Co. KG Viessmann Limited D-35107 Allendorf Hortonwood 30, Telford Telephone: +49 6452 70-0 Shropshire, TF1 7YP, GB Fax: +49 6452 70-2780 Telephone: +44 1952 675000 www.viessmann.com Fax: +44 1952 675040 E-mail: info-uk@viessmann.com...