Table of Contents
Advertisement
Quick Links
Advertisement
Table of Contents

Related Manuals for CDA FWV600


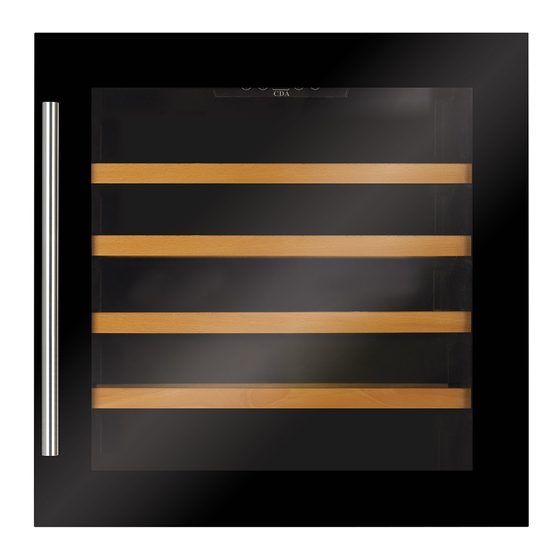
Summary of Contents for CDA FWV600
- Page 1 Integrated Wine Coolers Installation, Use and Maintenance Customer Care Department • The Group Ltd. • Harby Road • Langar • Nottinghamshire • NG13 9HY T : 01949 862 012 F : 01949 862 003 E : customer.care@cda.eu W : www.cda.eu www.cda.eu...
- Page 2 Important The CDA Group Ltd cannot be held responsible for injuries or losses caused by incorrect use or installation of this product. Please note that CDA reserve the right to invalidate the guarantee supplied with this product following incorrect installation or misuse of the appliance or use in a commercial environment.
- Page 3 Appliance information: Please enter the details on the appliance rating plate below for reference, to assist CDA Customer Care in the event of a fault with your appliance and to register your appliance for guarantee purposes. Appliance Model Serial Number...
-
Page 4: Before First Use
Before First Use You must allow the appliance to settle for at least twenty four hours prior to switching the power on. It is recommended that you remove all internal and external packaging and clean the interior of the appliance prior to first use, using a solution of bicarbonate of soda and warm water and then thoroughly dry the interior. - Page 5 • Only store wine in sealed containers. • Do not overload the cabinet. • Only open the door when necessary. • Do not cover the shelves with aluminium foil or anything else that will prevent air from circulating around the cabinet. •...
-
Page 6: Use And Controls
Use and Controls FWV451 & FWV600 Key: 1 – Power button 2 – Light button 3 – Up button 4 – Down button Fig. 1 To switch the power on/off • Press and hold the power button for one second to switch the wine cooler on. - Page 7 • The display shows the current internal temperature when the wine cooler is on. Optimal temperature selection Whilst wine is best stored at temperatures between 13°C and 15˚C, your wine can also be stored at drinking temperature. For red wine this is between 15°C and 17˚C, and for white wine between 12°C and 13˚C.
- Page 8 Use and Controls FWV901 Key: 1 – Power button 2 – Upper Zone, up button 3 – Upper Zone, down button 4 – Lower Zone, up button 5 – Lower Zone, down button 6 – Light button 7 – Upper Zone Fig.
- Page 9 • The display shows the current internal temperatures when the wine cooler is on. Optimal temperature selection Whilst wine is best stored at temperatures between 13°C and 15˚C, your wine can also be stored at drinking temperature, for red wine this is between 15°C and 17˚C, and for white wine between 12°C and 13˚C.
- Page 10 Internal Humidity The wine coolers are equipped with a humidity system to maintain optimal humidity within the wine cooler. Fig. 3 Fill the humidity reservoir approximately 3/4 full with water. Place the reservoir on the runners on the top shelf as shown in fig. 3. Ensure it is located correctly to prevent water spillage.
- Page 11 To change to dynamic cooling mode, touch and hold the down key for approximately five seconds. The wine cooler will beep five times to confirm dynamic cooling is on. • Dynamic cooling mode The fan cycles on and off to circulate the air even after the required temperature is reached.
- Page 12 Door alarm The wine cooler is equipped with an alarm that will sound if the door is left open for more than 60 seconds. To switch off the alarm, press . If the temperature has risen beyond the set temperature, the display will flash until the zone has returned to the required temperature.
-
Page 13: Care And Cleaning
Care and Cleaning Always disconnect the appliance from the mains electrical supply before any cleaning or maintenance. • Do not use abrasive products Fig. 4 or detergents. After washing, rinse and dry thoroughly. • The exterior of the appliance and the door seal should be cleaned using mild soapy water and dried thoroughly. - Page 14 Removing the shelves To remove a shelf from the wine cooler, first remove all bottles from the shelf, then pull the shelf forwards until the groove on either side of the shelf is level with the plastic peg on either side of the cabinet (as shown in fig 4).
-
Page 15: Troubleshooting
Troubleshooting If you have any problems with your appliance, you should check the troubleshooting guide prior to calling CDA Customer Care to prevent unnecessary service calls and potential cost. If the appliance is not working, check • There is power to the appliance •... - Page 16 The light button is not set to off. Please note: The LED lighting cannot be replaced without a service call. If the light fails, contact CDA Customer Care. The door will not close properly, check • The appliance is level and stable.
-
Page 17: Installing The Wine Cooler
(Appliance door (Cutout height such as an oven or radiator (with body height cm) height cm) FWV451 44.8 45.5 45 (min.) the exception of the FWV600*). FWV600 58.8 59.5 59 (min.) - Below a hob unit. FWV901 87.8 88.5 88 (min.) Place your wine cooler in a location which is strong enough to support its weight when fully loaded. - Page 18 To ensure the proper functioning of the appliance, air vents should never be blocked or covered. *If installing an FWV600 next to an oven or compact, then both appliances must have their own individual and independent ventilation system (as per fig. 5).
-
Page 19: Reversing The Door
Reversing the Door It is possible to reverse the door on this appliance, if required. To do so, follow these steps: 1. Remove the glass door by removing the eight screws (3 and 4 in figure 6). Support the door as you do this to prevent damage. -
Page 20: Electrical Information
Electrical Information Warning! This appliance must be earthed. Green and yellow to Earth Brown to Live 13 Amp fuse Cord clamp Blue to Neutral The mains lead of this appliance has been fitted with a BS 1363A 13 amp fused plug. To change a fuse in this type of plug, follow the steps below: 1. - Page 21 How to connect an alternative plug If the fitted plug is not suitable for your socket outlet, then it should be cut off and disposed of safely to avoid possible shock hazard. A suitable alternative plug of at least 13 Amp rating to BS 1363 should be used.
- Page 23 16 [lowest temperature] °C and 32 [highest temperature] °C Airborne Accoustic Noise dB(A) Emissions Installation Type Built in E & O E. All instructions, dimensions and illustrations are provided for guidance only. CDA reserve the right to change specifications without prior notice.
- Page 24 T : 01949 862 012 F : 01949 862 003 E : customer.care@cda.eu Customer Care Department • The Group Ltd. • Harby Road • Langar • Nottinghamshire • NG13 9HY T : 01949 862 012 F : 01949 862 003 E : customer.care@cda.eu W : www.cda.eu www.cda.eu Copyright © CDA 2016...