Advertisement
Quick Links
THIS INSTRUCTION BOOKLET CONTAINS IMPORTANT SAFETY INFORMATION. PLEASE READ AND KEEP FOR FUTURE REFERENCE.
Please give us a chance to make it right and do better!
Contact our friendly customer service department for help first.
Replacements for missing or damaged parts will be shipped ASAP!
Follow Costway
Visit us: www.costway.com
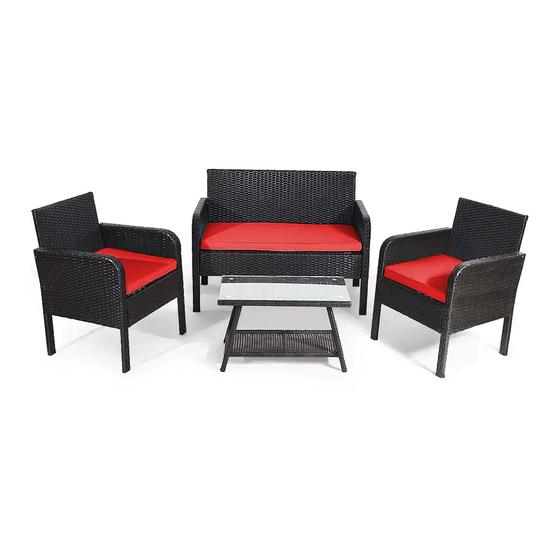
4-Piece Wicker Conversation Set
www.costway.com
USER'S MANUAL
HW66958
FLOOR AREA
2MX2M
ASSEMBLED BY 2 ADULTS
Advertisement

Summary of Contents for Costway HW66958
- Page 1 Please give us a chance to make it right and do better! 2MX2M Contact our friendly customer service department for help first. Replacements for missing or damaged parts will be shipped ASAP! Follow Costway Visit us: www.costway.com ASSEMBLED BY 2 ADULTS...
-
Page 2: Before You Start
Contact Us! Do NOT return this item. Contact our friendly customer service department for help first. E-mail US: cs.us@costway.com UK: cs.uk@costway.com Before You Start Read each step carefully before starting. It is very important to ensure each step followed in correct order, otherwise assembly difficulties may occur. - Page 3 Notice: 1. 50% Tighten before fixing all screws, Allen wrench is recommended instead of an electric drill. 2. Place the item on a flat ground to adjust and make sure it remains stable. 3. Tighten up all screws with tools gradually.
- Page 4 Part & Hardware List Right Frame (3 pcs) Left Frame (3 pcs) Seat frame (2 pcs) Bench seat frame (1 pc) Bench back frame (1 pc) Back frame (2 pcs) Back cushion (1 pc) Seat cushion (2 pcs) Table leg frame (2 pcs)
- Page 5 STEP 1 (2 x Chair assembly) STEP 2 Connect Back frame (D) & Seat frame (C) Connect part from Step 1 & Right frame (A) with Bolt (2) & Washer (4) with Bolt (1), Bolt (2) & Washers (4)
- Page 6 STEP 5 STEP 6 Connect part from Step 4 & Left frame (B) Put on Seat cushion (G) to complete single chair with Bolt (3) & Washer (4) STEP 7 (Bench assembly) Connect Bench seat frame (E) & Bench back frame (F) with Bolt (2) & Washers (4)
- Page 7 STEP 8 Connect part from Step 7 & Right frame (A) with Bolt (1), Bolt (2) & Washers (4) STEP 9 Connect part from Step 8 & Right frame (A) with Bolt (3) & Washer (4)
- Page 8 STEP 10 Connect part from Step 9 & Left frame (B) with Bolt (1), Bolt (2) & Washers (4) STEP 12 STEP 11 Put on Bench cushion (H) to complete Bench Connect part from Step 10 & Left frame (B)
- Page 9 STEP 13 (Table assembly) STEP 14 Connect Table leg frame (I) & Table top frame Connect part from Step 13 & Table shelf (J) with Bolt (1) & Washers (4) frame (K) with Bolt (1) & Washers (4) STEP 15...
-
Page 10: Care And Maintenance
Care and Maintenance Use a soft, clean cloth that will not scratch the surface when dusting. Use of furniture polish is not necessary. Should you choose to use polish, test first in an inconspicuous area. Using solvents of any kind on your furniture may damage the finish. - Page 11 Welcome to visit our website and purchase our quality products! With your inspiring rating, COSTWAY will be more consistent to offer you EASY SHOPPING EXPERIENCE, GOOD PRODUCTS and EFFICIENT SERVICE! US office: Fontana, California UK office: Ipswich Reward Points...


