Advertisement
Quick Links
KETILER
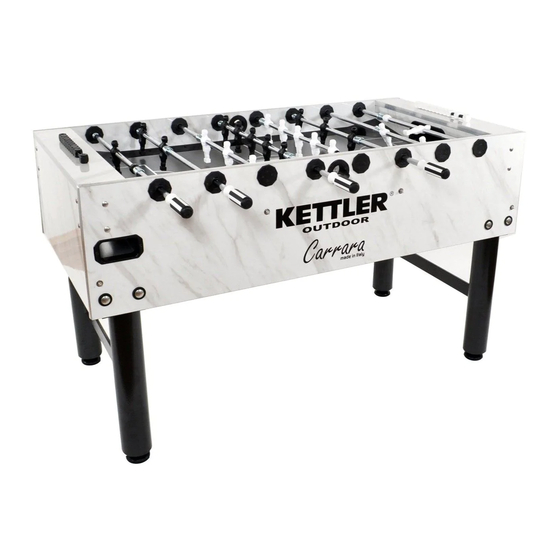
OUTDOOR FOOSBALL TABLE
Adult Assembly Required
KETILER®
International Inc. • 1355 London Bridge Road • Virginia Beach, VA 23453 USA
Please do not retu m this
product to the
store.
Contact
KErrllER®
parts and
service:
free 866.804.0440 , o r send
emai
l
to
l
parts@
kefflerusa.com.
l
MODEL 7399-600
www.kettlerusa.com
info@kettlerusa.com
for
call tolll
KETI1.ER
[Z][]aJ-
ATTENTION:
Images in manual
may vary from product
®
Made in Italy
Advertisement

Related Manuals for Kettler 7399-600

Summary of Contents for Kettler 7399-600
- Page 1 KETILER ® OUTDOOR FOOSBALL TABLE MODEL 7399-600 Adult Assembly Required Made in Italy KETILER® International Inc. • 1355 London Bridge Road • Virginia Beach, VA 23453 USA www.kettlerusa.com info@kettlerusa.com [Z][]aJ- Please do not retu m this product to the store.
- Page 2 • • Do not use the foosball table until it has been Waste disposal: KETTLER® products are fully and correctly assembled and checked. recyclable. At the end of its useful life, please • dispose of correctly and safely complying with Set the table up on a level surface.
- Page 3 Compare quantities with the package contents section and that all items are undamaged. If there • For technical reasons, we reserve the right to carry are any problems, please contact KETTLER®. out preliminary assembly work (e.g. addition of tubing plugs).
- Page 4 Package Cont ents (continued) Number lncluded-8 (M8x40 Carriage Bolt) Number lncluded-8 Number lncluded-8 (M8 Hexflange nut) Number lncluded- Number lncluded 2x Color 1 lOx Color 1 Number lncluded-6 Number lncluded-44 2x Color 2 Number lncluded-4 lOx Color 2 (M2.8 X 11.5 Screw) {M4 X 25 Screw) (M3.9X35 Screw) Number lncluded-8...
-
Page 5: Leg Assembly
Step 1 2 each required 1 required Leg Assembly 1 required 1 required Place legs inside cabinet. Ensure holes in side of cabinet align with holes in leg. Install large resin washers and carriage bolts from the outside in towards leg.(B) Using hammer, lightly tap bolt heads into side(C), ensuring they are flush with the large... - Page 6 Assembly Step 1 (continued) Place hexflange nuts onto carriage bolt ends and tighten. Screw floor leveler into leg post. REPEAT STEP 1 A-G FOR EACH LEG Assembly Pictures Similar IMPORTANT: Have two Step 2 people complete Step 2. Setting the table upright Turn the table onto its feet to prepare for the next assembly step.
- Page 9 REPEAT STEP 3 A-C FOR EACH ROD AS SHOWN BELOW Use the diagram on Page 6 for additional assistance. SKIP BALL DROP HOLE...
- Page 10 Step 4 May be necessary to complete before proceeding with Step 4 Rod Bushing Assembly 16 required 8 required 8 required M4 X 25 Insert the 2 part inner bushing in the open cabinet hole (which has the rod extending through) as shown.
- Page 11 Step 4 Rod Bushing Assembly (Continued) Using 2 of the M4 x 25 screws, fasten the bushing into place. REPEAT STEP 4 A-G FOR EACH ROD...
- Page 12 Step 5 Rod Bearing Assembly 16 required 8 required 8 required M4 x 25 On the opposite cabinet hole, slide bearing over the end of rod. (A,B) Insert the end cap into hole. Ensure that it is flush with the cabinet’s wall. (D) Using two M4x25 screws, fasten the end cap into place.
- Page 14 Step 7 Ball Drop Assembly 3 required 1 required M2.8 x 11.5 Locate the ball drop assembly hole on the side of cabinet wall. It will be directly in the middle of table and will have 3 punched pilot holes surrounding it. (A) Place ball drop into the hole.
- Page 15 Assembly Step8 Counter Assembly 2 required 10 required 2 required 1 required M3.9 X 35 Build color 1 and 2 counters. Separate the color 1 and color 2 cubes with screw holes; these need to be installed at each end of the counter rods.
- Page 16 FOOSBALL TABLE COVER The foosball table comes with a cover included when purchased. Always cover your foosball table when not using. This protects the table from the elements and increases the life of the product to provide many years of enjoyment! The cover is equipped with a Velcro side opening for ease of use and a tie down...
- Page 17 United States only. Any shipment outside of the United States will be at the sole cost of the customer. This KETTLER® Limited Warranty is a manufacturer’s warranty and is not changed or modified by additional warranties extended by individual retailers at the point of sale.
- Page 18 Log onto www.kettlerusa.com/warranty and register your KETTLER ® Foosball Table Warranty online! www.facebook.com/kettlerusa www.youtube.com/kettlerusa twitter.com/kettler_usa...
- Page 19 All rights reserved. No part of this manual may be ® reproduced, stored in a retrieval system, or transmitted in any form, or by any means, such as electronic, mechanical, photocopying or otherwise, without the prior written permission of KETTLER ® KETTLER ®...