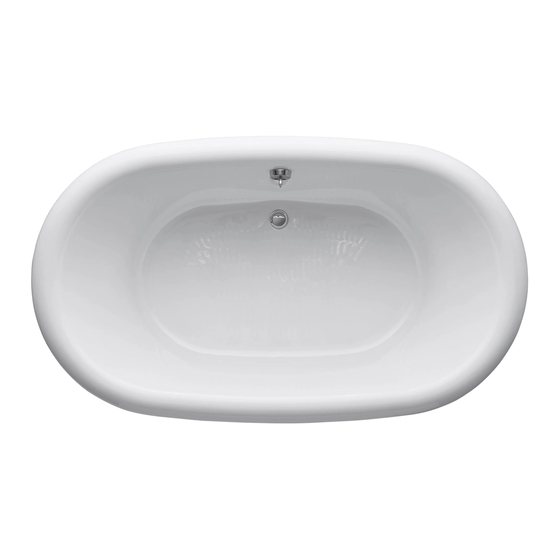
Kohler K-700 Installation Manual
Drop-in or freestanding cast iron bath
Hide thumbs
Also See for K-700:
- Roughing-in manual (4 pages) ,
- Manual (4 pages) ,
- Installation and care manual (25 pages)
Table of Contents
Advertisement
Available languages
Available languages
Quick Links
Advertisement
Table of Contents

Summary of Contents for Kohler K-700
- Page 1 Installation Guide Drop-in or Freestanding Cast Iron Bath K-700 M product numbers are for Mexico (i.e. K-12345M) Los números de productos seguidos de M corresponden a México (Ej. K-12345M) Français, page “Français-1” Español, página “Español-1” 1023725-2-A...
-
Page 2: Tools And Materials
We appreciate your commitment to Kohler quality. Please take a few minutes to review this manual before you start installation. If you encounter any installation or performance problems, please don’t hesitate to contact us. Our phone numbers and website are listed on the back cover. Thanks again for choosing Kohler Company. -
Page 3: Prepare The Site
Install the drain to the bath according to the drain manufacturer’s instructions. Do not connect the trap at this time. Position a clean drop cloth or similar material in the bottom of the bath. Be careful not to scratch the surface of the bath. Kohler Co. 1023725-2-A... - Page 4 Only hand tighten the bolts at this time. Fit the other end of the towel bar into the remaining end bracket. Align as needed. Tighten all the bolts. Secure the towel bar to the brackets with the setscrews. Repeat for the other towel bar. 1023725-2-A Kohler Co.
-
Page 5: Install The Plumbing
Open the hot and cold water supplies and check all connections for leaks. Run water into the bath and check the drain connections for leaks. Fill the bath to the overflow and check for leaks. Kohler Co. 1023725-2-A... -
Page 6: Complete The Installation
Remove plaster by scraping with a wood edge. Do not use metal scrapers, wire brushes, or other metal tools. You can use a powder-type detergent on a damp cloth to provide mild abrasive action to any residual plaster. 1023725-2-A Kohler Co. -
Page 7: Guide D'installation
Outils et Matériaux Merci d’avoir choisi un produit KOHLER Nous apprécions votre engagement envers la qualité KOHLER. S’il vous plait, prenez quelques minutes et lisez attentivement ce guide avant de commencer votre installation. N’hésitez pas à nous contacter en cas de problème d’installation ou de fonctionnement. - Page 8 Installez le drain à la Baignoire selon la notice du fabricant qui accompagne le produit. Ne pas brancher le siphon à ce moment. Placez un linge ou une matière similaire à la base de la Baignoire. Travaillez soigneusement pour ne pas égratigner la surface du produit. 1023725-2- A Français-2 Kohler Co.
- Page 9 Baignoire avec les vis et écrous. Serrez les vis seulement à la main à ce moment. Glissez l’autre extrémité du porte-serviette dans l’autre orifice du support. Alignez au besoin. Serrez tous les boulons. Fixez le porte-serviettes avec le jeu de vis. Renouvelez cette procédure avec l’autre porte-serviettes. Kohler Co. Français-3 1023725-2- A...
- Page 10 Ouvrez les robinets d’arrêt et vérifiez s’il y a des fuites. Laissez couler l’eau dans la baignoire et vérifiez s’il y a des fuites dans les raccords du drain. Remplissez la baignoire et vérifiez s’il y a des fuites. 1023725-2- A Français-4 Kohler Co.
- Page 11 Les résidus de plâtre peuvent être nettoyés au moyen d’un bord en bois. Ne pas utiliser un grattoir en métal, une brosse en fer ou d’autres outils en métal. Il est possible d’utiliser des nettoyants en poudre sur un linge mouillé pour une action abrasive douce. Kohler Co. Français-5 1023725-2- A...
-
Page 12: Guía De Instalación
Gracias por elegir los productos de Kohler Apreciamos su elección por la calidad de Kohler. Por favor, tome unos minutos para leer este manual antes de comenzar la instalación. En caso de problemas de instalación o de funcionamiento, no dude en contactarnos. -
Page 13: Preparación Del Sitio
Instale el drenaje en la bañera según las instrucciones del fabricante. No instale el sifón en este momento. Coloque una lona limpia o un material similar en el fondo de la bañera. Tenga cuidado de no dañar la superficie de la bañera. Kohler Co. Español-2 1023725-2-A... - Page 14 Deslice el otro extremo del toallero por la otra abrazadera. Alinee de ser necesario. Apriete todas los pernos. Fije el toallero a todas las abrazaderas con los tornillos de fijación. Repita esta operación con el otro toallero. 1023725-2-A Español-3 Kohler Co.
-
Page 15: Instale La Plomería
Abra los suministros de agua caliente y fría y compruebe que no haya fugas en las conexiones. Deje que el agua fluya en la bañera, y compruebe que no haya fugas en las conexiones del drenaje. Llene la bañera hasta el rebosadero y compruebe que no haya fugas. Kohler Co. Español-4 1023725-2-A... - Page 16 El yeso se puede remover raspando con un canto de madera. No utilice raspadores de metal, cepillos de alambre ni otras herramientas metálicas. Se puede utilizar un detergente en polvo con un trapo húmedo para proporcionar una acción abrasiva suave para residuos de yeso. 1023725-2-A Español-5 Kohler Co.
- Page 17 1023725-2-...
- Page 18 1023725-2-...
- Page 19 1023725-2-...
- Page 20 USA: 1-800-4-KOHLER Canada: 1-800-964-5590 México: 001-877-680-1310 kohler.com ©2003 Kohler Co. 1023725-2-A...


