Advertisement
Table of Contents
- 1 Table of Contents
- 2 Introduction
- 3 Contents
- 4 Safety Recommendations
- 5 Specification
- 6 Cabinetry Preparation
- 7 Important Notice to the User
- 8 Notes for Installation
- 9 Instructions for Use
- 10 Instructions for Cooking
- 11 Table of Cooking Times
- 12 Cleaning and Maintenance
- 13 Technical Assistance
- 14 Warranty Card
- Download this manual
Advertisement
Table of Contents

Related Manuals for Blanco BOSE752


Summary of Contents for Blanco BOSE752
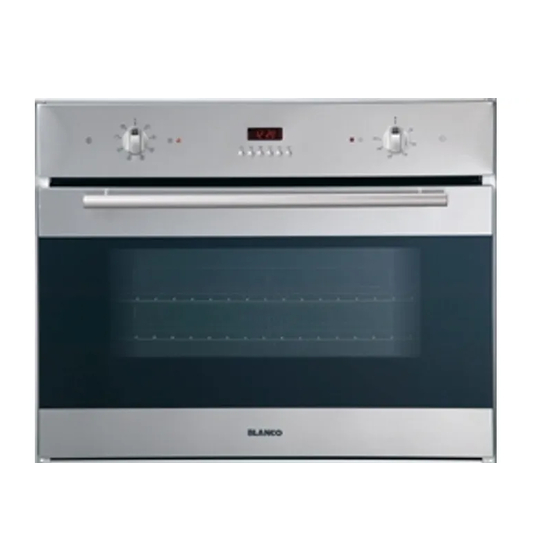
- Page 1 Instructions for the Use and Care and Installation of BOSE752 MULTIFUNCTIONAL OVEN...
-
Page 2: Table Of Contents
You will find that the clean lines and modern look of your Blanco oven blends in perfectly with your kitchen décor. It is easy to use and performs to a high standard. - Page 3 Safety recommendations ELECTRIC OVEN Read the following carefully to avoid an electric shock or fire It is most important that this instruction book should be retained with the appliance for future reference. Should the appliance be sold or transferred, always ensure that the book is left with the appliance in order that the new owner can get to know the functions of the appliance and the relevant war- nings.
-
Page 4: Safety Recommendations
Safety recommendations · Always clean the appliance immediately after any food spillage. · To maintain safe operation, it is recommended that the product be inspected every five years by an authorised service person. · If the supply cord is damaged, it must be replaced by the manufacturer or its service agent or similarly qualified person in order to avoid hazard. -
Page 5: Specification
SPECIFICATION Electrical features Input voltage 230-240 V 50 Hz Grill element 2400 W Upper element 1100 W Lower element 1500 W Circular element 2600 W 2 x 25 W Lighting bulb 25 W Oven fan Cooling fan 20 W This appliance complies with EEC 89/336 specifications issued for the magnetic com- patibility. -
Page 6: Cabinetry Preparation
CABINETRY PREPARATION CABINETRY MATERIALS MUST BE SUITABLE TO WITHSTAND TEMPERATURES UP TO 90°C... -
Page 7: Important Notice To The User
Important Notice to the User The base element is concealed beneath the bottom of the oven to make the oven easier to clean and contribute to better access into the oven. Because the element is concealed beneath the oven the following rules will need to be observed during cooking to ensure optimum performance from the oven. -
Page 8: Notes For Installation
NOTES FOR THE INSTALLATION GENERAL INFORMATION The appliance must be installed in accordance with all relevant codes laid down by Electrical Supply Authorities. The original installation and adjustment must be made by a licensed electrician. ELECTRICAL CONNECTION The appliances are provided with a three-pole feeding cable and work with alternate cur- rent and single-phase voltage indicated on the rating plate of the product and in the instruction manual and on the product. - Page 9 NOTES FOR THE INSTALLATION INSERTION AND ASSEMBLY Insert the oven into the opening of the furniture, resting it on the base and pushing it as far as the edge of the side stanchions against the shoulder of the piece of furniture. For technical specification and installation dimensions please refer to pages 3 and 4.
-
Page 10: Instructions For Use
INSTRUCTIONS FOR USE HEATING POSITIONS AND TEMPERATURE ADJUSTMENT The knobs for the selector and the thermostat controls allow you to select the various cooking temperatures most suitable for the products to be cooked. The oven door must be closed. The lamp of the oven is on, with no heating elements operated (electrical resi- stances). - Page 11 INSTRUCTIONS FOR USE PROGRAMMING THE OVEN The figure shows the keys, the pilot lights for all the functions and the programmer display. Setting and displaying the minute counter - Timer Setting and displaying the cooking time - Timer Setting and displaying the end of the cooking time Manual operation Setting the times -...
- Page 12 INSTRUCTIONS FOR USE • Any programming described below is activated after approximately 4 seconds from the pre- setting. • 23 hrs and 59 minutes is the maximum programmed time. Any and all programmed settings are erased when there is a power cut or supply failure. When power is restored the display fla- shes and shows 0.00.
- Page 13 INSTRUCTIONS FOR USE Minute minder When this device is used as a simple minute minder, press key (1) and programme the required time by pressing keys (-) and (+) within the next 4 seconds: the actual time re- appears and the symbol (B) is activated. Press one of the keys from 1 to 4 to disconnect the acoustic signal.
-
Page 14: Instructions For Cooking
INSTRUCTIONS FOR COOKING OVEN COOKING The oven door must be closed for all cooking methods It is necessary to pre-heat the oven to the preset cooking temperature. Only very fat meat can be placed into a cold oven. To minimise food splashes into the oven (which can sometimes produce smoke) deep baking dishes are recommended. - Page 15 INSTRUCTIONS FOR COOKING PROTECTION FILTER OF THE OVEN FAN During the cooking of fatty products, to avoid that too much fat residue striking the fan, the filter should be placed in the oven before use. When the cooking is finished and the oven cools, remove the filter and wash it carefully.
-
Page 16: Table Of Cooking Times
TABLE OF COOKING TIMES The table below provides indicative shelf positions for use with your oven. Please note, the temperature and cooking times are indicative only. According to different cooking habits, it may be necessary to make further modifications. Add to the below- mentioned times about 15 minutes for preheating. -
Page 17: Cleaning And Maintenance
CLEANING AND MAINTENANCE Caution: before any operation, disconnect electrically the oven. GENERAL CLEANING To keep the characteristics of brightness of the enamelled parts for a long time it is neces- sary to clean the oven after each use. Once the oven is cold, you will be able to easily remove the fat deposits by means of a sponge or a cloth damp with warm soapy water and eventually a detergent to be found on the market. - Page 18 CLEANING AND MAINTENANCE Cleaning the oven door ATTENTION: for your safety, before removing the glasses you should remove the oven door. 1. Set the oven door wide open. 2. Lift the hinge jumpers with your thumb and index fingers, then turn them fully outwards to the end of stroke (Fig.A).
- Page 19 CLEANING AND MAINTENANCE Care of Catalytic Liners. (If your oven has had these fitted) Splashes of food and fats from cooking will collect on the catalytic liner. After cooking a dish with high fat content or when you can see grease spots on the liners, it is recommended that you : * Remove baking dishes and oven racks * Wipe out the bottom of the oven and clean the door...
-
Page 20: Technical Assistance
15 amp plug...