Advertisement
Quick Links
Advertisement

Related Manuals for Aztech WMB250AC


Summary of Contents for Aztech WMB250AC
- Page 2 AZTECH TECHNICAL SUPPORT DETAILS Product Registration: https://www.aztech.com/aztech-support/product-registration Customer Care: https://www.aztech.com/service-centre Service Center Address: 31 Ubi Road 1, #01-05 Singapore 408694 Operating Hours Monday to Friday: 9:00 AM to 6:15 PM Saturday: 9:00 AM to 1:00 PM (Except Sunday & Public Holidays)
-
Page 3: Table Of Contents
Building a New Mesh Network……………………………………………………5 Behavior…………………………………………………………………………………….6 Adding a New Node to an Existing Mesh Network………………………7 Changing the SSID and Password using the AztechMesh app…………………………………………………………………………………………….8 Adding a new Mesh Node using the AztechMesh app………………..10 These Easy Start Guide and User Manual are available at www.aztech.com. -
Page 4: Package Contents
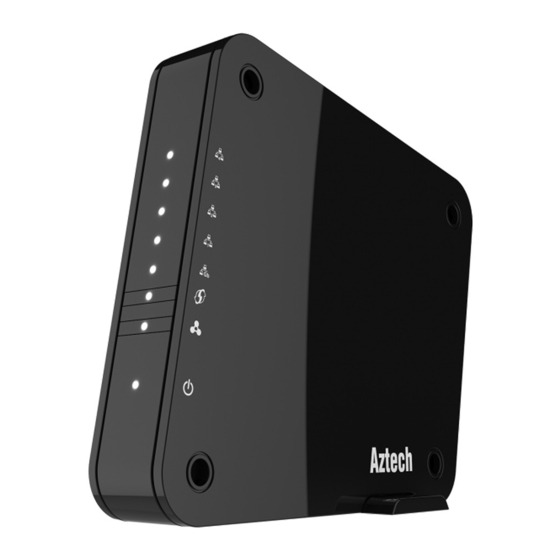
PACKAGE CONTENTS The following items are included in your WMB250AC package. Power Adapter WMB250AC Ethernet Cable Easy Start Guide Warranty Policy WMB250AC VISUAL GUIDE 1. FAST ETHERNET LED 6. FAST ETHERNET PORTS 1-4 2. GIGABIT ETHERNET LED 7. GIGABIT ETHERNET PORT 3. -
Page 5: Building A New Mesh Network
BUILDING A NEW MESH NETWORK This requires a router to set a mesh system with your WMB250AC as your Mesh Node. You would need an RJ45 or Ethernet cable (you may use the RJ45 provided on the package). You can follow the steps below to build your mesh network. -
Page 6: Led Behavior
LED BEHAVIOR Status Description Power No Power Blinking White Device is booting Solid White Device is connected to power supply Solid White WPS Pairing has been established Blinking White Ongoing/active WPS process WPS is not running Mesh Mesh Disabled Solid White Mesh connected Blinking White Mesh disconnected... -
Page 7: Adding A New Node To An Existing Mesh Network
Follow the steps below to add a new node to your existing mesh network. A. Connect your PC to new WMB250AC via RJ45 cable or Wi-Fi with SSID and Password shown on product label. Your PC can get IP address 192.168.1.x by DHCP. -
Page 8: Changing The Ssid And Password Using The Aztechmesh App
CHANGING THE SSID AND PASSWORD USING THE AZTECHMESH APP A. Install the AztechMesh app on B. Connect your phone to your phone. WMB250AC Wi-Fi Network and launch AztechMesh app. Slide to start. - Page 9 C. Select your WMB250AC master D. Enter username and password to node from the list. login. Both are “admin” by default. E. Click the Wi-Fi Settings button F. Edit SSID and Password. Click to enter Wi-Fi Settings screen. Apply to save your changes.
-
Page 10: Adding A New Mesh Node Using The Aztechmesh App
ADDING A NEW WMB250AC MESH NODE TO AN EXISTING NETWORK A. Power on the new WMB250AC B. Click “Add Mesh Node” button. node. Click on the Home icon at the middle of the screen. - Page 11 C. Select your preferred method D. You may choose QR code or to add the new mesh node. Manual input method. Click the Manual button to enter the SSID and Password of the new node manually. E. To add via QR code, select the F.