Advertisement
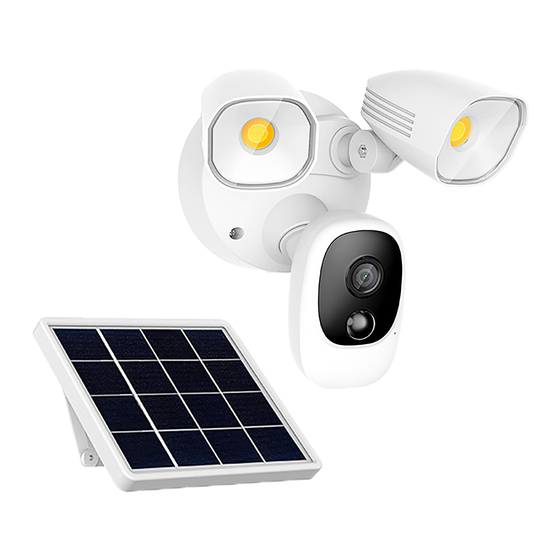
Wireless Outdoor Camera with Adjustable
Floodlight & Solar Panel
* Thanks for purchasing and using our product. Please read this manual
before using, and keep for future reference.
* Manual contents are subject to change without notice in accordance
with our policy of continuous product improvement.
(CSH-SLRODCAM / LSH-SLRODCAM)
Manual
Advertisement
Table of Contents

Related Manuals for Connect SmartHome CSH-SLRODCAM


Summary of Contents for Connect SmartHome CSH-SLRODCAM
- Page 1 Wireless Outdoor Camera with Adjustable Floodlight & Solar Panel (CSH-SLRODCAM / LSH-SLRODCAM) Manual * Thanks for purchasing and using our product. Please read this manual before using, and keep for future reference. * Manual contents are subject to change without notice in accordance...
- Page 2 Installation guide 1. Please consult below checklist for all the components. (x2) Floodlight Camera Solar Panel User Manual Screw & Tools...
-
Page 3: Table Of Contents
TABLE OF CONTENTS What's in the box Camera Diagram Charging the Battery Downloading the APP Wi-Fi set up Running a test Live View Interface Smart Playback and Multi-View Function Menu settings Frequently asked questions... -
Page 4: What's In The Box
1. WHAT'S IN THE BOX Please check the box for each of the following items before installing your camera: (x2) Floodlight Camera Solar Panel User Manual Screw & Tools 2. CAMERA DIAGRAM 2 LEDS 1000LM 2MP Camera PIR Motion Sensor Solar Panel Power Port LED Indicator Microphone... -
Page 5: Charging The Battery
(not included) plugged into (7). 4. DOWNLOADING THE APP 1. Download and install the “Connect SmartHome or Laser SmartHome App by searching for it from the Google Play Store or Apple App Store. 2. The App is also available by scanning the QR code below, using a QR code scanner in your smart phone. -
Page 6: Wi-Fi Set Up
5. WI-FI SET UP Before you start the Wi-Fi configuration, please note below: 1. The camera only works on 2.4GHz Wi-Fi networks (no 5GHz support) 2. Press the ON/OFF button (8). The LED (1) will turn on and the Indicator Light (5) will start to Blink. Note: If the Indicator Light does not blink press and hold the RESET button (10) for approx 5 seconds and the Indicator Light should blink RED. -
Page 7: Live View Interface
7. LIVE VIEW INTERFACE Floodlight Camera 2020-11:55:59 Play back Cloud Storage Photo album Multi-View Quit live view On Screen Display Setting menu Wi-Fi signal status Listen HD/SD switch Battery status Full screen mode Screenshot button Speak Record on the phone Playback Recordings Cloud Storage Photo Album... -
Page 8: Smart Playback And Multi-View Function
8. SMART PLAYBACK AND MULTI-VIEW FUNCTION Floodlight Camera REPLAY Jul 2020 19:00 19:01 19:02 19:03 19:04 Time Line Drag the time line to left or right to check the recorded video - The grey bar means recorded video length Date Check motion detected video history by dates Screenshot Tap to capture a photo and... -
Page 9: Menu Settings
9. MENU SETTINGS Back to Live View Interface Edit Device Name Device Basic Information Automation Setting Basic function setting IR Night Vision Setting Alarm Setting PIR Sensitivity Setting Power Management Setting Storage Setting Cloud Storage Subscription 1.Motion Detection Setting 2. Basic Function 3.SD Card Setting Storage Settings Basic Function Settings... - Page 10 TROUBLESHOOTING 1. The Device is not Connecting to App Please check your Wifi username and password are correct and you are only using 2.4Ghz Wifi connections as the 5Ghz band is not supported. 2. No Power When Using Solar Panel Make sure the device has approx 30% power before using with Solar Panel.