Advertisement
Quick Links
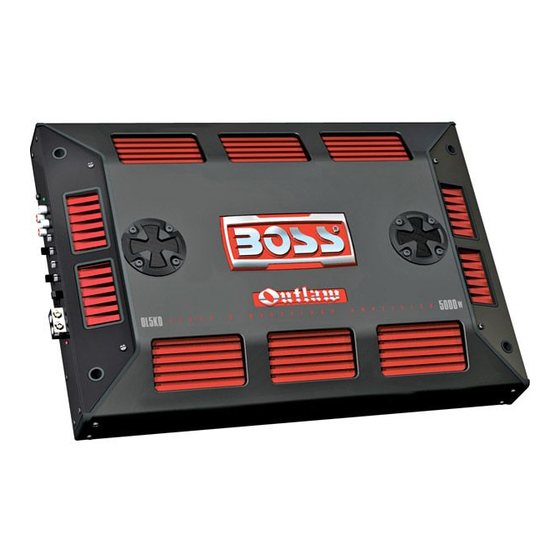
OL5KD
CLASS D MonoBlock
Car Audio Amplifiers
OL4KD
OL3KD
Congratulations on your
purchase of a
Outlaw Class D Amplifier.
It has been designed, engineered
and manufactured to bring you
the highest level of performance
and quality, and will afford you
years of listening pleasure.
Thank you for making
your choice for car audio
entertainment!
U S E R ' S M A N U A L
CONTENTS
page
2
Introduction
2
Features
3
What is included?
3
General precautions
3
Installation precautions
3
Mounting the amplifier
4
Connecting the amplifier
5
Important system considerations
5
Tips for a safe system
6
Low level input wiring
6
Speaker wiring
7
Power connections
Normal and with Stiffening Capacitor
8
Bridging two Outlaw
CLASS D Amplifiers
10 Troubleshooting
11 Specifications
OL5KD • OL4KD • OL3KD Amplifier User's Manual - page 1
Advertisement

Related Manuals for Boss Audio Systems Outcast OL3KD


Summary of Contents for Boss Audio Systems Outcast OL3KD
- Page 1 OL5KD CLASS D MonoBlock Car Audio Amplifiers OL4KD OL3KD Congratulations on your purchase of a Outlaw Class D Amplifier. It has been designed, engineered and manufactured to bring you the highest level of performance and quality, and will afford you years of listening pleasure.
- Page 2 Introduction With the Outlaw Class D amplifier series, we are introducing three new CLASS D amplifiers, all designed in the USA. These Outlaw models feature variable low pass and subsonic filters and a variable input gain control. These models also incorporate a phase selector switch to help compensate for time delays in subwoofer applications.
- Page 3 What is included? When first unpacking your new amplifier, please check first that the package contains all of the items below. If something is missing, contact the store where you purchased the amplifier. • Class D amplifier • Remote subwoofer level control •...
- Page 4 3. Mark the location for the mounting hole screws by positioning the amplifier where you wish to install it. Use a scribe or mounting screw, inserted through each of the amp's mounting holes, to mark the mounting surface. If the mounting surface is carpeted, measure the hole centers and mark with a felt tip pen.
- Page 5 Important installation considerations for using this amplifier. Your Outlaw Class D amplifier is designed to run with a min- imum load of 1 Ohm. Operating any Outlaw Class D amplifier with a speaker im- pedance load below 1 Ohm may result in poor sound qual- ity and damage to the amplifier circuitry.
- Page 6 Low Level Input and Speaker Wiring Low-level (RCA) input wiring is preferred for best audio performance. Always use a high-quality RCA cable for best audio performance. To Audio Inputs of satellite amplifier (if present) Remote Level Control Connections PLEASE NOTE: In this manual, the OL4KD is used in all system examples, but all three models can be configured in a system in a similar manner.
-
Page 7: Power Connections
Power Connections Without Stiffening Capacitor With Stiffening Capacitor Distribution Block Battery FUSE Stiffening Capacitor Chassis ground point OL5KD • OL4KD • OL3KD Amplifier User’s Manual - page 7 Chassis ground point to REMOTE TURN-ON terminal of head unit FUSE Battery Chassis ground point... - Page 8 Bridging Two OL5KD, Two OL4KD or Two OL3KD Amplifiers INPUT, DATALINK AND SPEAKER CONNECTIONS (SEE NEXT PAGE FOR POWER AND REMOTE LEVEL CONTROL CONNECTIONS) MASTER AMPLIFIER Front panel To Audio Outputs of head unit or Subwoofer outputs of a signal processor BRIDGED MODE SWITCH IN SLAVE POSITION...
- Page 9 POWER AND REMOTE LEVEL CONTROLLER CONNECTIONS (SEE PREVIOUS PAGE FOR INPUT, DATALINK AND SPEAKER CONNECTIONS) MASTER AMPLIFIER Rear panel Remote Subwoofer Level Control SLAVE AMPLIFIER Rear Panel PLEASE NOTE: In this MASTER AMP/SLAVE AMP configuration, the Slave amp receives its audio signal from the Master Amp.
-
Page 10: Troubleshooting
Troubleshooting If you experience operation or performance problems with this product, compare your installation with the electrical wiring diagram on the previous pages. If problems persist, read the following troubleshooting tips which may help eliminate the problems. SYMPTOM POSSIBLE REMEDY Amplifier will not Check to make sure you have a good ground connection. -
Page 11: Specifications
Specifications MODEL RMS POWER into 4 Ohms MAX POWER into 2 Ohms MAX POWER into 1 Ohm Min. speaker impedance Input impedance Input sensitivity Frequency response Signal-to-noise ratio Crossover/filter range low pass subsonic Bass Boost Phase Shift Fuse rating Dimensions: "... - Page 12 Notes...