Table of Contents
Advertisement
Quick Links
Advertisement
Table of Contents

Summary of Contents for Seagate FireCuda 520
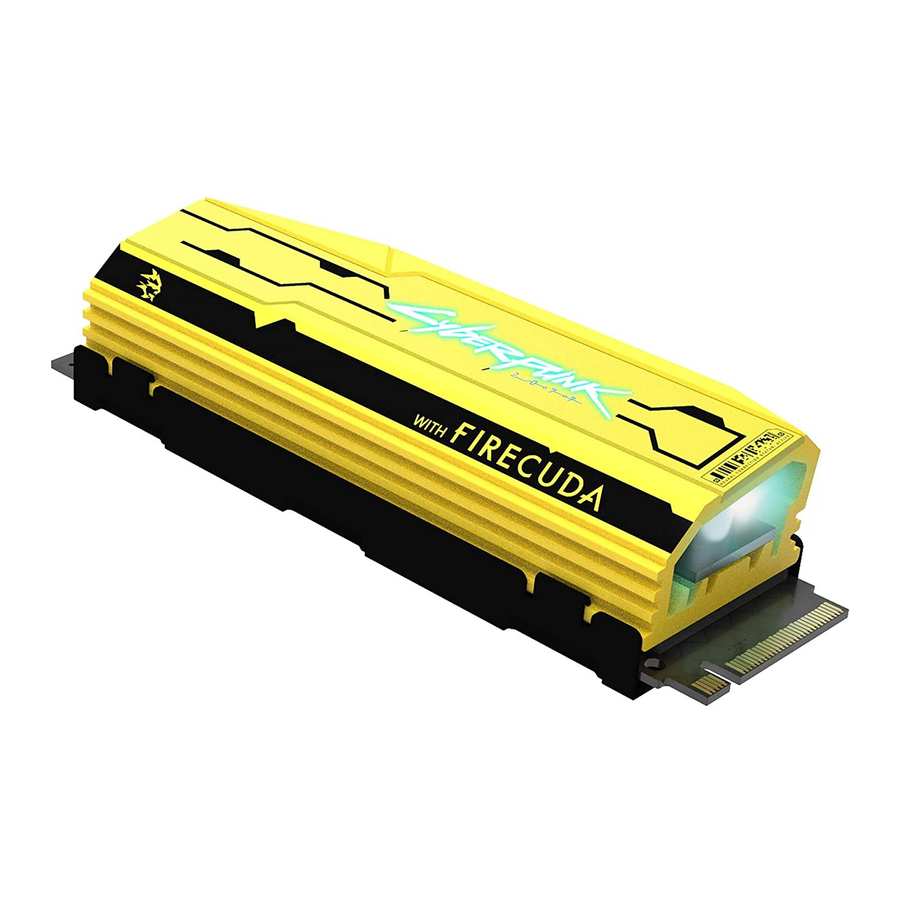
- Page 1 Seagate FireCuda 520 Cyberpunk 2077 Limited Edition SSD I n stal l ation Gu ide Model: Click here to access an up-to-date online version of this document. You will also find the most recent content as well as expandable illustrations, easier...
- Page 2 ......................... . Install FireCuda 520 SSD .
-
Page 3: System Requirements
M.2 (M key) slot, PCIe® G4 ×4 interface (backwards compatible with PCIe G3 interface) Windows® 10 For RGB LED functionality: Motherboard with 5V addressable header Parts FireCuda 520 SSD with heatsink Optional 5V addressable RGB connector cable to power and control RGB LED lights Precau ons Unpack the SSD. -
Page 4: Recommenda Ons
See your computer or motherboard documentation for details on how to boot from an M.2 SSD. If you need to transfer files from another drive to FireCuda 520 SSD, consider how you will move your data or clone your drive before starting the installation. - Page 5 1. Before installing FireCuda 520 SSD, power down your computer and unplug any cables attached to it. 2. Open the case or cabinet. 3. If an existing SSD drive is installed in the M.2 PCIe slot you intend to use for FireCuda 520 SSD, you'll need to remove it.
- Page 6 7. Check to make sure that the notch on FireCuda SSD is correctly aligned with the divider in the slot. Gently push FireCuda SSD into the slot until it's firmly seated. 8. Hold down FireCuda SSD while you fasten the mounting screw. Make sure the SSD is secured in place. Op onal RGB LED connec on 1.
- Page 7 2. Connect the other end of the cable to the 5V addressable header on the motherboard. The power pin (marked with a triangle and identified by the red cable) must be connected to the 5V pin 1. Refer to your motherboard documentation for detailed instructions on how to connect RGB capable components to your motherboard.
- Page 8 9. Close the case or cabinet and reassemble your computer. 10. Power on your computer. 11. Install the computer operating system on FireCuda SSD if you want to use it as the primary drive. RGB Color and Pa ern Control Refer to the manufacturer of your motherboard for details on the software used to control RGB colors and patterns...
-
Page 9: Support & Services
SeaTools™ SSD GUI is a free utility that lets you monitor and maintain your drive’s health, status, and tests. Go to www.seagate.com/support/downloads/seatools. DiscWizard Seagate DiscWizard is an integrated software suite that lets you back up your operating system, applications, settings, and files, while also securely destroying confidential data you no longer need. Go to www.seagate.com/support/downloads/discwizard. - Page 10 Seagate Partner Program Go to www.seagate.com/partners.
