Advertisement
Quick Links
INSTALLATION MANUAL
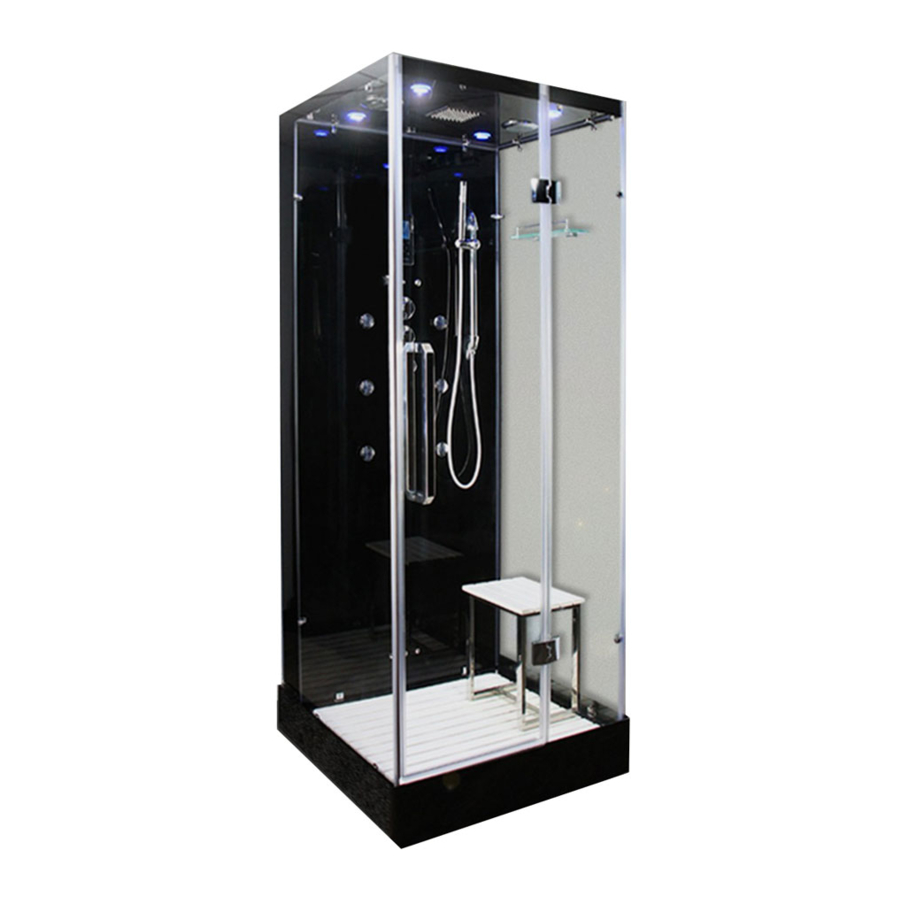
Noire90
30 Day Technical Support:
This service is only available to customers from
the day of delivery, please have your supplier's
details and your postcode to hand before calling.
Replacements Parts:
period contact: www.insigniarange.co.uk/support
Spares/Replacements Parts:
warranty period contact 0844 800 3069
ATTENTION INSTALLERS:
These instructions must be
left with the customer
www.insigniarange.com
01908 226545
Inside of your warranty
Outside of your
CHECK ALL CONTENTS BEFORE BUILD COMMENCES. NO RETURNS CAN BE MADE
WARRANTY REG NO: _______________________
To claim your full 5 year warranty, register your shower within 90 days at: www.insigniarange.co.uk/warranty
ONCE THE BUILD HAS STARTED AS IT IS DEEMED ACCEPTANCE OF PRODUCT!
Last Modified: 07/01/2019
Advertisement

Related Manuals for Insignia Noire90


Summary of Contents for Insignia Noire90
- Page 1 Last Modified: 07/01/2019 INSTALLATION MANUAL Noire90 30 Day Technical Support: 01908 226545 This service is only available to customers from the day of delivery, please have your supplier’s details and your postcode to hand before calling. Replacements Parts: Inside of your warranty period contact: www.insigniarange.co.uk/support...
- Page 2 www.insigniarange.com Last Modified: 07/01/2019 Contents Thank you for your purchase Roof Seal Installation Tips for assembly Roof Installation Electrical/Pressure/Tool requirements Door Hinge Installation Box contents Door Handle Installation Starting the installation Door Installation Fitting the Control Panel Door Seal Installation Fitting the Valve Panel Base Seal Installation Fitting the Body Jets...
- Page 3 Last Modified: 07/01/2019 Thank you for your recent purchase of an Insignia shower. Please read this booklet with great care to ensure you get the best out of your build and have a shower that will last for many years to come! Like everything, in order to obtain a first class product that will serve you well for many years, the effort and correctness put into the assembly will reflect in the quality of your finish.
- Page 4 TIP 4—Sealing When using Insignia’s RubberGum, please ensure the product does not come in contact with your silicone as this will cause the RubberGum to fail and will not adhere as intended. Rubbergum is immediately waterproof and will gain additional strength over time.
- Page 5 www.insigniarange.com Last Modified: 07/01/2019 Electrical Requirements Pressure/Water Requirements Tools Required Voltage Rating 220 -240AC We recommend a BAR pressure between 2.5 and 3.4 BAR. If You will require: you have a combi boiler system no problem should be Frequency Rating 50HZ experienced.
- Page 6 Wood Effect White Wood Effect Stool Stool (White) VERY IMPORTANT Have you got everything? If not please contact the Insignia Support Line on 01908 226545. Remember NEVER book your tradesman until everything has arrived, been checked and is present. No replacement/missing parts can be obtained free of charge during or after the build.
- Page 7 Accessories Hand Shower Accessories LED Spotlights Hand Shower Hose Ozone Riser Rail Speaker Covers Insignia Control Panel Speakers Body Jets Monsoon Shower Head Body Jets Connectors (2 open ends) Monsoon Perspex Connector Body Jets Connectors (1 open end) Steam Generator...
- Page 8 www.insigniarange.com Last Modified: 07/01/2019 Step 1 — Level the Tray and connecting the waste Twist to adjust...
- Page 9 www.insigniarange.com Last Modified: 07/01/2019 Step 2 — Connecting Tray Brackets Cut RubberGum and apply to the bottom of each bracket. X8 ST20...
- Page 10 www.insigniarange.com Last Modified: 07/01/2019 Step 3 — Installing the control panel Connect and Tighten Remove Unscrew Insert Control Panel...
- Page 11 www.insigniarange.com Last Modified: 07/01/2019 Step 4 — Installing the Valve Unscrew Remove Unscrew Insert Valve from rear then reconnect dials Ensure the ‘G’ shaped safety lock ring is aligned with 38 degrees.
- Page 12 www.insigniarange.com Last Modified: 07/01/2019 Step 5 — Installing the body jets Place washer, then secure in position with the nut Step 6 — Installing the body jets connectors Place washer in the jet, then screw connectors into position as shown.
- Page 13 www.insigniarange.com Last Modified: 07/01/2019 Step 7 — Installing body jets pipework...
- Page 14 www.insigniarange.com Last Modified: 07/01/2019 Step 8—Installing Tri-Jet Steam Outlet Unscrew Place Tri-Jet through panel and reconnect.
- Page 15 www.insigniarange.com Last Modified: 07/01/2019 Step 9—Installing Hand Shower and Glass Shelf Slide cover off Slide cover off...
- Page 16 www.insigniarange.com Last Modified: 07/01/2019 Step 10 — Installing Left Panel Locate panel into upstands...
- Page 17 www.insigniarange.com Last Modified: 07/01/2019 Step 12 — Putting Seals on the back panel...
- Page 18 www.insigniarange.com Last Modified: 07/01/2019 Step 12 — Installing back panel...
- Page 19 www.insigniarange.com Last Modified: 07/01/2019 Step 13 — Installing right panel...
- Page 20 www.insigniarange.com Last Modified: 07/01/2019 Step 14 — Installing front fixed glass and seal...
- Page 21 www.insigniarange.com Last Modified: 07/01/2019 Square Perspex Tighten Step 14—Installing Roof Accessories securing plate ST20 x4...
- Page 22 www.insigniarange.com Last Modified: 07/01/2019 Step 15 — Installing Roof Seals...
- Page 23 www.insigniarange.com Last Modified: 07/01/2019 Step 16 — Installing Roof...
- Page 24 www.insigniarange.com Last Modified: 07/01/2019 Step 17 — Installing Door Hinges Unscrew bolts and separate Front View Side View Tighten...
- Page 25 www.insigniarange.com Last Modified: 07/01/2019 Step 18—Installing Door Handles Unscrew and separate Tighten and reconnect...
- Page 26 www.insigniarange.com Last Modified: 07/01/2019 Step 19—Installing Doors Repeat from Step 17...
- Page 27 www.insigniarange.com Last Modified: 07/01/2019 Step 20—Installing door seals Attach magnetic door seals so they meet at 90 degrees Fit to inside of the glass Tighten x8 Flap faces outside the shower...
- Page 28 www.insigniarange.com Last Modified: 07/01/2019 Step 21—Installing seals underside of the panels Cut flexible ‘U’ shaped seal to length. fit between the glass brackets. Slide ‘U’ shaped seal underneath the panel. Do this around the entire shower, except the door area. Once in position, push the seal down so it makes contact with the tray.
- Page 29 www.insigniarange.com Last Modified: 07/01/2019 Step 22—Mounting Steam Generator Mount to the left rear of the shower ST20 x2 Make 2x 2mm pilot holes...
- Page 30 www.insigniarange.com Last Modified: 07/01/2019 Step 23— Install AMI system to the rear panel AMI Box Contents Product Code Description Quantity AMI01 Jubilee Clip AMI02 PVC Hose (1 metre) AMI03 AMI Essence Filler AMI04 Solenoid AMI05 Brass T-Piece Connector AMI06 Straight Pipe Connector AMI07 Battery Box (Inc Velcro) AMI08...
- Page 31 www.insigniarange.com Last Modified: 07/01/2019 Step 24— Valve/Water Connections Monsoon Head Jets Hand Shower Cold Water Inlet Hot Water Inlet Water feed for Steam Generator...
- Page 32 www.insigniarange.com Last Modified: 07/01/2019 Step 25 — Control Panel Connections Roof Light Antenna Speaker Speaker Thermostatic probe Power Supply...
- Page 33 www.insigniarange.com Last Modified: 07/01/2019 Steam Generator Connections The steam generator has 3 connections. Steam Outlet: Connect the white insulated hose to the tri-jet steam system within your shower as shown in image Make sure these are fitted in the correct position as they are only attached for transportation reasons only.
- Page 34 3. Do not aim the hand shower directly at the joints of your shower as this does not fall under “normal showering conditions”. However, due to Insignia’s unique design of the shower tray, water will only leak back in to the tray so you won’t get flooded.
- Page 35 10 minutes. After this the screen will power off. To see our tutorial videos for operating this control panel’s features, please search for “Insignia Showers” on YouTube and find our “SUN Control Panel” Playlist, or you can...
- Page 36 www.insigniarange.com Last Modified: 07/01/2019 Control Panel Instructions Connecting to Bluetooth Step 2 Step 1 Then simply go on your device and pair To connect a device via up with the shower which should be Bluetooth, press the music shown as “INS”. Once this is complete function button twice (which you will hear a beep to signify you’re looks like a musical note) the...
- Page 37 Part Description SP027 Monsoon Shower head SP300 Waste hose Spotlight SP078 Ozone Module SP301 White insulated pipe SP117 Insignia Control Panel SP221 Drain Hose SP174 Round Body Jet (Two Open Ends) SP227 Microphone Style Hand SP040 Horiztonal steam Shower SP174a...
- Page 38 All images are registered with ImageTraker Insignia™ is a registered trademark of Maclean International Ltd All images are subject to copyright. Images may not be used in any way shape or form with out written permission from Maclean International Ltd. Images are NOT permitted...