Table of Contents
Advertisement
Quick Links
Advertisement
Table of Contents

Related Manuals for Minolta MNCD60


Summary of Contents for Minolta MNCD60
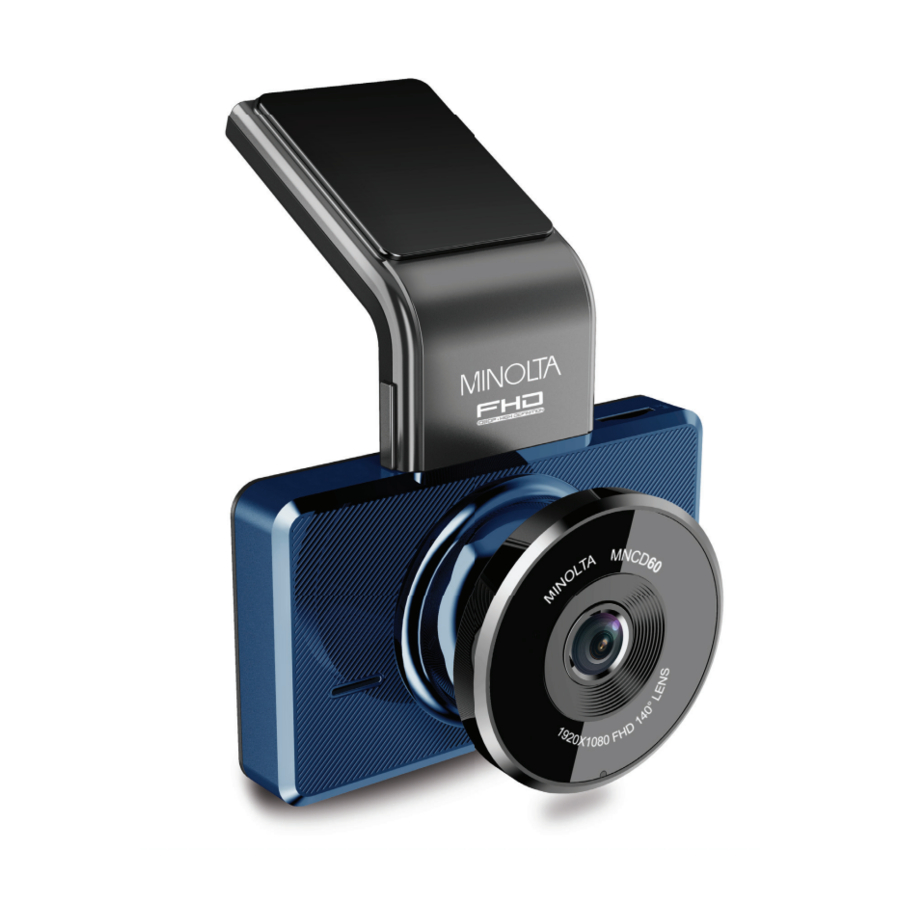
- Page 2 The Minolta MNCD60 allows you to record video when mounted to your car’s windshield in a wide, large angle.
-
Page 3: Getting Started
1. GETTING STARTED 1.1 Overview Memory Card Slot Display USB / Mount Port Microphone Mode Up / Previous Power Down / Next Status LED Sticky Pad for Mounting Memory Card Slot Lens Windshield Speaker Mount USB Power Port Accessory Port... - Page 4 1.2 Buttons and Functions Explanation Button Function Description Memory Card Storage slot for inserting your MicroSD 1 & 12 Slot memory card. Shows the current view, menu, options and Display different statuses of each mode. Power and mount port for attaching the USB / Mount Port windshield suction cup mount.
- Page 5 1.3 Memory Card Insertion and Removal 1. Ensure the camcorder is powered off. 2. Insert a MicroSD memory card into the MicroSD card slot with the gold pins facing the display screen as shown below. Do not force it through the memory card into the slot as it can only be inserted in one direction.
-
Page 6: Windshield Mount
1.5 Windshield Mount 1. Insert the windshield mount as shown in the illustration. 2. Line up the mount’s USB plug with the dashcam’s USB port and push in until it lock into place. 3. Once ready to mount to your windshield, peel off the red sticky sheet to reveal the sticky pad. -
Page 7: Quick Use Instructions
1.6 Startup 1.6.1 In-Car Use Connect the included auxiliary DC power adaptor to your car’s power port. Plug the USB plug into the dashcam mount’s USB port and connect the dashcam mount to your dashcam. Charging will begin immediately. NOTE: The dashcam’s internal battery has a very limited capacity and is only intended for use in emergency use situations. -
Page 8: Camcorder Operation
3. CAMCORDER OPERATION Once you have inserted the memory card and plugged your dashcam into a power source, your camcorder will automatically power on. You may also manually power your camcorder on or off by pressing the POWER button for 3 seconds. There are 2 operation modes available for use. - Page 9 3.4 Main Screen and Icons Explanation CAPTURE MODE 1. Recording Time Elapsed / Photos Remaining 2. Current Date 3. Current Time 4. GPS Satellite Connected 5. File Locking Status 6. Audio Recording Status 7. Memory Card Inserted 8. Power Status 9.
- Page 10 4. CAPTURE and MENU MODES INTERFACE 4.1 Capture Mode Overview The main purpose of a dashcam is to record events from the point of view of your windshield. Therefore, Capture Mode is set up in a way as to prioritize video recording. When your dashcam is in Video Capture Mode, it will always be recording.
- Page 11 4.2 Menu Mode Overview Your dashcam comes preset with some user-adjustable settings to fine tune and customize how you would like your videos to be captured. The settings are already optimized and preset for the easiest experience. To access Menu Mode, simply press the MODE button. You will be presented with a menu interface with accessible submenus.
- Page 12 3. Press the UP or DOWN buttons again to navigate the submenu and select a menu. You can select from Videos, Locked Videos and Photos. 4. Press the OK button to confirm your desired menu. 5. You are then presented with “Delete One” (for deleting a single file) or “Delete All”. 6.
- Page 13 4.2.5 Video Clip Duration This setting allows you to set a maximum duration for each video clip recorded. Once you select an option, your camcorder will record video clips in this time interval only. Once your selected duration recording time is reached, the camcorder will end the recording and begin recording a new video file seamlessly.
- Page 14 5. To exit the settings menu, press the MENU button and your camcorder will return to Capture Mode and will automatically begin recording. 4.2.8 Lane Departure This menu allows you to enable or disable Lane Departure Guide. When enabled, the Lane Departure Guide adds a yellow guide to your dashcam screen for keeping in your driving lane.
- Page 15 4.2.10 Speed Limit Alert This menu allows you to set up a Speed Limit Alert. When enabled, the dashcam will alert you if it detects your vehicle exceeding the selected speed rating. The GPS Logging feature must also be enabled for the Speed Limit Alert to function. Keep in mind this does not help you operate the vehicle but to better help drivers promote better driving habits.
- Page 16 4.2.13 Collision Sensitivity This setting allows you to set the sensitivity level for automatic recording upon collision. When triggered or when the camcorder thinks a collision occurred, it will automatically lock the recording. The video file will be locked and placed in the Locked Videos folder. 1.
- Page 17 4. Press the OK button to confirm your selected setting. 5. To exit the settings menu, press the MENU button and your camcorder will return to Capture Mode and will automatically begin recording. 4.2.16 Date & Time Stamp This setting allows you enable or disable a date and time stamp recorded onto videos and photos.
- Page 18 3. Press the UP or DOWN buttons again to navigate the submenu and select a setting. You can select from a range of -12:00 to +14:00. 4. Press the OK button to confirm your selected setting. 5. To exit the settings menu, press the MENU button and your camcorder will return to Capture Mode and will automatically begin recording.
- Page 19 4.2.21 Beep Sound This menu allows you to enable or disable the button press “beep” sounds. 1. In Capture Mode press the MENU button. Select ‘Beep Sound’ by using the UP or DOWN buttons to scroll through the menu pages. 2.
- Page 20 4.2.24 Reset Settings This setting allows you to reset all menu settings to the factory default settings. This function will not delete any media stored on your memory card. 1. In Capture Mode press the MENU button. Select ‘Reset Settings’ by using the UP or DOWN buttons to scroll through the menu pages.
- Page 21 5. MEDIA TRANSFER & GPS LOG PLAYBACK 5.1 Connecting to a Computer Connect your dashcam to a computer with the included USB cable. NOTE: When connecting your dashcam to a PC, you must insert the USB cable directly into the dashcam’s USB port on its body, not into the dashcam’s mount. After connecting the USB cable directly to your dashcam and your computer, your dashcam will automatically power on and present you with 3 options on the LCD screen as explained below.
-
Page 22: Specifications
Built-in Battery during power outage Minolta is a registered trademark of JMM Lee Properties, LLC and is used in the United States by Elite Brands Inc. under license. 40 Wall Street, 61st Floor, New York, NY 10005 USA • Tel: 800-441-1100 www.minoltadigital.com •...