Table of Contents
Advertisement
Quick Links
Advertisement
Table of Contents

Related Manuals for AEG AHB526D1LW


Summary of Contents for AEG AHB526D1LW
- Page 1 AHB526D1LW User Manual Chest Freezer AHB526E1LW USER MANUAL...
-
Page 2: Table Of Contents
13. INFORMATION FOR TEST INSTITUTES............18 FOR PERFECT RESULTS Thank you for choosing this AEG product. We have created it to give you impeccable performance for many years, with innovative technologies that help make life simpler – features you might not find on ordinary appliances. Please spend a few minutes reading to get the very best from it. - Page 3 ENGLISH responsible for any injuries or damage that are the result of incorrect installation or usage. Always keep the instructions in a safe and accessible location for future reference. 1.1 Children and vulnerable people safety This appliance can be used by children aged from 8 •...
-
Page 4: Safety Instructions
WARNING: Keep ventilation openings, in the • appliance enclosure or in the built-in structure, clear of obstruction. WARNING: Do not use mechanical devices or other • means to accelerate the defrosting process, other than those recommended by the manufacturer. - Page 5 ENGLISH 2.2 Electrical connection • Do not change the specification of this appliance. WARNING! • Do not put electrical appliances (e.g. Risk of fire and electric ice cream makers) in the appliance shock. unless they are stated applicable by the manufacturer. WARNING! •...
-
Page 6: Installation
2.5 Care and cleaning door hinges, trays and baskets. Please note that some of these spare WARNING! parts are only available to Risk of injury or damage to professional repairers, and that not all the appliance. spare parts are relevant for all models. - Page 7 ENGLISH 3.1 Dimensions 85° Overall dimensions Overall space required in use 1) the height, width and depth of the appliance in‐ cluding the handle, plus the space necessary for free circulation of the cooling air, plus the space necessary to allow door opening to the minimum 1) the width, height and depth of the appliance angle permitting removal of all internal equipment without the handle and feet...
- Page 8 2. Place the handle in position It must be possible to according to the picture. Use Phillips disconnect the appliance screwdriver to fix the handle base to from the mains power the lid. supply. The plug must therefore be easily accessible after installation.
-
Page 9: General Overview
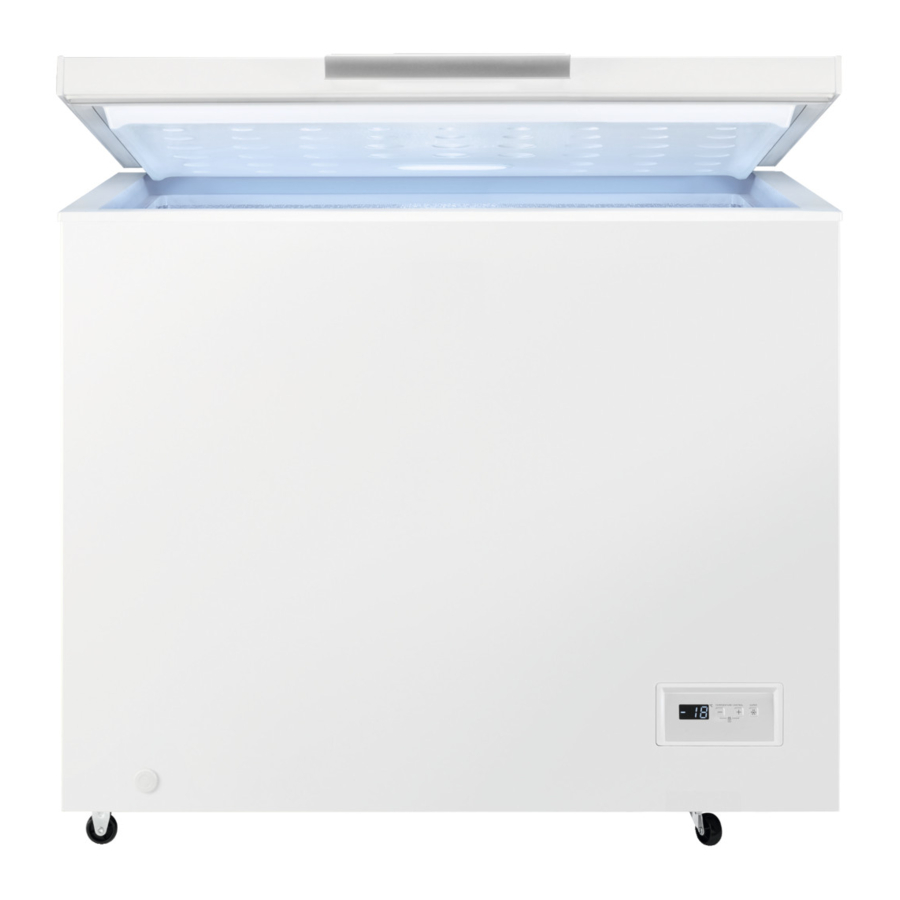
ENGLISH 4. GENERAL OVERVIEW 4.1 Description of the appliance Handle Outer drain plug Basket Wheels Control panel... -
Page 10: Control Panel
5. CONTROL PANEL 5.1 Control panel • room temperature • how often the lid is opened • the quantity of food stored • the location of the appliance. If the appliance is used in an ambient temperature between +10°C and -15°C, the thermostat should be set to the coldest temperature (-22°C) to allow the... -
Page 11: Before First Use
ENGLISH 6. BEFORE FIRST USE 6.2 Electrical Connection WARNING! Refer to Safety chapters. When you connect the appliance to the power supply, or it turns on after a power 6.1 Cleaning the interior failure all indicator lights flash once. Then the appliance returns to the Before using the appliance for the first previous setting. -
Page 12: Hints And Tips
8. HINTS AND TIPS 8.1 Hints for energy saving • Do not re-freeze defrosted food. If the food has defrosted, cook it, cool it • The internal configuration of the down and then freeze it. appliance is the one that ensures the most efficient use of energy. -
Page 13: Care And Cleaning
ENGLISH 8.5 Shelf life Type of food Shelf life (months) Bread Fruits (except citrus) 6 - 12 Vegetables 8 - 10 Leftovers without meat 1 - 2 Dairy food: Butter 6 - 9 Soft cheese (e.g. mozzarella) 3 - 4 Hard cheese (e.g. - Page 14 4. Fully dry the appliance. 5. Connect the mains plug to the mains socket. 6. Switch on the appliance. 7. Set the temperature to MAX setting and close the lid. Wait two or three hours before you reload previously removed food into the appliance.
-
Page 15: Troubleshooting
ENGLISH Make sure the water does not spill out of the tray. 8. Clean the interior and dry it thoroughly. 9. Switch on the appliance. 10. Set the temperature to higher setting and close the lid. Wait two or three hours before you reload previously removed food into the appliance. - Page 16 Problem Possible cause Solution There is no voltage in the Connect the appliance to a mains socket. different electrical mains socket. Contact a qualified electrician. The appliance is noisy. The appliance is not suppor‐ Check if the appliance ted properly.
- Page 17 ENGLISH Problem Possible cause Solution There is too much frost and The lid is not closed properly Check if the lid closes prop‐ ice. or the gasket is deformed/ erly and the gaskets are not dirty. damaged or dirty. Temperature is set incorrect‐ Refer to "Control panel/ Temperature regulation"...
-
Page 18: Noises
11. NOISES SSSRRR! BRRR! CLICK! HISSS! BLUBB! 12. TECHNICAL DATA The technical information is situated in It is also possible to find the same the rating plate on the internal side of the information in EPREL using the link https://eprel.ec.europa.eu and the model... - Page 19 ENGLISH 14. ENVIRONMENTAL CONCERNS appliances marked with the symbol Recycle materials with the symbol with the household waste. Return the Put the packaging in relevant containers product to your local recycling facility or to recycle it. Help protect the contact your municipal office. environment and human health by recycling waste of electrical and electronic appliances.
- Page 20 www.aeg.com/shop...