Table of Contents
Advertisement
Quick Links
Advertisement
Table of Contents

Related Manuals for Grundig NOCTUS


Summary of Contents for Grundig NOCTUS
- Page 1 ELECTRONIC CLOCK RADIO SC 9100 DCF RDS NOCTUS...
-
Page 2: Safety, Connection
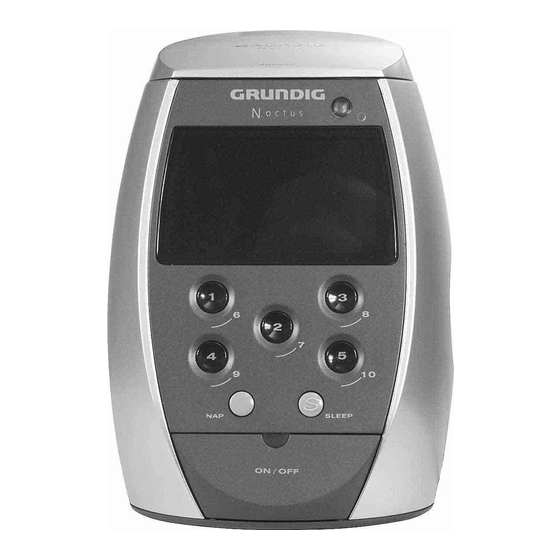
SAFETY, CONNECTION ______________________ ENGLISH Safety Please note the following information when setting up the system: This device is designed for the playback of audio signals. Any other use is expressly prohibited. Protect the device from moisture (dripping or sprayed water). Do not place any vessels such as vases on the device as they may spill fluid on the electri- °C °C... - Page 3 OVERVIEW ___________________________________________ Front of the device Displays various information such Display as station name, frequency, time, date, day of the week, alarm time and alarm type. Sensor, adjusts the brightness of Auto SNOOZE the display. Dimmer Preset positions, press once for 1...
- Page 4 OVERVIEW ________________________________________________ Alarm program – buttons 1 and 2; press once: display the present alarm settings for 3 seconds; pressing again within this time period: activates the mode for modifying the alarm program. Interrupts the alarm function for TRAFFIC / EON the weekend, cancels interrup- tion of the alarm function for the ERASE...
-
Page 5: Automatic Settings
SETTINGS ______________________________________________ Automatic settings Automatic station search Note: In order to interrupt the automatic settings, press the »TIME/MEMO« button. SEARCHING STA After you have connected your devices to the mains, the following mes- sage appears in the display »SEARCHING STATION PLEASE WAIT«. –... -
Page 6: Manual Settings
SETTINGS __________________________________________________ Manual settings If your device was not able to carry out automatic station and time setting, e.g. because reception conditions are inadequate, you can enter the radio stations and the time manually. Nevertheless, you should first try to improve the reception conditions by adjusting the antennae. -
Page 7: Setting The Time Zone
SETTINGS __________________________________________________ Press » «. 01.01.2001 – The day of the week indicator flashes. 15:41 Set the day of the week by pressing »P+ « or »P– «. -:-- ALARM Press » «. 12.01.2001 – The month indicator flashes. 15:41 Set the month by pressing »P+ «... -
Page 8: Voice Recording
VOICE RECORDING ____________________________ Creating a personal voice recording If you want to leave someone a message, you can record a text of your cho- ice which can be called up at any time at the press of a button. The duration of the voice recording is limited to 19 seconds. -
Page 9: Radio Mode
RADIO MODE ______________________________________ Radio reception When the device is switched off, the current time; date and day of the week RADIO N 1 are shown in the display. 92.9 • Press » « to switch on the device. ON/OFF ALARM 12 6:00 –... -
Page 10: Alarm Mode
ALARM MODE _____________________________________ Setting alarm types and times You can enter two different alarm programs and select between five different alarm types. The sound sources of these alarm types are dynamic, which means the volume increases continually from zero onwards until an individu- ally set maximum volume is reached (between »VOL 14«... - Page 11 ALARM MODE ____________________________________________ Alarm with signal tone Switch off device by pressing » «. ON/OFF Activate the first alarm program by pressing »e1« twice. AL BUZZ Press »P+« or »P–« until »AL BUZZ« appears in the display. 23:16 – Display: »ALARM 1 «...
- Page 12 ALARM MODE ____________________________________________ Alarm with personal voice recording With this alarm type, you can record a text of your choice and play it back as an alarm signal (also see page 29). Switch off device by pressing » «. ON/OFF To create the voice recording see steps in the section ”Creating a personal voice recording”...
- Page 13 ALARM MODE ____________________________________________ Checking the alarm times You can check the two alarm times while in other modes, for example radio VOL 14 mode, without blocking the alarm function. 91.0 • 7:30 ALARM 1 Press »e1« once. – Display: Alarm type, alarm time 1 and the selected day of the week. Press »e2«...
- Page 14 ALARM MODE ____________________________________________ Switching on/off alarm function Switch off the device with »ON/OFF«. Press »e1« twice. AL OFF – Display: e.g. »ALARM 1 « flashes. 23:16 Press »P+« or »P–« until »AL OFF« appears in the display. 7:30 ALARM 1 –...
-
Page 15: Timer Mode
TIMER MODE _______________________________________ Sleep timer (falling asleep to music) Activate the function by pressing »SLEEP«. SLEEP 90 – Display: »SLEEP 90« (maximum time setting) and the symbol » «. 101.1 • Enter the switch-off time (in 10 minute intervals from 90 to 10 minutes) ALARM 12 7:30 with »SLEEP«. -
Page 16: Additional Information For Units Sold In The Uk
“E”, earth symbol “ ”, coloured green, or green & yellow. Replacement mains lead sets can be obtained from your local dealer, or by contacting Grundig Consumer Relations (01788 570088) Moulded 3-pin lead set, suitable for UK use: Ref: Leadset UK... -
Page 17: Technical Data
________________________________ INFORMATION Information This device is noise-suppressed according to the applicable EU directives. This product fulfils the European directives 89/336/EEC, 73/23/EEC and 93/68/EEC. This device conforms to the safety regulation VDE 0860 and therefore the international safety regulation IEC 65. Technical data 230 V, 50/60Hz Power supply:... - Page 18 Grundig AG Beuthener Str. 41 • D-90471 Nürnberg • http://www.grundig.com 72011-401.0000 •...