
Related Manuals for Prem-I-Air EH0369


Summary of Contents for Prem-I-Air EH0369
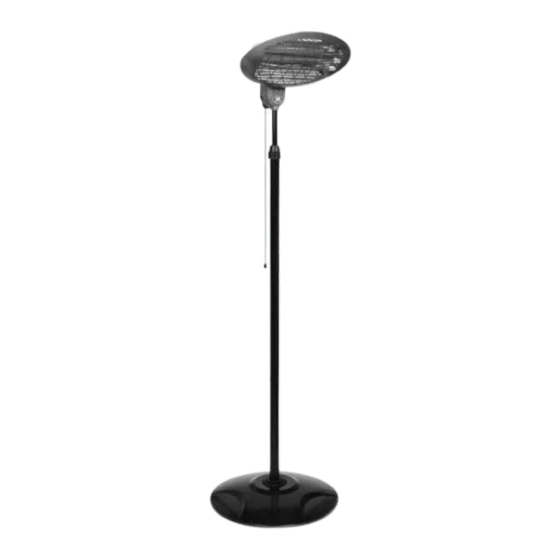
- Page 1 EH0369 2kW Patio Heater 3 Heat settings Pull-cord switch Pole mounted Height-adjustable stand Suitable for outdoor use Adjustable angle Page 1...
- Page 2 IMPORTANT Installer and Users please note: These instructions should be read carefully and left with the user of the product for future reference. ASSEMBLY Insert the lower section in to the base. Fix tightly using the four M6×25 mm screws. Stand the base on the floor.
- Page 3 Repeat with the upper section of the pole. Attach the heating element assembly to the top of the pole. Clamp tightly using the fixing knob. Adjust the angle of the heating element assembly to direct the heat where required. Page 3...
-
Page 4: Operation
OPERATION • Plug the mains lead into a 13 Amp mains socket that is protected by a 30mA Residual Current Device (RCD). Never use equipment outdoors that is connected to a socket that is not protected by an RCD. • If connecting via an extension lead, make sure that the lead is rated at 10 Amps or more, and that it is fully unwound. -
Page 5: General Safety Requirements
GENERAL SAFETY REQUIREMENTS Domestic wiring must be tested periodically by a qualified electrician at least once every 10 years or at every change of occupancy. For office and retail premises, and buildings such as village halls, the wiring must be inspected at least once every 5 years. -
Page 6: Maintenance
• Do not use this appliance in the immediate surroundings of a bath, a shower or a swimming pool. • Not suitable for use in boats, caravans or similar locations. • This appliance must not be connected to a timer or other type or programmable switch (a fire hazard exists if the appliance is covered when the timer switches it on) •... -
Page 7: Disposal And Recycling
plug needs to be replaced, proceed as follows: • Connect the brown wire to the terminal labelled "L". • Connect the blue wire to the terminal labelled "N". • Connect the green/yellow wire to the terminal labelled with the earth symbol or "E". •... -
Page 8: Technical Specification
Operating current: 8.7 A SERVICE WARRANTY Prem-i-Air guarantees the product free from defects in materials and workmanship for a period of twelve months. Should this appliance be operated under conditions other than those recommended, at voltages other than the voltage...