Summary of Contents for ESI RAIL-LINEAR
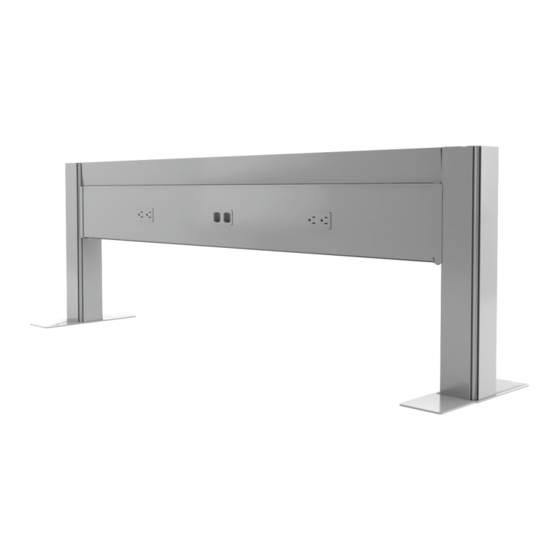
- Page 1 Railway ™ assembly instructions data and power solution model# RAIL-LINEAR model# RAIL-90° model# RAIL-BULLPEN model# RAIL-3WAY model# RAIL-4WAY linear 90° bullpen 3-way 4-way...
-
Page 2: Components And Tools
Railway Components and tools ™ Safety instructions/warning • Only a licensed electrician should connect the power feed to building power. • Connect the power feed to the unit before connecting it to building power. Please review these instructions before beginning the installation. Use the illustrations below and the table on the next page to check that the all components needed for your installation were provided with your order. - Page 3 Railway Component quantities by configuration ™ The table below can be used to verify the quantities of each component provided with your order. The minimum number of rails is shown for each configuration. Additional rails may be added to any of the configurations. Use the “additional rail(s)” column to calculate the number of added components per additional rail.
- Page 4 Railway Assembly ™ The following procedures are for a single rail two-post unit. These basic procedures apply to any Railway configuration. Contact Customer Service if you have any questions at: 800.833.3746 Step 1: attach feet to base of posts • Use four Phillips flat head screws per foot. full foot •...
- Page 5 Railway Assembly ™ Step 3: attach rail to posts • Place the rail onto the mounting brackets. place rail on • Secure the rails to the post using the rail connectors, as shown below. mounting brackets • Fasten each mounting bracket to the post and rail using three #8 self-tapping Phillips flange head screws.
- Page 6 Railway Assembly ™ Step 5: install receptacles • Insert the electrical receptacles into the power block. • Then secure each receptacle into the power block connectors by pushing the receptacles away from middle of the rail assembly toward the posts. IMPORTANT: Check that the receptacles are securely connected to the power block by sliding them back and forth.
- Page 7 Railway Assembly ™ Step 7: connect power blocks with jumper cable(s) if necessary One or more jumper cables are used to connect power blocks in two or more rail assemblies. Skip this step if your unit has only one rail assembly. •...
- Page 8 Railway Assembly ™ Step 8: route voice and/or data wires Skip this step if voice/data wires will not be used with the unit. • If routing through the base of an end post, remove the plastic cover at the base of the post. •...
- Page 9 Railway Assembly ™ Step 10: install voice/data plate(s) Skip this step if voice/data wires will not be used with the unit; instead, install a cover plate over the opening (see step 11). • Using the appropriate adapters in the voice/data adapter kit, attach the jacks to the voice/data plate.
- Page 10 Railway Assembly ™ Step 12: install top data cover • Snap the top data cover onto the top of the rail assembly to conceal any wiring on the top of the rail and to provide a finished appearance. Step 13: install post caps post caps •...
- Page 11 Railway Connection to building power ™ Step 14: connect power feed to building power (licensed electrician required) • The connection to building power may be made through the floor, wall, or ceiling. • A tag attached to the power feed shows the required wiring. •...
- Page 12 LIMITED WARRANTY ESI warrants this product to be free from defects in manufacturing for a period of 15 years on structural parts and 7 years on electrical parts from the date of original purchase. This warranty extends only to the original purchaser, and does not apply if the product has been damaged or fails to function properly as a result of misuse, abuse, modification, alteration, or improper cleaning or maintenance.

