Advertisement
Quick Links
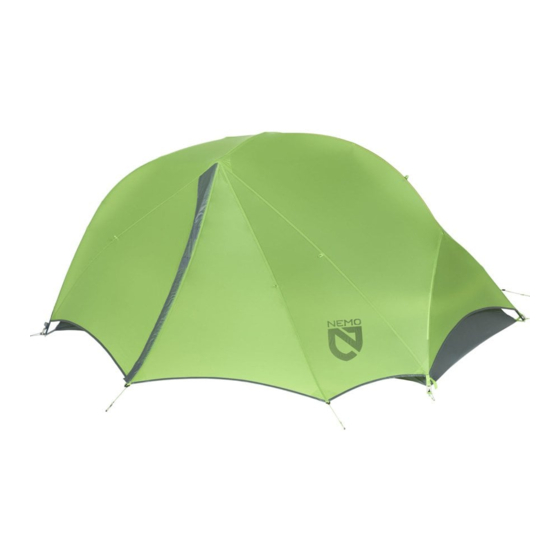
HORNET 1P AND 2P FOOTPRINT CONNECTION INSTRUCTIONS
Below are a few pictures and brief descriptions of the hornet footprint connection process. The webbing
on your Hornet footprint should be green and will match your tent, but we are using yellow webbing to
help identify the footprint in the pictures.
In this first picture, I have laid the head end of the tent next to the associated footprint connection. The
black plastic C clip will connect to the webbing in this orientation.
Advertisement

Related Manuals for Nemo HORNET 1P FOOTPRINT


Summary of Contents for Nemo HORNET 1P FOOTPRINT
- Page 1 HORNET 1P AND 2P FOOTPRINT CONNECTION INSTRUCTIONS Below are a few pictures and brief descriptions of the hornet footprint connection process. The webbing on your Hornet footprint should be green and will match your tent, but we are using yellow webbing to help identify the footprint in the pictures.
- Page 2 In the below picture, the plastic C clip has been connected to the webbing properly. This clip should be inserted around the lower webbing only to allow a connection that will stay in place.
- Page 3 To further demonstrate how the C clip is connected, see the below picture to demonstrate how the clip wraps around the webbing. Please note that we do not recommend attaching the footprint in this manner as it will slide up the corner webbing and interfere with the tent body. Instead, use the same technique to only trap the bottom webbing.
- Page 4 The foot end of the tent uses a pair of line-loc tensioners which are also found on the fly of the Hornet. The knotted loop connects to the same corner stake point as the tent body, which will allow for tensioning. Additionally, you will see a grommet connection to connect the pole end and footprint. Please let us know if you have any other questions about this setup process.