Table of Contents
Advertisement
Quick Links
Advertisement
Table of Contents

Related Manuals for Datavideo AM-100

Summary of Contents for Datavideo AM-100
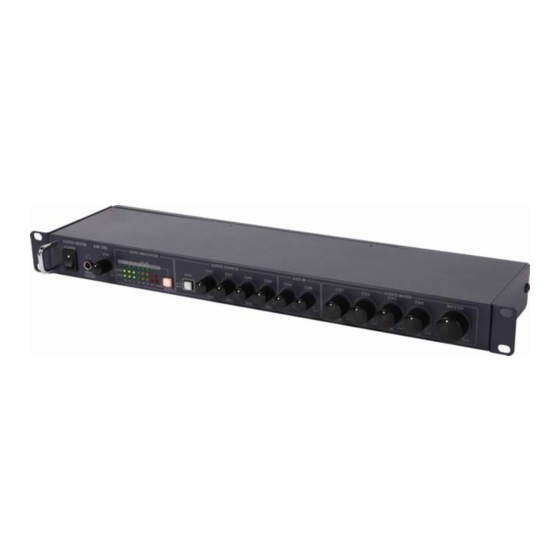
- Page 1 4 CHANNEL AUDIO MIXER. AM-100 Instruction Manual www.datavideo-tek.com...
-
Page 2: Table Of Contents
Disclaimer of Product and Services The information offered in this instruction manual is intended as a guide only. At all times, Datavideo Technologies will try to give correct, complete and suitable information. However, Datavideo Technologies cannot exclude that some information in this manual, from time to time, may not be correct or may be incomplete. -
Page 3: Warnings And Precautions
7. This product should only be operated from the type of power source indicated on the marking label of the AC adapter. If you are not sure of the type of power available, consult your Datavideo dealer or your local power company. -
Page 4: Warranty
Certain parts with limited lifetime expectancy such as LCD Panels, DVD Drives, Hard Drives are only covered for the first 10,000 hours, or 1 year (whichever comes first). Any second year warranty claims must be made to your local Datavideo office or one of its authorized Distributors before the extended warranty expires. -
Page 5: Introduction
AM-100 is ideal for talk shows, 12V OB van set ups and SE-900 mixer productions. The AM-100 has 4 x XLR Balanced audio inputs, 2 x AUX XLR Balanced inputs and 2 x XLR mixed outputs. Input channels 1~4 can be manually switched between line or Mic level. If setting up microphones the AM100 unit can also be set to supply 48V Phantom power too. -
Page 6: Connections & Controls
Audio Input Source Level Controls This section of the AM-100 controls which audio input channel (CH1~CH4) will be sent to the Audio Bus and its associated Fader. This row of audio channel selection buttons has LEDs built in to show which input channel is active. - Page 7 When this button is engaged or lit, the audio associated with a selected video input source automatically follows the video through any transition between the Main and Sub Sources. When the A+V button is inactive, the audio sources must be switched manually. For more information, see A+V on page 9.
-
Page 8: Rear Panel
2 channels XLR Balanced Audio output. AUX Audio Input Mix input for background music or daisy chaining AM-100 units together. To daisy chain units together take the AUDIO OUT pair from the first unit and connect these to the AUX IN on the second unit. -
Page 9: A+V (Audio Follows Video)
Tally Input Connector (A+V feature) Pin Assignment The Tally output from a video mixer allows the AM-100 to automatically switch between audio sources in step with the video mix. D-Sub 15pin Female... -
Page 10: Example Cascade Set Up
Example Cascade Set Up It is possible to cascade or daisy chain several AM-100 units together. This allows more audio sources to be added to the set up and provided at the final mixed output. To daisy chain units together take the AUDIO OUT pair from the first unit and connect these to the AUX IN on the second unit. -
Page 11: Specifications
Specifications Parameter Specification Limit Units Conditions/Comments Audio Input MIC/Lin Connectors 3Pin XLR Female Pin2=(+),Pin3=(-),Pin1=GND (CH1~CH4) Ω Mic/Lin Input Impedance 3K/5.5K Mic Gain Range off to +80 ±1.5 Audio source GAIN(knob) Line Gain Range off to +20 ±1.5 Audio source GAIN(knob) Signal to noise ratio @1KHz,0dB(Lin IN) THD+N... -
Page 12: Service And Support
It is our goal to make your products ownership a satisfying experience. Our support staff are available to assist you in setting up and operating your product. Please refer to our web site www.datavideo-tek.com for answers to common questions, support requests or contact your local office below.