Sekonic Speedmaster L-858D Startup Manual
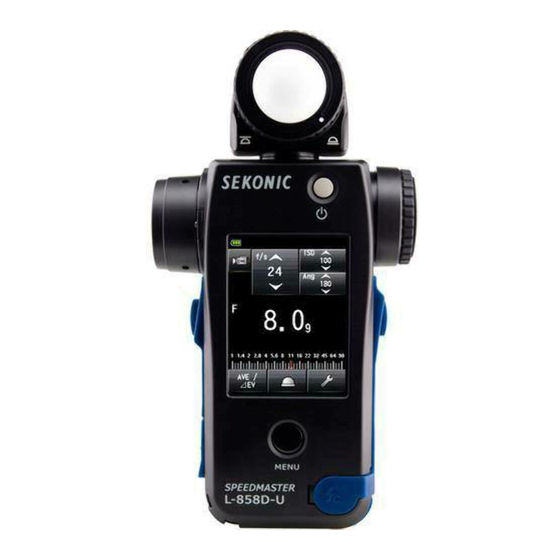
Light meter
Hide thumbs
Also See for Speedmaster L-858D:
- Installation manual ,
- Operating manual (237 pages) ,
- Startup manual (16 pages)
Table of Contents
Advertisement
Quick Links
SPEEDMASTER
L-858D
L-858D-U
Startup Guide
Thank you for purchasing SPEEDMASTER L-858D.
Please read the Operating Manual" and Safety Precaution" so that you
will fully understand the features and operation of this product.
Keep the Operating Manual in a safe place for future use.
This Startup Guide introduces the basic operations of this light meter.
For details about how to use this light meter, please see the Operating Manual.
For information on how to download the Operating Manual, please see
10. Download".
Light Meter
Advertisement
Table of Contents

Related Manuals for Sekonic Speedmaster L-858D


Summary of Contents for Sekonic Speedmaster L-858D
- Page 1 L-858D L-858D-U Startup Guide Thank you for purchasing SPEEDMASTER L-858D. Please read the Operating Manual” and Safety Precaution” so that you will fully understand the features and operation of this product. Keep the Operating Manual in a safe place for future use.
- Page 2 Check Included Items The following items are included with the meter in the package. Please be sure to check that all noted items are included. * If any items are missing, please contact the distributor or the reseller you purchased the meter from. * The USB cable (that has the A connector and Micro-B connector) is not included in the package.
-
Page 3: Names Of Parts
Names of Parts The following is a list of names of buttons and parts on the meter. Lumisphere retracting ring [Front view] [Rear view] Lumisphere Objective lens Viewfinder eyepiece (with diopter adjustment) Power button Measuring button* Memory button* Touch panel LCD Menu button <<MENU>>... -
Page 4: Turn The Power On/Off
* By touching the Startup screen, you can Measuring button immediately skip the screen. NOTICE ● The blue lettered "SEKONIC" logo screen is displayed after battery replacement and 24 hours after power OFF. ● Movement of the blue status bar indicates that the meter is checking its memory and preparing to operate. -
Page 5: Screen Operations
Screen Operations This section explains how to operate the touch panel on the meter. Touch an icon with your finger to select a desired menu or item. [Measuring screen] Slide operations Slide a finger up or down on the setting value areas at any time to change setting values. - Page 6 Input Numbers or Characters How to input a numerical value (Numeric Number Input screen) [Numeric Value Input screen] Description Inputs a numeric value. 0-9, When touched, the input Decimal point, value is displayed at the top of Sign (+/-) screen. Deletes the input value.
-
Page 7: Measuring Preparations
Measuring Preparations The mode and other settings required to make a measurement can be selected from the Measuring screen. For information on how to switch the display to each screen, see the relevant item. [Meter] [Measuring Mode Settings (Measuring screen) Selection screen] [Select Incident/Spot [Tool Box screen]... -
Page 8: Select Measuring Mode
Select Measuring Mode Different measuring modes can be selected to meet various requirements. * In the custom setting, you can select whether to display or hide the measuring modes. Content to be displayed differs depending on which transmitter (sold separately) is installed. [Measuring Mode [Ambient Light T Priority Mode Selection screen]... - Page 9 [Ambient Light [Ambient Light [Ambient Light F-stop Priority Mode TF Priority Mode HD Cine Mode Measuring screen] Measuring screen] Measuring screen] [Ambient Light Cine [Ambient Light Illuminance Mode Mode Measuring screen] Measuring screen] * In incident light mode [Ambient Light Luminance Mode Measuring screen] * In reflected light mode...
- Page 10 <Flash Mode> [Measuring Mode [Cordless Flash Mode Selection screen] Measuring screen] Settings For Flash Percentage analyzing of flash display Ambient light Measured (Orange) values (F-stop values) Flash light (Blue) Description of mode Cordless flash mode Detects flash brightness without meter-flash connection after Measuring button pressed to arm meter for 90 seconds and flash fired separately, and displays F-stop value.
- Page 11 [Cordless Multiple [Cord Flash Mode [Cord Multiple (Cumulative) Flash Mode Measuring screen] (Cumulative) Flash Mode Measuring screen] Measuring screen] [Radio Triggering [Radio Triggering Flash Mode Multiple (Cumulative) Flash Measuring screen] Mode Measuring screen] * Switching analog scales in Flash mode [When Flash analyzing [When Flash analyzing [When Flash analyzing...
- Page 12 <HSS Flash Mode/Flash Duration Analysis Mode> [Measuring Mode [HSS Flash Cordless Selection screen] Mode Measuring screen] Settings Percentage of flash Measured values (F-stop values) Description of mode HSS (High Speed Synchro) flash cordless mode Select this mode to measure the brightness of a flash activated in HSS (High Speed Synchro) mode.
- Page 13 [HSS Flash Radio [Flash Duration Triggering Mode Measuring Analysis Cordless Mode Screen] (for RT-GX only) Measuring screen] [Flash Duration [Flash Duration Analysis Cord Mode Analysis Radio Triggering Measuring screen] Mode Measuring screen] Switching between measured value screens (numeric value ⇔ ⇔ graph) in Flash duration analysis mode [Flash Duration [Flash Duration Analysis...
- Page 14 Tool Box Touch the [Tool Box] icon ( ) on the Measuring screen to display settings of functions frequently used. [Tool Box screen] [Tool Box screen] Page 1 Page 2 Item name Description Set Average/Contrast Function Selects On/Off. Select Incident/Spot Selects the light receiving method (Incident/Spot).
- Page 15 Menu Screen and Custom Settings The Menu screen enables you to previously customize or edit the function or display settings. Press the Menu button on the meter to display the screen. [Menu screen] [Custom Setting screen] [Custom Setting screen] Page 1 Page 1 Page 2 [Menu screen]...
- Page 16 You can also use the URLs below for direct access to both DTS and the operating manual. https://www.sekonic.com/support/downloads Optional Radio Transmitters Sekonic makes five radio transmitters for use with the L-858D that can be purchased separately. When purchasing and/or installing a radio transmitter, make sure that the meter, transmitter and radio receiver are designed for use in your location and have the proper frequency to comply with local broadcast regulations.