Advertisement
Quick Links
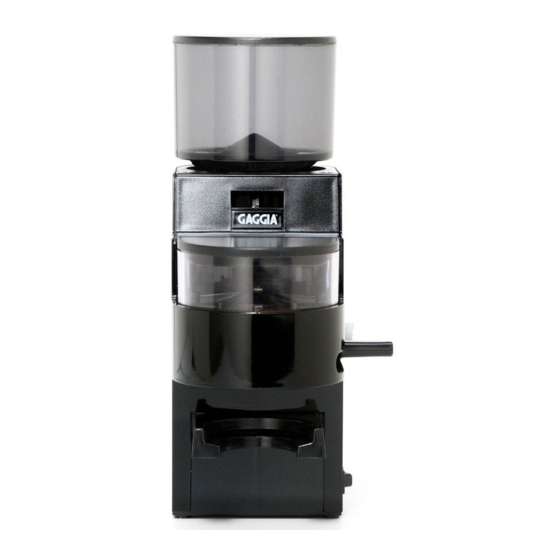
Gaggia MDF Grinder
Cleaning and Calibration Instructions
ALWAYS UNPLUG THE GRINDER FIRST!
Tools Required
Phillips Screwdriver #1
Phillips Screwdriver #2
Awl (to help remove the rubber stoppers)
Slip-joint Pliers
DISASSEMBLY
1. Empty both the bean hopper and the ground coffee dispenser.
2. With the Awl; locate and remove the two round rubber stoppers at the bottom of the bean
hopper.
3. Remove the two Phillips head screws covered by the stoppers.
4. Lift the bean hopper out the machine.
5. Locate and remove the two small Phillips head screws that fasten the faceplate to the
housing at the top of the machine.
6. The adjustment ring (numbered from 1 to 39) can be removed by unscrewing the two
brass hex bolts uncovered by the removal of the bean hopper. These hex bolts are also
the anchors that the bean hopper screws thread into.
7. Removing the adjustment ring exposes the large round brass top burr plate. A good way
to remove the top burr plate is to slide the bean hopper back into place (without the
screws) and rotate it counter-clockwise until the plate is out. This will provide access to
the grinding chamber.
8. Remove the spring-loaded plastic pins seated directly beneath the upper burr plate—
these pegs cause the "ratcheting" effect associated with turning the bean hopper to
make an adjustment.
9. Thoroughly clean the grinding chamber. This includes all of the threads, both on the top
burr plate and the matching threads on the wall of the grinding chamber. Clean the burrs
as well. A group brush does a good job cleaning the parts and threads in the grinding
chamber. Be sure to clear the chute between the grinding chamber and the ground
coffee dispenser as well. A vacuum really helps to get into the tight corners and avoids a
lot of mess.
****DO NOT USE ANY SOLVENTS OR LIQUIDS TO CLEAN THE GRINDER****
CALIBRATION
10. Replace the burr plate by turning it clockwise until snug. Again, using the bean hopper to
help works well.
11. Making sure that the machine is switched OFF; plug the machine in. Place the bean
hopper (without screws) back into place.
12. Find "absolute zero" by turning the hopper clockwise, then back it off slightly to separate
the burr plates. Proper calibration of the MDF grinder depends on finding absolute zero.
This is the point at which the burrs first touch together while spinning. It is also the point
at which the MDF is grinding the coffee as finely as possible. (Similar in texture to
powdered sugar)
Advertisement

Summary of Contents for Gaggia MDF Grinder
- Page 1 12. Find “absolute zero” by turning the hopper clockwise, then back it off slightly to separate the burr plates. Proper calibration of the MDF grinder depends on finding absolute zero. This is the point at which the burrs first touch together while spinning. It is also the point at which the MDF is grinding the coffee as finely as possible.
- Page 2 13. The sound of the burrs touching while spinning is unmistakable. It’s a high-pitched metallic “chirp” plainly audible over the sound of the MDF motor. 14. Turn the machine on for only 1-2 seconds. If the “chirp” of the burr plates is not heard, rotate the bean hopper either clockwise or counter-clockwise until absolute zero is located by the telltale “chirp”.


