Advertisement
Quick Links
Advertisement

Summary of Contents for Tesla Wall Connector Gen 3
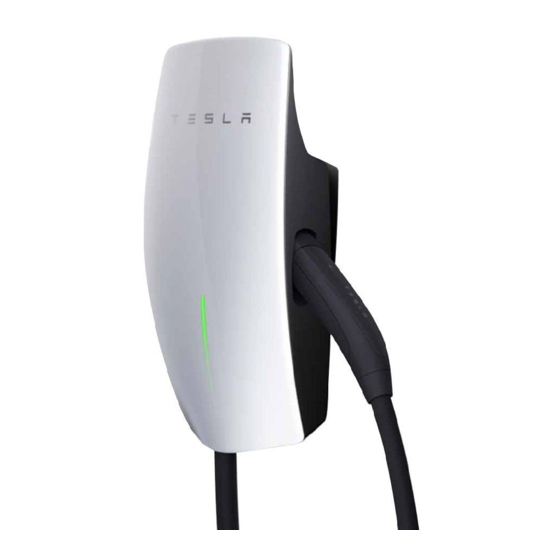
- Page 1 Replacing Faceplate of Gen 3 Wall Connector tesla.com/wallconnector...
- Page 2 REMOVING FACEPLATE Tools and Equipment: • T10 Torx bit WARNING: Do not service the Wall Connector while it is energized. Turn off power to the Wall Connector at the upstream circuit breaker prior to servicing. 1. TURN OFF POWER TO THE WALL CONNECTOR AT THE CIRCUIT BREAKER. Wait 5 minutes for the Wall Connector to completely de-energize.
- Page 3 INSTALLING FACEPLATE Tools and Equipment: • T10 Torx bit 1. Position the faceplate on top of the main unit so the 2 screw pegs at the bottom of the faceplate touch the bottom edge of the main unit. 2. Center the top of the faceplate in the main unit so the 2 tabs at the top of the faceplate align with the 2 tabs at the top of the main unit.


