
Related Manuals for Nayax Onyx


Summary of Contents for Nayax Onyx
- Page 1 Onyx Compact, eye-catching, contactless payment and telemetry device Onyx User Manual © Property of Nayax All rights reserved For more information contact us at support@nayax.com...
-
Page 2: Table Of Contents
Getting Started ........................... 11 Installation ............................11 Device Dismantling ......................... 11 Operating and Testing ........................11 Configure Onyx Settings in NayaxVend ..................12 Technician Mode ..........................13 Appendix 1 – Tests Prior to Repair ..................... 14 Safety and Handling Instructions ....................... 16 Environmental Guidelines ...................... -
Page 3: General Information
Appendix 1 – Tests Prior to Repair section describes how to resolve the most frequent issues experienced prior to sending the device to the Nayax Laboratory. Lastly, the Safety and Handling section provides guidelines on how to clean and maintain the device. -
Page 4: Device Overview
• Prepaid cards and closed environment solutions Feature Highlights ▪ Encryption algorithms and protocols supported: AES/DES/RSA/SHA-1/SSL ▪ Anti-Vandal with Dragontrail glass ▪ Bluetooth 4.0/iBeacon ▪ Decorative round lighting ▪ ARM Technology – 2x Cortex, 32 bit, 180/216MHz Onyx User Manual Onyx_User_Manual_Ver.1.5 Page 4... -
Page 5: Device Specifications
Support DES, 3DES, AES, RSA, ECC, SHA1 algorithms, Security Random Number Generator Power Supply 12-42V DC, 12-24V AC; 5 Watts Power Consumption Recommended External Power Supply: 24V DC / 2Amp. Anti-Vandal Dragontrail glass Power-loss protection Super capacitors for safe shutdown mechanism Onyx User Manual Onyx_User_Manual_Ver.1.5 Page 5... - Page 6 MDB / DEX / DDCMP / Pulse / VCCS / ccTalk / JVMA Payment EMV Level 1 Level 2: Visa payWave, MasterCard PayPass, UnionPay Contactless qPBOC, AMEX ExpressPay, JCB J/Speedy, Discover D-PAS, CUP QuickPass Onyx User Manual Onyx_User_Manual_Ver.1.5 Page 6...
-
Page 7: Device Components
Front Panel Color - Yellow / Black Camera Status Display LED Display Touch Screen & 6 Touch buttons Contactless Rear Side M4 x 15 mm Cable Connector Antenna adapter SIM + SD card slot Speaker SAM slot Connector Onyx User Manual Onyx_User_Manual_Ver.1.5 Page 7... -
Page 8: Device 2D Scheme
Device 2D Scheme Onyx User Manual Onyx_User_Manual_Ver.1.5 Page 8... -
Page 9: Device Cables
Device Cables Nayax provides different configuration cables to suit different machines. The below table refers to each cable and its configuration. Image Connector Connect to MDB at vending machines RS232 DB9 Female Output Serial Device 40-pin Onyx Nayax LAN cable... -
Page 10: Additional Accessories (Included In Box)
Additional Accessories (Included in Box) Stencil Additional Accessories (Optional) Mounting Bracket – Internal Installation Onyx User Manual Onyx_User_Manual_Ver.1.5 Page 10... -
Page 11: Getting Started
The Onyx Quick Guide has been included in your box for your quick reference. Device Dismantling To unplug the Onyx connector, you must press both sides of the releasing bridge at the same time to avoid damaging the releasing bridge. -
Page 12: Configure Onyx Settings In Nayaxvend
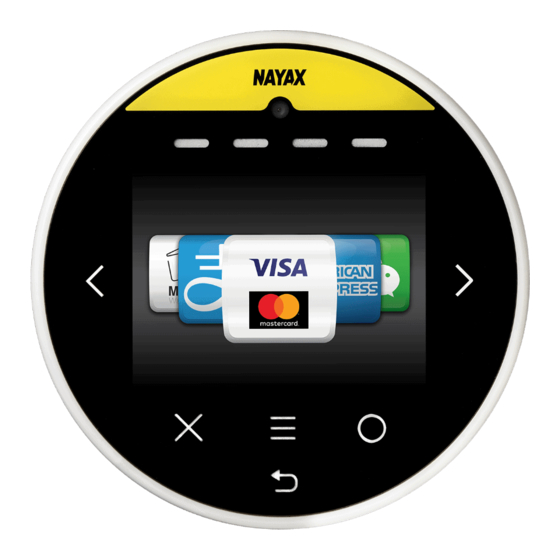
Configure Onyx Settings in NayaxVend ▪ Refer to the below attributes used to configure the Onyx device in the NayaxVend system. ▪ Payment Methods - Controls the type of payments that are displayed on the Welcome screen (VISA, Mastercard, Apple Pay, Samsung Pay, etc.) ▪... -
Page 13: Technician Mode
Inventory Fill was filled Defines the extra charge (convenience fee) for various payment methods Reset Restarts the Onyx firmware Initiates DEX read from the machine and sends it to Read Audit File the server Advanced Settings Configure additional Nayax device parameters... -
Page 14: Appendix 1 - Tests Prior To Repair
The below procedure needs to be carried out by the Operator before sending the device to be fixed at the Nayax laboratory. 1. Connect the Onyx Cable Connector to get power from the machine – Refer to below Image 1. - Page 15 Nayax. The SIM socket is opened by pulling up and Socket closed by puling down the socket. 3. Test payment for contactless cards. In case of an error, send it the Nayax Laboratory for further tests. Onyx User Manual Onyx_User_Manual_Ver.1.5...
-
Page 16: Safety And Handling Instructions
Warranty and Liability Thank you for choosing Nayax. Read the Nayax 24 months Limited Warranty Terms and Limitations included in your contract. In the unlikely event that your device needs repair service or for additional information, please contact us at support@nayax.com.