Table of Contents
Advertisement
Advertisement
Table of Contents

Related Manuals for Norcold N1152 Series


Summary of Contents for Norcold N1152 Series
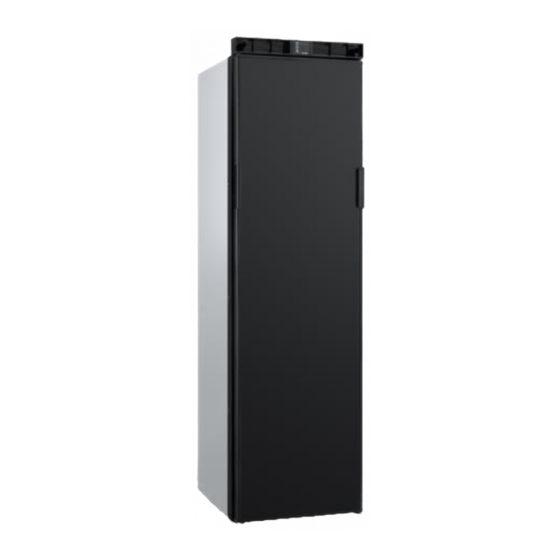
- Page 1 Norcold Refrigerator N1152 Series Installation Manual...
-
Page 2: Table Of Contents
15 Questions / customer service..................20 1. Introduction This is the installation manual for the Norcold N1152 series refrigerator. The manual is meant for those installing the refrigerator in a mobile leisure vehicle. Read the information and instructions carefully and follow them strictly to install the refrigerator safely and correctly. -
Page 3: Symbols
2. Symbols Key to symbols: Warning. Risk of injury and/or damage. Attention. Important information. Note. Additional information. 3. Regulations and standards Do not modify this appliance, unless the modification is authorized and carried out by the manufacturer or their agent. Use only genuine and approved parts and materials. -
Page 4: Serviceability
In terms of serviceability, this means that a dealer or an authorized Norcold service partner must be able to de-install and re-install the Norcold products within the time that is allowed according to the Norcold time-list, using standard tools and equipment. - Page 5 Table 1: Mounting dimensions (inch) Model N1152 59.2 16.5 22.4 > 1.6 *Depth is including spacers (1.6 in.] for model N1152. ■ Mount the refrigerator in a stable furniture. ■ Place the refrigerator partly into the furniture, allowing 3.9in free at the top of the refrigerator. 3.9 in...
- Page 6 ■ Connect the power connector to the 12V power connector in the vehicle. It is advised to have the power supply in the vehicle to be routed via the roof. In this way an over-length of cable is not needed and the power supply cable cannot block the airways.
- Page 7 ■ Fixate the refrigerator with the screws, using the predefined positions in the cabinet. N1152 ■ Use the white caps for finishing. Ensure that the furniture paneling is able to handle the forces created by the connection. Do not screw into the refrigerator cabinet. The refrigerator is prepared for flush build-in.
-
Page 8: Connecting Electricity
6. Connecting electricity ■ Use the following values to connect the power supply. Table 3: Power supply values Power requirement 12V DC 10.4-14.4V at the refrigerator ■ Cable dimensions (Cable thickness vs 14 AWG = <67.5 in cable length] ■ 12 AWG = <139 in ■... - Page 9 The electrical connections have to comply with EN60335-1. Connect the device to an on board battery in the vehicle. This battery should be exclusively intended for powering on board devices. Connecting to the engine battery is not suitable. Ensure that wires can't come into contact with hot or sharp parts. The 12V power supply wiring should incorporate a general main switch that enables all pole disconnection of the 12V appliances from the 12V power supply source.
-
Page 10: Ventilation
7. Ventilation The refrigerator performance depends on good ventilation. Ventilation takes place through the front vent openings in the refrigerator. Cold air comes in through the bottom vent at the front and goes through the top vent. Here it cools the cooling unit system. Hot air leaves through the top vent opening. -
Page 11: Installing Door Panel
8. Installing door panel To match the refrigerator with the interior, a door panel can be installed as shown below. The door panel for the door should be fitted before installing the refrigerator. ■ Place the refrigerator on its side, refer to the handling sticker on the side of the refrigerator ("This side up allowed during handling"]. - Page 12 ■ Slide the panel in the frame of the door. ■ Click the panel retainer in place. Table 4: Panel sizes Model Door type Thickness (in) Panel size (in) N1152 Flat .106 H 54.9 x W 15.47 N1152 Flat .078 H 54.9 x W 15.51 N1152 Flat...
-
Page 13: Door Conversion
9. Door conversion ■ Open the door a little and remove the hinge pin. - Page 14 ■ Lift the door out of the hinges. ■ Move the lock on the refrigerator from one side to the other.
-
Page 15: After Installation
■ Move the hinges, handle, hinge pin and hinge hole plug from one side to the other on the door. 10. After installation ■ Ensure that all packaging materials have been removed. ■ Check all electrical connections. ■ Check if the sealing has been applied correctly. ■... -
Page 16: Servicing
For service, please contact your authorised local Service Centre giving details of the model and serial number on the data badge plus date of purchase. 13. Questions / customer service ■ Visit www.Norcold.com. ■ Contact Customer Service Norcold in your country.