Table of Contents
Advertisement
Quick Links
Troubleshooting Guide
[Motherboard] NO POWER troubleshooting
[Motherboard] NO POWER troubleshooting
When you power on the motherboard and nothing happens and the power light is
Please ensure the power supply is plugged in properly to the 24pin/8pin power
connectors. Refer to your motherboard user manual for proper location of power connectors.
Make sure that the CPU, memory, power supply and motherboard are installed
properly. If there is a speaker, it is recommended to connect the speaker for testing.
When the speaker is properly installed, please power on and follow the sound
emitted by the buzzer. (For speaker's correct location, please refer to the motherboard
manual).
If the power light is ON, but you can't see any video on the monitor, connect an internal speaker to
motherboard and you can troubleshoot with steps below:
Power Light is ON, "No beep" from speaker
Please check your CPU and memory are installed normally and no oxidation at
connection part. If there is any oxidation, please try to wipe the oxidation part with an eraser.
If it still cannot be turned on properly, please clean it with contact cleaner and re-install.
OFF:
Advertisement
Table of Contents
Troubleshooting

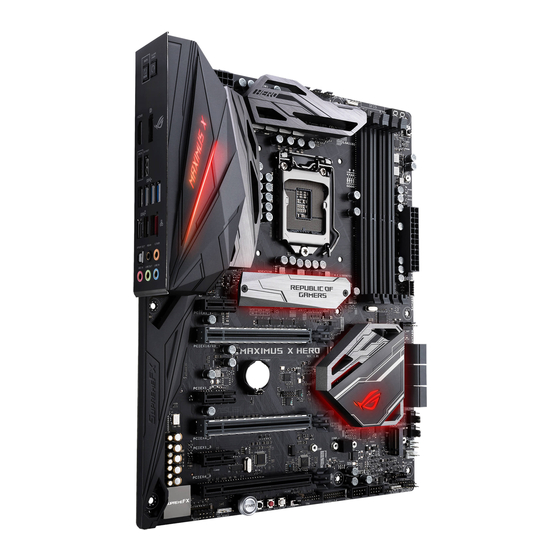
Related Manuals for Asus ROG MAXIMUS X HERO


Summary of Contents for Asus ROG MAXIMUS X HERO
- Page 1 Troubleshooting Guide [Motherboard] NO POWER troubleshooting [Motherboard] NO POWER troubleshooting When you power on the motherboard and nothing happens and the power light is OFF: Please ensure the power supply is plugged in properly to the 24pin/8pin power connectors. Refer to your motherboard user manual for proper location of power connectors. ...
- Page 2 Abnormal detection in graphic card. If graphic card needs extra power supply, please ensure power supply can provide enough watt. Please unplug and replug the video card. * If your issue still cannot be resolved, please contact our ASUS Support team for further assistance.
- Page 3 Download the latest version of Aura from the ASUS microsite: https://www.asus.com/latest-software-update/ Close any open applications and save work files before proceeding! Then launch AsusSetup.exe to uninstall the existing version of Aura. If the Windows User Account Control prompts you to grant permission to AsusSetup, click...
- Page 4 The installer will ask you to confirm that you would like to remove Aura and its components. Click “OK” to continue.
- Page 5 Click “Finish” when the uninstallation is complete. After you exit the installer, you will be prompted to restart the computer. Click “OK” to restart your computer immediately. After the system reboots into the Windows, double-click on “AsusSetup.exe” once again to launch the Aura installer.
- Page 6 If the Windows User Account Control prompts you to grant permission to AsusSetup, click “Yes” to continue.
- Page 7 When the installation begins, you will be asked to first select a destination folder for the installation. Click “Next” to install Aura in the default destination folder.
- Page 8 Click “Finish” after the setup is complete. After the installer exits, you will be prompted to restart your computer. Click “OK” to restart your computer immediately, or select “No, I will restart my computer later.” If you wish to save work files before restarting. After your computer reboots, you will be able to use Aura normally.
- Page 9 <LiveDash> Close any open applications and save work files before proceeding! Then launch AsusSetup.exe to uninstall the existing version of LiveDash.
- Page 10 If the Windows User Account Control prompts you to grant permission to AsusSetup, click “Yes” to continue. The installer will ask you to confirm whether you would like to remove LiveDash and its components. Click “OK” to continue.
- Page 11 Click “Finish” when the uninstallation is complete. LiveDash does not require a system reboot after the uninstallation. Double-click on “AsusSetup.exe” once again to launch the LiveDash installer.
- Page 12 If Windows User Account Control prompts you to grant permission to AsusSetup, click “Yes” to continue.
- Page 13 When the installation begins, you will be asked to first select a destination folder for the installation. Click “Next” to install LiveDash in the default destination folder. After the installation is complete, you will be prompted to restart your computer. Click “Finish” to restart your computer immediately, or select “No, I will restart my computer later.”, if you wish to save work files before restarting.
- Page 14 <AI Suite> Close any open applications and save work files before proceeding! Then launch AsusSetup.exe to update AI Suite to the latest version.
- Page 15 If Windows User Account Control prompts you to grant permission to AsusSetup, click “Yes” to continue.
- Page 16 Click “Install” to begin updating AI Suite to the latest version. The installer will confirm when AI Suite has been updated to the latest version. Click “OK” to continue.
- Page 17 After the installation is complete, you will be prompted to restart your computer. Click “Yes” to restart your computer immediately, or “No” if you wish to save work files before restarting.
- Page 18 [Server Motherboards/ Motherboard] Memory isn't detected [Motherboard/ Server Motherboards] Memory isn't detected 1. Check model# of the memory 2. Check if all the memory is ECC or all non-ECC or REG or unregistered 3. Press MemOK (Motherboard w/ MemOK only) to run memory at SPD and all auto 4.
- Page 19 1.The operation system (OS) is intruded by some computer viruses, try to scan with some antivirus software. Notice: If you are using ASUS DesktopPC, you can try to restore the OS (how to restore the system, please refer to the following link...
- Page 20 2. Check the issuer of the software. If the issuer of the software is a major vendor, such as Microsoft Corporation、ASUS、Google, such software is usually not the source of advertisement. 3. Refer to the installation date/time. Filter out any software not installed by yourself.
- Page 21 1. Do not download or install any unknown software. 2. Install and periodically update your anti-virus software. 3. Avoid using any unauthorized and/or illegal software. [Desktop PC/Motherboard]Troubleshooting- Microphone cannot receive the sound [Desktop PC/Motherboard]Troubleshooting- Microphone cannot receive the sound If your microphone cannot receive the sound, please connecting microphone to other desktops in order to exclude the possibility of malfunction.
- Page 22 4. If some specific apps (e.g. Skype,RaidCall) cannot receive the sound, please adjust the microphone setting from menu of software setting.Below we take Skype as example : (1) Click "Tools" on toolbar->"Options" ->"Audio settings".
- Page 23 (2) If you connect and use more than one microphones(ex. Bluetooth headset), please choose the one you want to use and test if it detects the sound.
- Page 24 (3) You can also choose "Make a free test call" to confirm whether microphone works normally. If above solution cannot solve your problems, please contact ASUS Service centers. [DesktopPC/Motherboard]Troubleshooting- Noise from Microphone [DesktopPC/Motherboard]Troubleshooting- Noise from Microphone If noise comes out from your microphone, please test by connecting it to other devices in order to exclude the possibility of malfunction.
- Page 25 3. Adjust the setting of microphone: Right click at right-bottom corner->choose"Recording devices"->Right click "Properties" for "Microphone"->Click"DC Offset Cancellation" Erase "and"Noise Suppression" at Tab"Enhancements" Adjust enhancement to the moderate value on "Level" Tab. "Microphone "...
- Page 27 If the driver comes attached with microphone, please ensure whether you've correctly installed or try to download the latest driver and install. If above solution cannot solve your problems, please contact ASUS Service centers.