
Related Manuals for Nagra VPS


Summary of Contents for Nagra VPS
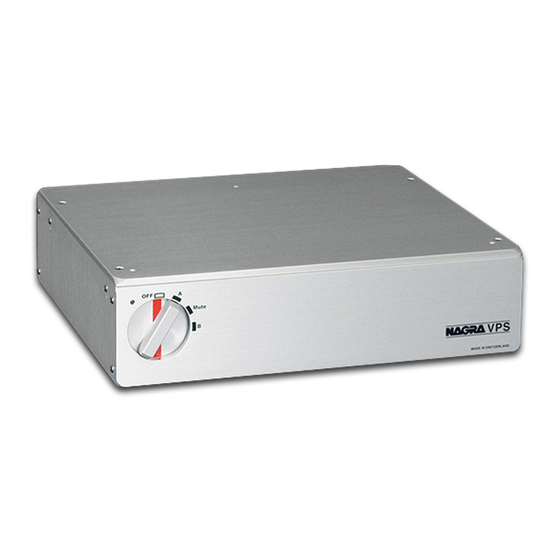
- Page 1 VPS – Phono Preamplifier User manual P/N: – – © ©...
-
Page 2: Table Of Contents
Main selector ................9 VPS diagram ................10 Internal parameter settings ............11 Opening the VPS ..............11 Phono Modules ................12 Default parameter settings ............12 Jumper functions ................ 13 ... -
Page 3: Safety Warning
We guarantee our products against all manufacturing defects, for a period of three years for the VPS and 6 months for the tubes, running from the date of delivery to the customer (validated by the serial number on the device casing and the invoice from an official Nagra dealer). -
Page 4: Congratulations
* depending on the country of purchase, the cable supplied by Nagra will feature a European, Swiss or US plug. ** depending on the country of purchase, the VPS is supplied with a 110 V or 230V power supply. Nagra –... -
Page 5: Installation
The positioning of the VPS must allow free access to the ventilation slots located under the device. The Nagra VPS must rest on a stable support. We recommend that you use the new anti-vibration support, Nagra VFS, Vibration Free Support, developed by Nagra consisting on isolated massive aluminum plate using the same damping material as the Nagra CD mechanics. -
Page 6: Vps Connections
Connecting the ACPS II power supply Place the front panel selector in the OFF position. Insert the LEMO plug from the CPS II power supply into the POWER IN connector of the Nagra VPS. The LEMO plug features a red dot... -
Page 7: Using The Ground Connector
VPS. This connection is not always necessary, depending on various characteristics of your record deck, cabling and cartridge. You Nagra dealer will be able to advise you on the usefulness of this connection. Nagra –... -
Page 8: Connection Block
8 – LEMO mains connector. 3 – Device identification plate 9 – Serial number. *The XLR outputs are provided to make your VPS easier to connect to your Hi- End system. These outputs reproduce the RCA output signal on XLR connectors. They are unbalanced. -
Page 9: Front Panel
6 – Phono input B *In standby mode the power consumption is negligible. The VPS is switched on by moving the selector from the OFF position to the A or B position, depending on the installed phono inputs. The tubes are preheated for 90 seconds (flashing LED), during which the VPS is in MUTE mode. -
Page 10: Vps Diagram
The left-hand side section, “Input Module MC”, is the input module located in A or The right-hand side section, “Main Board Stage Amplifier”, is located on the VPS main board. Nagra –... -
Page 11: Internal Parameter Settings
10 minutes before opening the unit to perform internal parameter adjustments. Remove the four screws from the top panel of the VPS with the supplied tool. When closing the casing, make sure you place the top panel with the two isolation spike slots... -
Page 12: Phono Modules
Phono Modules The Nagra VPS is supplied with a Phono stage for Moving Coil (MC) cartridges positioned on input A. Optionally, you can obtain a second, MM or MC Phono module to place on input B. Please contact your Nagra dealer for more information. -
Page 13: Jumper Functions
6 – A for additional 47 kΩ load on tube input, B when unused. Load circuits The Nagra VPS is supplied with 6 load circuits, 3 resistive loads (R) and 3 capacitive loads (C), allowing the settings of your VPS to most closely match the specifications of your cartridge manufacturer. -
Page 14: Load Circuit Installation
300mV. If your cartridge or preamplifier does not have enough gain, you can amplify the VPS’s output by using the Hi setting. It adds a discreet component amplification stage that boosts the output level to 2 V. -
Page 15: Riaa Curves
RIAA curves You can modify the RIAA curve by moving the jumpers located on the VPS main board. The VPS complies with the 1953 and 1976 RIAA curves. By default, the S4 and S5 jumpers are in place and you can enjoy the benefit of extended low frequency bandwidth. -
Page 16: External Tranformer Usage
External tranformer usage You can use the VPS with an external transformer. In this case, you must set the jumpers to disconnect the internal transformer (on an MC card). Here is the required setting: 1 B, 3 B, 4 A, 5 B. -
Page 17: Technical Specifications
300 mV (Lo mode) 2 V (Hi mode) Power supply 12 V DC Consumption 12.6 W In standby position 1.6 W Dimensions 310 x 254 x 76 mm 12.2 x 10 x 3 inches Weight 3.3 Kg 7.3 pounds Nagra –... -
Page 18: Nagra Hi-Fi Range
High quality DAC The DAC is the worthy heir of the Nagra D and Nagra V digital recorders. It offers exceptional performance, and multiple inputs and outputs to integrate with the ost complex systems. -
Page 19: Declaration Of Conformity
Declaration of conformity FABRICANT: NAGRAVISION S.A. KUDELSKI GROUP, 1033 Cheseaux SUISSE MANUFACTURER: NAGRAVISION S.A. KUDELSKI GROUP, 1033 Cheseaux, SWITZERLAND APPAREIL : Nagra VPS DEVICE: Nagra VPS NORMES APPLICABLES : APPLICABLE NORMS: Champ électromagnétique rayonné EN 55022 Cl. B Radiated electromagnetic field EN 55022 Cl.