
Related Manuals for Swann Activair SFA23010


Summary of Contents for Swann Activair SFA23010
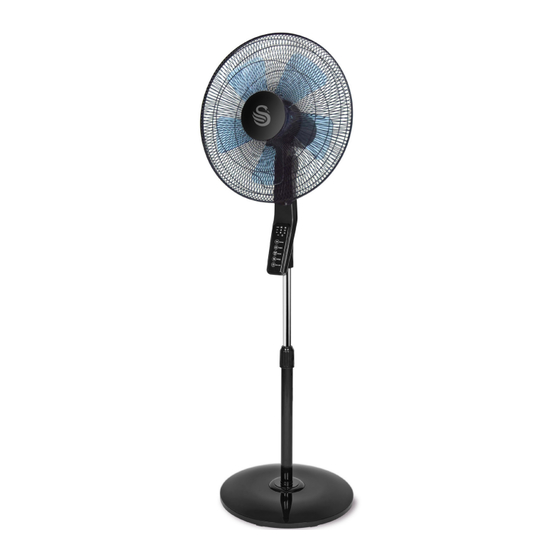
- Page 1 16” (42cm) Stand Fan Model: SFA23010 (all colours) Help line 0333 220 6050 SFA23010_IM.indd 1 25/03/2020 11:28...
- Page 2 IMPORTANT INFORMATION - RETAIN FOR FUTURE USE When using any electrical appliance, basic safety precautions should always be followed including the following: • Always ensure that the voltage on the rating label corresponds to the mains voltage in your home •...
- Page 3 IMPORTANT INFORMATION - RETAIN FOR FUTURE USE cleaning purposes. • Remove the plug from the socket by gripping the plug. Do not pull on the cord to disconnect the appliance from the mains. Always unplug the unit when not in use, before cleaning or when adding or removing parts.
-
Page 4: Technical Data
IMPORTANT INFORMATION - RETAIN FOR FUTURE USE surface. Do not place the unit on a hot surface. • Ensure that the unit is switched off after use. • The manufacturer does not accept responsibility for any damage or injury caused by improper or incorrect use, or for repairs carried out by unauthorised personnel. -
Page 5: Get To Know Your Product
GET TO KNOW YOUR PRODUCT 1. Fan blade 9. Ring screw 2. Centre boss 10. Base 3. Control panel 11. Balance weight 4. Adjustable pole 12. Rear grille 5. Rod fixing ring nut 13. Motor housing 6. Lower tube 14. Power cord 7. - Page 6 ASSEMBLY • Loosen and remove the rod fixing ring nut (5) from the top of the lower tube (6). Slide the decorative cap (7) from the base onto the tube. Replace and tighten the rod fixing ring. • Then connect the tube assembly to the round base and positioned on the bal- ance weight (11).
- Page 7 ASSEMBLY • Place the front grill and install the plastic strapping ring around the grills to hold them. Be sure to position the edges of the 2 grids in the 2 notches inside the strapping. • Tighten the ring screw (2) to secure the ring. •...
-
Page 8: Operation
OPERATION WARNING: Keep all objects at least 1 metre from the front, sides and rear of the appliance. IMPORTANT: Do not cover this appliance. Place the fan on a dry, level and solid surface. • Plug the power cord into the suitable wall socket. -
Page 9: Battery Placement
BATTERY PLACEMENT Remove the battery holder by pressing the lock- ing tab A with your thumb and pulling it out as per arrow B. Replace the battery with the same type and the (+) side facing up. Gently push in the holder until securely locked into place. -
Page 10: Warranty
WARRANTY This product is guaranteed for 2 years from the date of original purchase. If any defect arises due to faulty materials of workmanship the faulty products must be returned to the place of purchase. Refunds or replacement is at the discretion of the store. The following conditions apply: •... - Page 11 www.swan-brand.co.uk 2 year Est. 1 931 GUARANTEE Scan this QR code We love we’re proud Find us on Facebook to hear about what we do of our quality our story * on selected products Copyright © Swan Products Ltd. PO Box 3117, Stoke-on-Trent ST4 9GD SFA23010_IM.indd 11 25/03/2020 11:28...