Advertisement
Quick Links
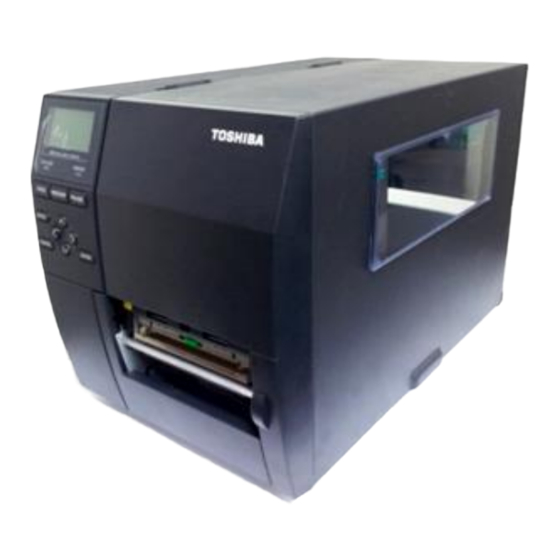
TOSHIBA BARCODE PRINTER
B-EX Type 2 Series
Quick Installation Manual
This manual is a quick guide on how to set up your B-EX4 printer.
For more details please download the latest edition of the owner's
manual from the following website.
http://barcode.toshibatec.co.jp/eng/manual/b-ex/index.htm
Important Information to the User
In order to meet Product Safety, FCC and CE marking requirements, it is
advised to use the power cord which was shipped with this product. Otherwise
this cable needs to meet the following standards.
Power Cord
For this product a UL listed, detachable power cord is required. Outside the US,
power cords need to meet the particular country's certification and application
requirements. If a different power cord is used from that described above you
might violate safety certifications which are in force in the country of use. The
socket-outlet needs to be installed near the equipment and must be easily
accessible.
! 0 0 T S C C 0 2 3 6 0 0 1 !
E-1
Advertisement

Related Manuals for Toshiba B-EX 2 Series


Summary of Contents for Toshiba B-EX 2 Series
- Page 1 ! 0 0 T S C C 0 2 3 6 0 0 1 ! TOSHIBA BARCODE PRINTER B-EX Type 2 Series Quick Installation Manual This manual is a quick guide on how to set up your B-EX4 printer. For more details please download the latest edition of the owner’s manual from the following website.
-
Page 2: Printer Overview
Power cord NOTES: 1. Check for damages or scratches on the printer. However, please note that TOSHIBA TEC shall have no liability for any damage of any kind sustained during transportation of the product. 2. Keep the carton and internal packaging for future transportation of the printer. -
Page 3: Loading The Media
3. Loading the Supplies 1. Do not touch any moving parts. To reduce the risk of fingers, jewellery, clothing, etc., being drawn into the moving parts, be sure to load the media once the printer has stopped moving completely. 2. The Print Head becomes hot immediately after printing. Allow it to cool before loading the media. - Page 4 Position LABEL: Labels Position TAG: Tags However, proper position may differ depending on media. For details, refer to your TOSHIBA TEC authorised service representative. 3. Push the Paper guide R to the right or in horizontal movement. Paper Guide L Paper Guide R 4.
- Page 5 8. Check that the media path through the printer is straight. The media should be centered under Media Guide the Print Head. Print Head Paper Guide Locking Screw Media Media Guide 9. Lower the Print Head Block until it stops. Batch mode In the batch mode, the media is continuously printed and fed until the numbers of labels/tags specified in the issue command have been printed.
-
Page 6: Loading The Ribbon
NOTES: 1. Be sure to set the Selection Switch to STANDARD/PEEL OFF position. 2. The backing paper is easier to feed back to the Take-Up Spool if the Front Plate is removed. 3. Fit the Take-Up Clip so that the longer side of the clip is fitted into the shallow groove in the Take-Up Spool. - Page 7 2. Leaving plenty of slack between the ribbon spools, place the ribbon onto the Ribbon Shafts as shown below. There are 2 possible ways to load the ribbon. Ribbon Shaft Ribbon Shaft Print Head Block Inside Wound Ribbon Outside Wound Ribbon NOTE: To check or change settings on which type of Ribbon winding to be used, you must go to SYSTEM Mode in the Printer.
-
Page 8: Turning The Printer On/Off
Power Switch (O) is the power OFF side of the switch. < For EU only > Copyright © 2012 TOSHIBA TEC Europe Retail Information Systems S.A by TOSHIBA TEC CORPORATION Rue de la Célidée 33 BE-1080 Brussels All Rights Reserved 84-4 Minamicho, Mishima-shi, Shizuoka-ken, www.toshibatec-eu.com...