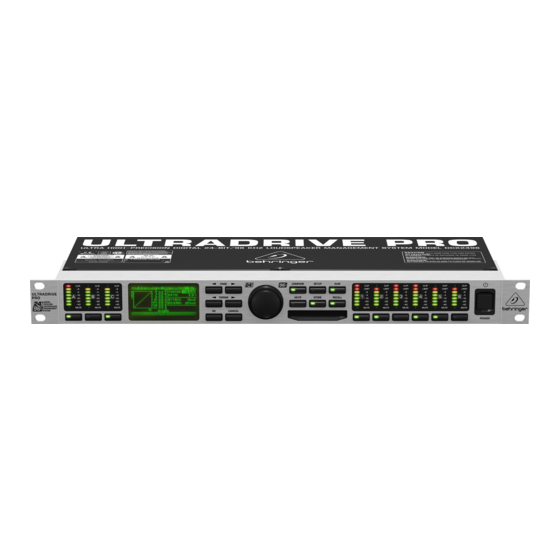
Behringer DCX2496 Quick Start Tips
Hide thumbs
Also See for DCX2496:
- User manual (36 pages) ,
- Sync manual (28 pages) ,
- Software manual (27 pages)
Advertisement
Quick Links
Quick Start Tips for Behringer DCX2496 from BESL
Connections
1. Connect the 25' PC Link cable from the DCX to your PC's serial comm port.
Laptop users will also need a USB/DB9 adapter cable. This extra cable can be
patched onto the long serial cable.
2. Connect preamp L/R cables into DCX input channels B/C respectively. Channel
A is reserved for direct digital in. You may need an adapter balun from BESL
depending on the type of digital output connector on your transport/DAC.
3. Connect output cables marked 1 through 6 to DCX outputs. Connect amp ends of
cables, marked L-M-H to your amplifier channels. Be sure of channels 3 & 6
connections, as these go to your tweeters!
4. Connect speaker cables for L-M-H drivers. Be sure of the tweeter connections!
Also double-check all speaker cable polarities at amp and speaker ends.
5. Turn your system volume all the way down, and then switch on your system.
Check for only high-frequency hiss coming from the tweeters. For hum
problems, float earth ground from every component except the DCX by using 3-
to-2 prong wall outlet adapters. Try to get all your equipment on the same outlet
by using a power strip or line conditioner/protector with multiple outlets.
Synchronizing DCX and PC
1. Be sure to copy the latest DCX-remote program from the BESL CD-ROM to your
hard drive, and then run the program from there. This is the easiest way to learn
the DCX controls, and helps to prevent mistakes.
2. From the DCX remote control panel on your PC, choose Connect.
3. Check for the latest firmware version in the Version field. (To update the
firmware in your DCX, run the remote program, choose Connect, and then click
on Software Update Service. The latest firmware is available on the CD-ROM.)
4. Be sure the DCX2496-> PC button is selected. Click Synchronize to get the
BESL preloaded program to upload to your PC. (This step is unnecessary if your
DCX came pre-loaded from BESL.)
5. Click Return, and then you can step through the various control tabs.
6. Refer to the DCX Sync Manual for detailed information.
Adjustments to the sound
Caution – Do not ever change parameters on output channels 1-6 X-Over or EQ pages!
Otherwise you may detune or even cause damage to your BESL speakers.
Speaker positioning has many sources of information on the web. BESL philosophy
matches that on both the
the positioning of your speakers towards good imaging and less for smooth bass or
overall tonal balance, since you now have direct control over both tonal EQ and bass EQ.
Cardas
and
Audio Physic
web sites. Note that you can weight
1
Advertisement

Summary of Contents for Behringer DCX2496
- Page 1 Software Update Service. The latest firmware is available on the CD-ROM.) 4. Be sure the DCX2496-> PC button is selected. Click Synchronize to get the BESL preloaded program to upload to your PC. (This step is unnecessary if your DCX came pre-loaded from BESL.)
- Page 2 In general the closer you bring the speakers out towards the listening position, the deeper the sound stage. However there suddenly comes a point where you really notice that the speakers are too close because the sound locks into two distinct sound sources. Also, note that for side-seating listeners (such as in HT applications) you should not bring the speakers out too far, because this effect is exaggerated off axis.
- Page 3 home listening room conditions. This is because the monitor experiences the upper part of the room gain range if the cross point is set to 80Hz. Since the room gain effect varies among rooms, the precise matching of the BESL crossover is left to chance. Therefore I found that a cross point of 120Hz moves the pass band of monitor above the room gain curve, and leaves the pass band of the subwoofer completely inside the room gain curve.


