Table of Contents
Advertisement
Quick Links
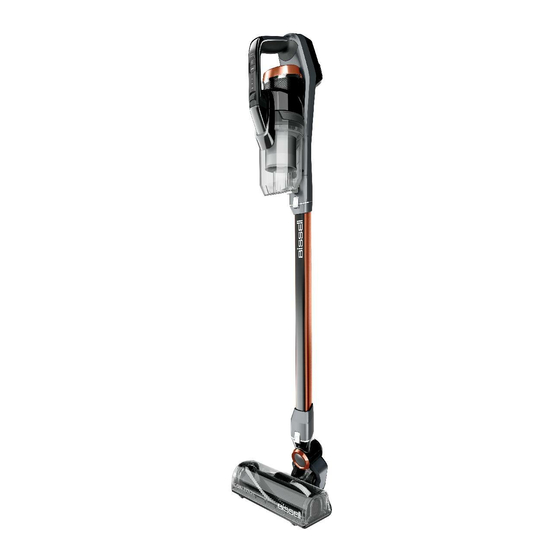
ICON™ EDGE CORDLESS VACUUM
2953F SERIES
Go online for a comprehensive walkthrough
of your product!
This guide has everything you need to get ready for first use,
including setting up, using and maintaining your machine,
but online you'll find additional resources like tips and
troubleshooting, videos, product registration, parts, and more.
Go to BISSELL.com.
Advertisement
Table of Contents

Summary of Contents for Bissell ICON 2953F Series
- Page 1 This guide has everything you need to get ready for first use, including setting up, using and maintaining your machine, but online you’ll find additional resources like tips and troubleshooting, videos, product registration, parts, and more. Go to BISSELL.com.
- Page 2 Model SSC-320110AU. SAVE THESE INSTRUCTIONS ORIGINAL INSTRUCTIONS. FOR OPERATION ON A 220-240 VOLT A.C. 50-60 HZ POWER SUPPLY ONLY. THIS MODEL IS FOR HOUSEHOLD USE ONLY. Detachable power supply unit. 2 BISSELL.com...
-
Page 3: Table Of Contents
Using the Vacuum . . . . . . . . . . . . . . . . . . .7 BISSELL.com 3... -
Page 4: What's In The Box
& Dusting Attachment Foot Station Brush Hose Product View For additional support videos and information about your vacuum, visit BISSELL.com. Product View 1. Hand Vacuum Assembly 2. Power Button 3. Cleaning Mode Button 4. Tank Release Button 5. Dirt Tank 6. -
Page 5: Assembly
Battery” for instructions. they’re connected. when they’re connected. Installing the Wall Storage & Charging Station Go to BISSELL.com for more tips and video instructions. Install the Wall Mount & Insert two screws to secure Insert the tool holder into Charging Station near a wall to wall. -
Page 6: Charging The Battery
Charging the Battery Go to BISSELL.com for additional how-to videos. Before first use, make sure to fully charge your stick vacuum for 4 hours to get a full charge. Charging with the Hand Vacuum Plug the Battery Charger Plug the charger into the Let the hand vacuum charge into the wall. -
Page 7: Using The Vacuum
Attaching Tools for Hand Vac Use Clean stairs or furniture easily with the tools provided. Pair your desired tool with the hand vacuum or extension wand. Go to BISSELL.com for tips on using the above floor cleaning tools. Press the release button Attach your chosen tool. -
Page 8: Emptying The Dirt Tank
Emptying the Dirt Tank More of a video person? Go to BISSELL.com for additional how-to videos. Turn OFF your machine. Grab the top of the tank Fully remove the separator Remove the Dirt Tank from the and pull up. This will activate a... -
Page 9: Cleaning & Replacing The Filters
Cleaning & Replacing the Filters Go to BISSELL.com for tips on maintaining and replacing your vacuum filters. Pre-Motor Filters For best cleaning performance, always clean your pre-motor filter after each use. To clean the pre-motor Pull filter from the top of To clean, rinse under warm the tank. -
Page 10: Maintaining The Brush Roll
Maintaining the Brush Roll Go to BISSELL.com for tips on maintaining and replacing your Brush Roll. Turn the machine OFF and Remove the sole plate from Pull the Brush Roll straight press the Foot Release Button the bottom of the foot by... -
Page 11: Troubleshooting
Troubleshooting For a comprehensive walkthrough of your product and support visit BISSELL.com. This guide has everything you need to get ready for first use, including setting up, using and maintaining your machine, but online you’ll find additional resources like tips and troubleshooting, videos, product registration, parts, and more. -
Page 12: Warranty
Nothing in this guarantee global.BISSELL.com/privacy-policy. excludes, limits or modifies any liability of BISSELL which is imposed by law, or limits or BISSELL® Two-Year Warranty modifies any remedy available to the consumer which is granted by law. To make a claim under...


