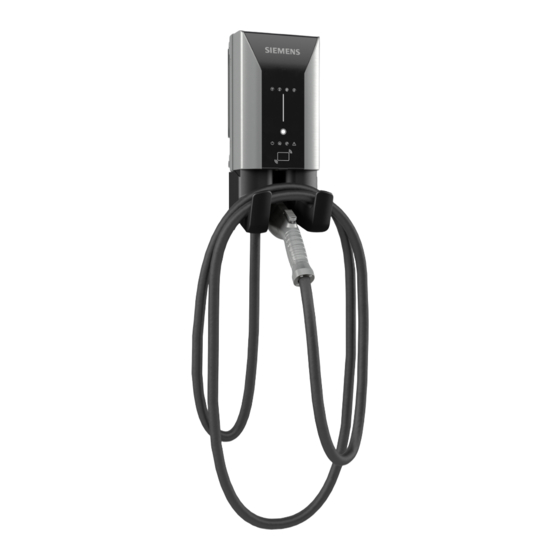
Siemens VersiCharge AC Quick Start Installation Manual
Electric vehicle charging station
Hide thumbs
Also See for VersiCharge AC:
- Installation and operation manual (52 pages) ,
- User manual (39 pages) ,
- Quick start installation manual (24 pages)

Related Manuals for Siemens VersiCharge AC


Summary of Contents for Siemens VersiCharge AC
- Page 1 Quick start installation guide VersiCharge ™ Electric vehicle charging station usa.siemens.com/versicharge...
-
Page 2: Human Machine Interface (Hmi)
VersiCharge™ AC | Quick start installation guide Human Machine Interface (HMI) Figure 1. Residential HMI NOTE: Number of LEDs may change based on specific part number and features. Figure 2. Commercial HMI NOTE: Number of LEDs may change based on specific part number and features. -
Page 3: Installation Kit
Quick start installation guide | VersiCharge™ AC Installation kit If hardwired or 2-pole, 50 amp Circuit Breaker if using a 240 V outlet. Equipment List Standard Installation – What you will need: Certified Electrician (Recommended) Cordless Drill (Phillips Bit with extender) Stud Finder 240 V AC Voltmeter NEMA 6-50 Outlet (Note: if hardwired... - Page 4 VersiCharge™ AC | Quick start installation guide Kit Supplied Equipment 1 – ModBus Connector User Card User Card Admin Card User Card Admin Card User Card User Card 1 – Mounting Bracket 1 – Cable Holster 2 – Admin Cards 5 –...
-
Page 5: Bracket Mounting
Quick start installation guide | VersiCharge™ AC Bracket Mounting: STEP 1 STEP 1A Figure 3. Bracket Position Figure 4. Wall Mounting Figure 5. Alternate Bracket Mounting Charger Mounting: STEP 2 STEP 3 STEP 4 Figure 6. Hanging Charger Figure 7. Amp Switch Setting Figure 8. - Page 6 VersiCharge™ AC | Quick start installation guide STEP 5 STEP 6 STEP 7 P1 -Black – hot/power P2 - Green – ground/earth P3- White – Hot/power Figure 9. Secure Charger (Optional) Figure 10. Holster Installation Figure 11. Charger Hardwiring STEP 8 STEP 9 STEP 10 Figure 12.
- Page 7 Quick start installation guide | VersiCharge™ AC STEP 10A (See below for applicable part numbers) STEP 10B (See below for applicable part numbers) Figure 15. ModBus Termination Figure 16. ModBus Termination Switch Switch STEP 10C (See below for applicable part numbers) STEP 11 External Remote Control Interface Figure 17.
- Page 8 VersiCharge™ AC | Quick start installation guide Optional Outlet Installation STEP 1 Standard Mounting 1. Locate a stud within the wall that can handle the 14+ lb. load of the VersiCharge. (Recommended) 2. Place the mounting bracket not more than 12” above a 240 V outlet; level the mounting and drill the center-top hole using aathe drill with an extender.
- Page 9 Quick start installation guide | VersiCharge™ AC STEP 5 Secure Charger 1. Using the 3 - #10-32 X 3/8”, Tamper Resistant, Pin-In Hex Socket Button Head Cap Screw (Tamper-resistant alternative) secure (Optional) the VersiCharge cover with one screw on the right side of the VersiCharge to bolt the cover closed. 2.
- Page 10 8EM1310-4CF14-0GA0, 8EM1310-5CF14-0GA0 STEP 11 Connect External The Siemens VersiCharge has a Remote Control Interface that allows charging to be controlled by an external device. Remote Control Examples include demand response switches, building automation systems, digital sensors, etc. Interface – (Optional).
-
Page 11: Maintenance
Quick start installation guide | VersiCharge™ AC Maintenance While there is no maintenance for the internal works of the VersiCharge, the exterior does require some basic, common sense maintenance. The following maintenance can be performed by the owner/user. All other service must be conducted by qualified personnel. -
Page 12: Appendix A.- System Operation/Faults
VersiCharge™ AC | Quick start installation guide STEP 12 Check the system APPENDIX A.- System Operation/Faults Light State Description Solution Normal Operation #1 Ready to Charge – Power On – light steady white Connect EV. Begin charge. Light #1 #2 Car Connected - Disconnect the EV connection Light #2 cable. - Page 13 Quick start installation guide | VersiCharge™ AC Light State Description Solution Faults #9 – Touch Sensitive Button – Reset Ground Fault – Press once to The unit is in a fault state. Press Light #9 reset the unit. one time to reset the ground fault.
-
Page 14: Appendix B - Useful Links
VersiCharge™ AC | Quick start installation guide APPENDIX B – Useful Links Find the following at: usa.siemens.com/versicharge • Register your VersiCharge • Download the VersiCharge Configuration Tool • Configure your VersiCharge • VersiCharge Frequently Asked Questions • Detailed VersiCharge Installation and Operating Manual, as... - Page 15 Quick start installation guide | VersiCharge™ AC Notes:...
- Page 16 Actual results are dependent on variable conditions. Accordingly, Siemens does not make representations, warranties, or assurances as to the accuracy, currency or completeness of the content contained herein.