Advertisement
Quick Links
PlayStation Setup Overview
There are two ways of allowing your PlayStation to communicate with the internet. One is through port forwarding
and the other is through the DMZ feature.
Port forwarding will enable specified ports on the NL1901ACV to get access to your PlayStation to communicate
with the internet as if they were directly connected by allowing access through.
Setting your PlayStation as a DMZ host opens all the ports on the NL1901ACV to allow access to a designated
device.
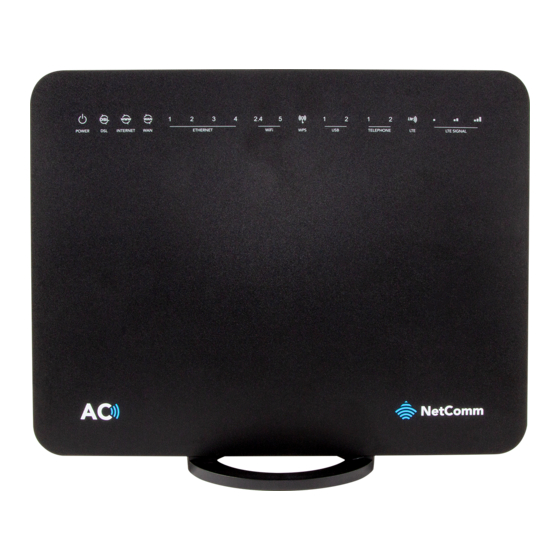
This guide has been revised to include the latest changes and updates from the NL1901ACV's new NC2 web user
interface.
Prerequisite
Before you configure the NL1901ACV, you will need to set a static IP address on your PlayStation.
Please follow the instructions at the link below to set a static IP address on your PlayStation:
https://portforward.com/networking/staticip-ps3-playstation-3.htm
You can use an IP address like 192.168.20.100 for example.
Important information
You can only forward a port to one location (IP address).
In some cases, this may cause issues when multiple LAN devices (computers, game consoles, or VOIP ATAs) attempt to use
online gaming as same time or make multiple VOIP service connections.
In these cases, you would need to use an alternate port for any subsequent connections after the first device.
Please consult your VOIP provider or game manufacturer for assistance with this.
NF1901ACV FAQs – PlayStation Setup Guide
FQ01121 v. 1.1 March 2019
PlayStation Setup Guide
NF1901ACV FAQs
© NetComm Wireless 2019
1 of 7
Advertisement

Related Manuals for NetComm NF1901ACV


Summary of Contents for NetComm NF1901ACV
- Page 1 In these cases, you would need to use an alternate port for any subsequent connections after the first device. Please consult your VOIP provider or game manufacturer for assistance with this. NF1901ACV FAQs – PlayStation Setup Guide 1 of 7 FQ01121 v.
-
Page 2: Log In To The Web Interface
Select the Click on the Advanced Setup menu at the left of the page, then click on NAT options and then click on DMZ Host options: NF1901ACV FAQs – PlayStation Setup Guide 2 of 7 FQ01121 v. 1.1 March 2019... - Page 3 Reboot the modem: Click Management menu on the left-hand side of the page then click Reboot options: Click the Reboot button. NF1901ACV FAQs – PlayStation Setup Guide 3 of 7 FQ01121 v. 1.1 March 2019 © NetComm Wireless 2019...
- Page 4 It is recommended to change the webpage port number to 8000 as described below (Remember that from now onwards you can only access the webpage with port 8000). Click the Save/Apply button. NF1901ACV FAQs – PlayStation Setup Guide 4 of 7 FQ01121 v. 1.1 March 2019...
- Page 5 To create your own defined port forwarding rule, select the Custom Service field and give the port forwarding rule a unique name. This example uses Gaming Console . NF1901ACV FAQs – PlayStation Setup Guide 5 of 7 FQ01121 v. 1.1 March 2019...
-
Page 6: Ports And Protocols
P R O T O C O L P O R T N U M B E R TCP and UDP 3478 TCP and UDP 3479 3480 1935 NF1901ACV FAQs – PlayStation Setup Guide 6 of 7 FQ01121 v. 1.1 March 2019 © NetComm Wireless 2019... - Page 7 In these cases, you would need to use an alternate port for any subsequent connections after the first device. Please consult your VOIP provider or game manufacturer for assistance with this. NF1901ACV FAQs – PlayStation Setup Guide 7 of 7 FQ01121 v.