Advertisement
Quick Links
Advertisement

Related Manuals for JUKI M-1 Series


Summary of Contents for JUKI M-1 Series
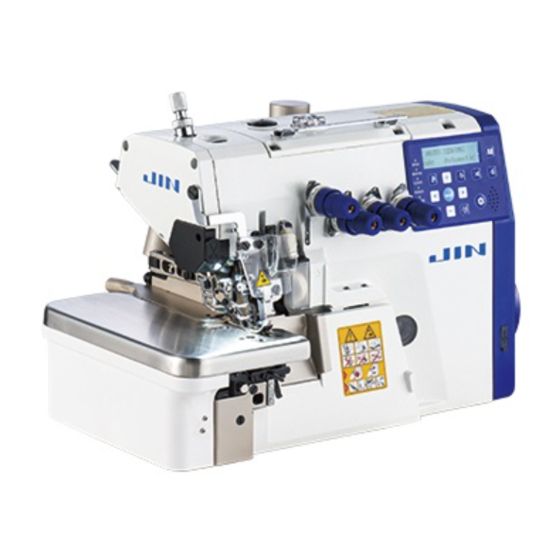
- Page 1 M-1 Series INSTRUCTION MANUAL (Electrical)
- Page 2 Foreword Welcome to use the products of our company and it’s the right investment choices of clothing industry! This is the product reference manual of the company's newly developed "suction line cut". Please carefully read this manual to better use the company's products! ⚫...
- Page 3 Catalogue 1: Introduction to the common operation of the display 2: How to enter and modify parameters 3: Operation parameters description table 3.1 Technician system parameter list 3.2 Workers system parameter list 4: Control box port description 5: fault code analysis...
- Page 4 1: Introduction to the common operation of the display Icon Function description Mode switch key: to switch the current sewing mode, will be in cycle between the free seam, semi-automatic, fully automatic, and normal sewing. Infrared light function key: open and close the infrared light, long press 2 seconds into the light eye sensitivity adjustment.
- Page 5 Presser -foot function key: Select the ways of the presser-foot when sewing mode, you can continuously press to successively select before presser-foot, after the presser-foot, before and after the presser-foot, or closed. Trimming function key: select the ways of trimming when sewing mode, continuously press in turn can choose the front cut line, after the cut line, before and after the cut line, or close.
- Page 6 Right key: When the parameter is modified, the cursor moves right. Maintenance key: When the machine need to be adjusted when an exception occurs, press this button or turn off the power for maintenance. When the front infrared sensor is The front infrared sensor blocked by a cloth, F-SENSOR light F-SENSOR...
- Page 7 Operating Parameter Description Table 3.1 Technician system parameter list( long press to enter ) Parameter Parameter Function default adjustment Parameter description description values range Check the number of needles after Set the number of needles between living the first 1~50 two infrared light infrared light Delay before...
- Page 8 Suction close pin 1~100 Number of suction pins number After leaving the light in eyes for how many needle not detected the Back cut light eye 1~100 third eye light signal to begin to cut the line Back sensor The front eye light’s response time 1~100 response time after the induction...
- Page 9 The time does the control panel go Interface recovery back to the main interface (seconds) 5~99 time after entering the menu Front light eye front light eye reflex reverse polarity polarity Back light eye back light eye reflex reverse polarity polarity Presser foot full Presser foot work full power time...
- Page 10 3.2 Workers system parameter list ( short press to enter ) Function Reference Number default Parameter specification declaration range 0:normal sewing1:free seam2:semi-automatic P-01 Operator schema 3:full automatic Infrared Sensor P-02 0:off 1:on switch 0:off 1:front trimming 2:back trimming 3:front P-03 trimming and back trimming 0:off 1:front suction 2:back suction 3:front and...
- Page 11 Foot control P-18 0:off 1:all hand-operated trimming P-19 Medium suction 0:off 1:on Half back presser P-20 0:off 1:on foot The presser foot P-21 0:off 1:on after trimming Turn off back P-22 0:off 1:on presser foot P-23 Start free sewing 0:off 1:on Back cut light P-24 eyes delay...
- Page 12 4:Control box’s port illustration The port number The name of the device port power switch Electric outlet Encoding outlet Electromagnet: trimming electromagnet, suck wind magnet or magnetic value, pressure foot lifer electromagnet Speed controller port...
- Page 13 5:Fault code analysis Fault Fault code Fault reason Fault solution description 1:the contact between the needle and Moore thread 1:check the needle and Moore thread The signal of is bad 2:check whether the permanent magnet is at ER-01 the needle is 2:the permanent magnet the wrong position wrong...
- Page 14 1: The sewing machine is 1: Check if the sewing machine is too heavy Hardware ER-05 too heavy or blocked 2: Replace the controller over current 2: Motor overload 3: Restart the machine 1:display connection 1:check the connection line between the screen Communicati board line connection is and the controller...
- Page 15 (880)2-489 vl.jmbl-info@ml.juk Bangladesh Ltd SECTOR#03, 54731 54733 i.com UTTARA MODEL TOWN, DHAKA, BANGLADESH GROUND AND 1ST FLOOR, NO.1090/I, 18TH CROSS ROAD, 3RD Juki India Private (91)80-425 (91)80-425 http://jukiindi jukiblr@jukiindia.co SECTOR, HSR LAYOUT Limited 1-1900 1-1999 a.com/ BANGALORE-560 102, KARNATAKA STATE, INDIA UL.POLECZKI 21(PLATAN...