Table of Contents
Advertisement
Quick Links
Advertisement
Table of Contents

Related Manuals for Roland RP30


Summary of Contents for Roland RP30
- Page 2 Purchasers of this product are NOT permitted to extract said content in original or modified form, for the purpose of distributing recorded medium of said content or making them available on a computer network. Roland is an either registered trademark or trademark of Roland Corporation in the United States and/or other countries.
-
Page 3: Table Of Contents
Contents Panel Description Front Panel.................................4 Pedal..................................4 Rear Panel................................5 Setup Setup Guide................................6 Power Supply..............................8 Connections Connecting a pair of Headphones........................9 Connecting an Audio Equipment ........................9 Connecting an MP3/CD Player...........................9 Connecting a Computer............................9 Adjusting the Master Volume........................10 Playing the Demo Song..........................10 Tone Selecting a Tone...............................11 Layering Two Tones............................11 Key Touch.................................11... -
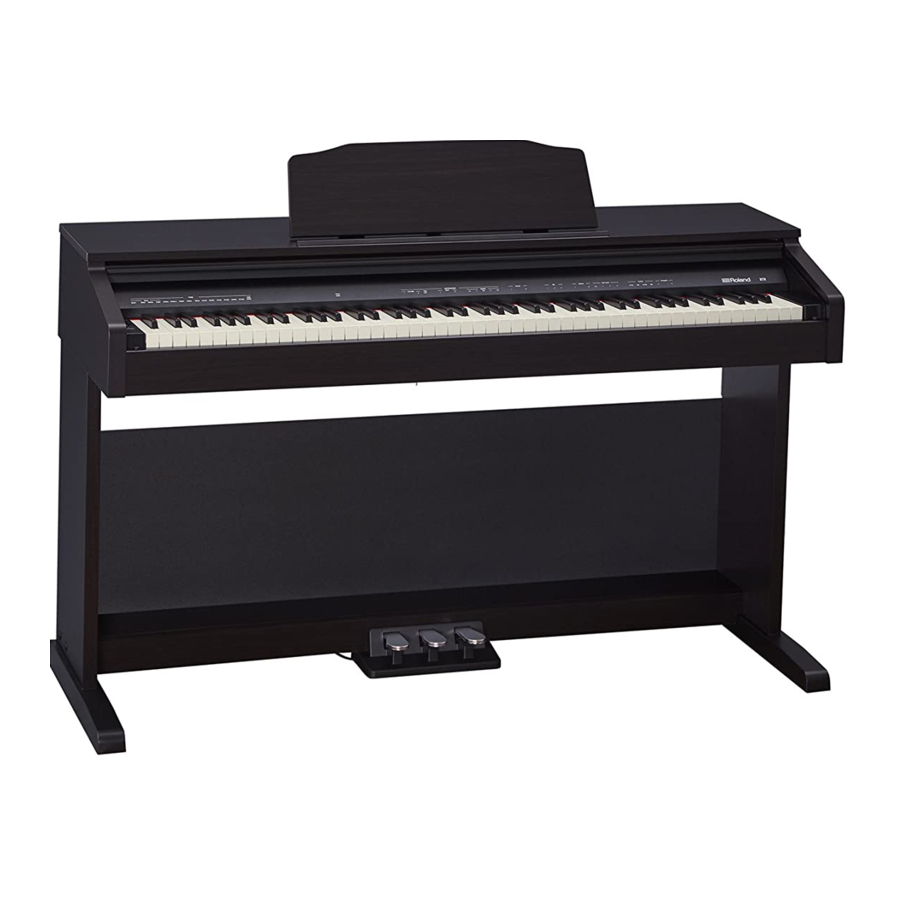
Page 4: Panel Description
Panel Description Front Panel 1. [POWER] Switch 6. [DEMO SONG] Key Turn the power on or off. Press and hold the [FUNCTION] button, then press this key to start or stop playing the demo song. 2. [VOLUME] Knob Adjust the master volume. 7. -
Page 5: Rear Panel
Panel Description 11. [Reverb] Keys 14. [Key Touch] Keys Press and hold the [FUNCTION] button, then Press and hold the [FUNCTION] button, then press one of these keys to select a reverb effect press one of these keys to select an appropriate type. -
Page 6: Setup
Setup This section contains information about setting up your instrument and preparing to play. Please go through this section carefully before turning the power on. Setup Guide Check that all the parts listed below are included before proceeding. To assemble the stand, you will need a Philip's screwdriver (not supplied). - Be careful not to pinch your hands or drop this unit on your foot during assembly or transport. - Page 7 Setup - If necessary, spread out a blanket or similar material to prevent the stand or floor from being scratched during assembly. - Be careful not to pinch the pedal cable during assembly. - When handling the piano, firmly grasp it. Be careful, so you do not get your fingers pinched. A.
-
Page 8: Power Supply
Setup D. Connect the ”Pedal cable” to the pedal jack at the bottom rear of the Piano. Then connect the power cable to the power jack, and plug the other end into an AC outlet. At this point the Piano is fully AC adaptor assembled and you can turn on the power. -
Page 9: Connections
Connections Connecting a pair of Headphones Plug a pair of standard stereo headphones into the Headphone jack for private practice or late-night playing. Jack 1: When headphones are connected to Jack 1, sound can be heard from the headphones and speakers. Jack 2: When headphones are connected to Jack 2, the internal speakers will be muted, and the sound can only be heard from the headphones. -
Page 10: Adjusting The Master Volume
Adjusting the Master Volume Rotate the [VOLUME] knob clockwise to increase the master volume or counter-clockwise to decrease it. Adjust to set the desired volume level. Note: If the speakers do not produce sound, please check if the master volume is set too low or if headphones are plugged into Jack 2. Playing the Demo Song Press and hold the [FUNCTION] button, then press the key marked [DEMO SONG] to start playing the demo song. -
Page 11: Tone
Tone Selecting a Tone The instrument features 15 tones. Please refer to the Tone List for details. Press and hold the [FUNCTION] button, then press one of the [TONE] keys to select a desired tone. Layering Two Tones The Dual mode allows two different tones to be layered together, creating a more full and rich sound. -
Page 12: Dsp Effect
DSP Effect Reverb Press and hold the [FUNCTION] button, then press one of the [Reverb] keys to select a reverb type. There are 4 reverb types (Off, 1–4). The default setting is “2 Small Hall.” Note: Press and hold the [FUNCTION] button, then press the [Reverb +] and [Reverb -] keys at the same time to restore the default reverb type. -
Page 13: Metronome
Metronome The metronome provides a steady beat to help you practice at a preset tempo. To turn the metronome on or off: Press and hold the [FUNCTION] button, then press the [METRONOME ON/OFF] key to turn the function on or off. When the metronome is in use, the LED indicator for the [FUNCTION] button will flash with the current tempo. -
Page 14: Tempo
Tempo Press and hold the [FUNCTION] button, then press one of the [TEMPO] keys to set the desired tempo, over a range of 30–280. Transpose The transpose function allows the overall pitch of the instrument to be transposed up or down in semitone steps, over a range of -6–+5. Press and hold the [FUNCTION] button, then press one of the [Transpose] keys to set the transpose value. -
Page 15: Master Tuning
Master Tuning This function adjusts the pitch of the instrument in 0.1 Hz increment over a range of 415.3 Hz–466.2 Hz. Press and hold the [FUNCTION] button, then press one of the [Tuning] keys to adjust the pitch of the keyboard. For example, if you press and hold the [FUNCTION] button, then press the key marked [440], it will set the tuning to 440 Hz. -
Page 16: Troubleshooting
Troubleshooting Problem Possible Cause and Solution The speakers produce a pop sound when the power This is normal and no cause for alarm. is turned ON/OFF. Speakers do not sound when the keyboard is played. Check if the master volume is set too low or if headphones are plugged into Jack 2. -
Page 17: Tone List
Tone List Tone Name (for panel printing) Tone Name Grand Grand Piano Ballad Ballad Piano Mellow Mellow Piano Bright Bright Piano E.Piano Ele. Piano E.Piano2 Ele. Piano 2 Harpsic Harpsichord Celesta Celesta Vibrap Vibraphone ChurOr Church Organ ReedOr Reed Organ Strings Stereo Strings Strings2... -
Page 18: Midi Implementation Chart
MIDI Implementation Chart True... - Page 20 RP30_G02...