Graco TexSpray 248091 Operation And Parts
Hide thumbs
Also See for TexSpray 248091:
- Operation (35 pages) ,
- Operation and parts (31 pages) ,
- Operation and parts (31 pages)
Table of Contents
Advertisement
Quick Links
Operation and Parts
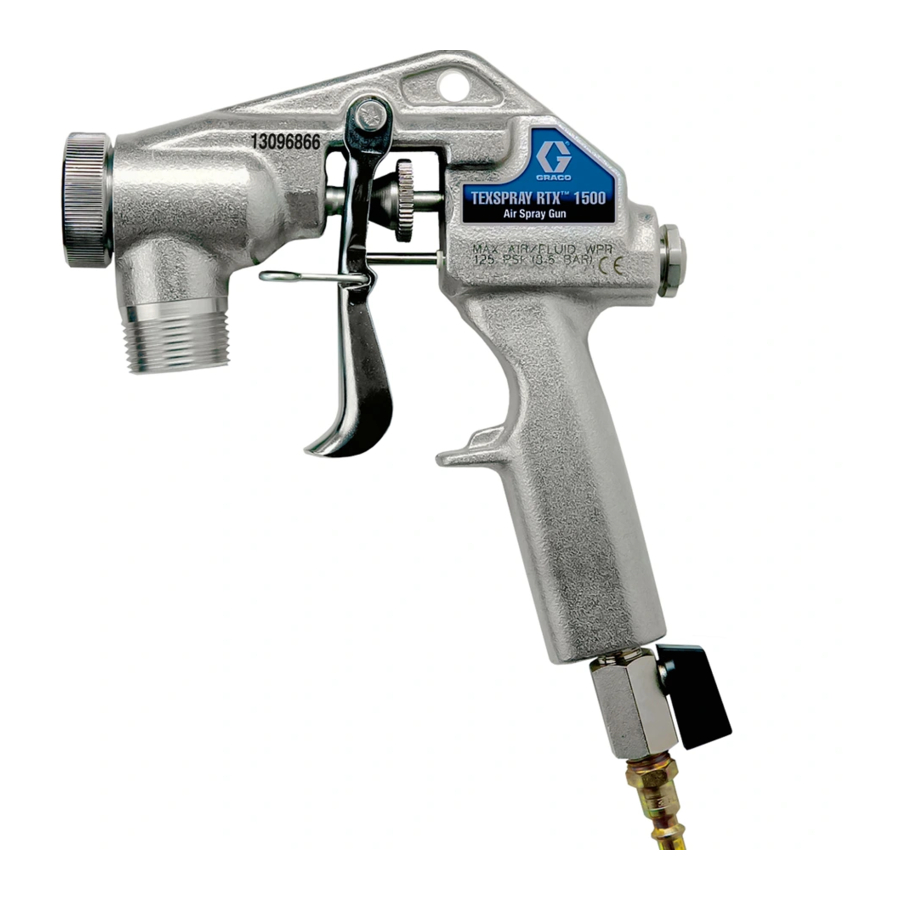
TexSpray Gun
- For Water-Based Materials Only-
(See Material Manufacturer for specific material application requirements)
Model: 248091,
non-bleeder, use with RTX 1500
Model: 248093,
bleeder, use with GTX 2000 and Compact HP
Model: 248094,
bleeder, includes fine finish tip kit, use with EXT HP, Twin Tank EXT
125 psi (0.86 MPa, 8.6 bar) Maximum Working Pressure
Read all warnings and instructions.
Graco Inc. P.O. Box 1441 Minneapolis, MN 55440-1441
Copyright 2004, Graco Inc. is registered to I.S. EN ISO 9001
310616B
ti3966a
Advertisement
Table of Contents

Related Manuals for Graco TexSpray 248091


Summary of Contents for Graco TexSpray 248091
- Page 1 EXT HP, Twin Tank EXT 125 psi (0.86 MPa, 8.6 bar) Maximum Working Pressure Read all warnings and instructions. ti3966a Graco Inc. P.O. Box 1441 Minneapolis, MN 55440-1441 Copyright 2004, Graco Inc. is registered to I.S. EN ISO 9001...
- Page 2 • Check equipment daily. Repair or replace worn or damaged parts immediately. • Do not alter or modify this equipment. • Use the equipment only for its intended purpose. Call your Graco distributor for information. • For professional uses only.
-
Page 3: Personal Protective Equipment
Warnings Warnings Cleaning Solvent Hazard with Plastic Parts Use only compatible water-based solvents to clean plastic structural or pressure-containing parts. Many solvents can degrade plastic parts to the point where they could fail. Such failure could cause serious injury or property damage. See Technical Data on page 22 of this instruction manual and in all other equipment manuals. -
Page 4: Component Identification
Component Identification Component Identification English Français Spanish Air Valve Trigger Trigger Lock Nozzle Air Fitting Material Inlet Air Shutoff Needle (Model 248091 only) Fine Finish Tip Kit (Model 248094 only) ti3967a Gun Styles Non-bleeder - model 248091, use with RTX 1500 TexSpray Air flow automatically shuts off when you stop triggering gun. -
Page 5: Pressure Relief Procedure
Pressure Relief Procedure Pressure Relief Procedure English Français Spanish IMPORTANT To reduce the risk of injury, follow this Pressure Relief Procedure whenever you: • Are instructed to relieve pressure • Stop spraying • Service equipment • Install or clean spray nozzle •... -
Page 6: Installation
Setup Setup Grounding English Français Spanish To reduce risk of electrical shock, proper electric grounding is essential. See your sprayer instruction manual and consult your local electrical codes for detailed grounding instructions. Installation ti4002a ti4003a 1 Relieve Pressure, page 5. 2 Connect air and material 3 If using fine finish adapter, 4 Refer to system operation... -
Page 7: Spray Techniques
Spray Techniques Spray Techniques Nozzle Selection English Francois Application Nozzle Application Nozzle Air Volume Air Volume 3-4 mm high 3-4 mm Simulated Acoustic 4 mm medium to high 4 mm 6 mm 6 mm 8-10 mm 8-10 mm Orange Peel 3-4 mm medium to high 3-4 mm... - Page 8 Spray Techniques Spray Disc and Nozzle Selection WARNING MISE EN GARDE ADVERTENCIA ADVERTÊNCIA Page 2 ti4000a ti4002a Standard nozzles (4A) are • For smaller droplet sizes, reduce • For larger droplets, increase noz- numbered 3, 4, 6, 8, 10 and 12, nozzle (4A) and/or disc (2A) size zle (4A) and/or disc size (2A) and designating orifice size in...
-
Page 9: System Adjustment
Spray Techniques System Adjustment WARNING MISE EN GARDE ADVERTENCIA ADVERTÊNCIA Page 2 ti4004a ti3999a ti4000a 1 Open air valve (A). 2 Test spray pattern on card- 3 Adjust air valve (A) to achieve board. Hold gun 18 to 30 in. uniform, round spray pattern. - Page 10 Spray Techniques ti4338a 4 To select correct nozzle for When adjusting flow adjustment Check material consistency your applications, consider nut (B), release trigger (C), then often. Material may thicken as it size of aggregate in material adjust. sits and slow down production or and coarseness of spray pat- affect spray pattern.
- Page 11 Spray Techniques WARNING MISE EN GARDE ADVERTENCIA ADVERTÊNCIA Page 2 ti4006a ti4000a ti4339a Material Flow Air Flow Adjustment Preventing Material For Continuous Adjustment Surge at Gun Trigger Spraying • For a lighter spray pattern, • Trigger gun. Pressure will build up in system •...
- Page 12 Cleanup Cleanup ti4290a WATER WASTE ti4334a 1 Pump remaining material into 2 Fill hopper with clean water. 3 Pump water through system 4 Remove nozzle (4A) from gun bucket until most of texture and out of gun. and allow water to flow material is out of hopper.
- Page 13 Cleanup FLUSH ti4010a ti4011a ti4012a 5 Finish cleaning all compo- 6 Connect air line to gun. Open 7 Disconnect air line and mate- To improve working condition for nents. A soft brush may be gun air valve (A), forcing air rial hose from gun.
- Page 14 1 Remove retaining ring (11), 2 Use a hook-shaped object to 3 Using your finger or a 1/2-in. 5 Graco recommends you nozzle (28), and needle carefully pull up-cup retainer diameter rod, push new seal replace the entire fluid needle assembly (9) through front of and u-cup out of gun.
- Page 15 Repair Air Seal Replacement (Non-bleeder only) Use Seal Replacement Kit, 287229. U-cups seals are very fragile. Never pound on seal during installation. ti4450a ti4448a ti4449a 1 Remove air valve retainer 2 Use a hook-shaped object to 3 Push new seal (4) in place 4 Replace air valve needle (17) (21), compression spring carefully pull u-cup seal (4)
-
Page 16: Troubleshooting
Troubleshooting Troubleshooting Problem Cause Solution Material will not flow out of gun Material too thick Thin material. Increase pressure at pump. Not enough air Open gun air valve (A) more (counter-clockwise) Trigger adjustment set too low Rotate trigger nut clockwise to increase (adjust) trigger travel Nozzle too small Increase nozzle size... - Page 17 Notes Notes...
- Page 18 Parts Parts Gun Model 248091 - Non-bleeder ti3968a...
- Page 19 Parts Parts Item Part No. Description 103147 PLUG, pipe 15D125 SEAL, u-cup,.375 dia. shaft 15D126 SEAL, u-cup,.156 dia. shaft 118592 SPRING, compression 156454 PACKING, o-ring 15C894 GUIDE, needle, fluid 15B163 NUT, needle 246972 NEEDLE, fluid, assbly 119343 RING, retaining 15B042 RING, retaining, nozzle 15C882 TRIGGER, gun 15D120 LOCK, trigger 118717 PIN, clevis w groove...
- Page 20 Parts Parts Gun Model 248093 - Bleeder Gun Model 248094 - Bleeder, with fine finish kit (29) 29 B-C-D-E ti3968b...
- Page 21 Parts Parts Item Part No. Description 15D125 SEAL, u-cup,.375 dia. shaft 118592 SPRING, compression 156454 PACKING, o-ring 15C894 GUIDE, needle, fluid 15B163 NUT, needle 246971 NEEDLE, fluid, assbly 119343 RING, retaining 15B042 RING, retaining, nozzle 15C882 TRIGGER, gun 15D120 LOCK, trigger 118717 PIN, clevis w groove 107243 WASHER 115999 RING, retaining...
-
Page 22: Technical Data
Technical Data Technical Data Maximum air working pressure 125 psi (8.6 bar) Air requirements 30 scfm (0.84m /min) Maximum Fluid inlet sizes 1 in. NPT (25.4 mm) Wetted parts Anodized Aluminum, Stainless Steel, Buna-N, UHMW Polyethylene, Brass, Steel Viton, Delrin Sound data Sound pressure level 96 dB(A)*... - Page 23 With the exception of any special, extended, or limited warranty published by Graco, Graco will, for a period of twelve months from the date of sale, repair or replace any part of the equipment determined by Graco to be defective.
- Page 24 Warranty / Garantie / Garantía / Garanzia / GArantia TO PLACE AN ORDER, contact your Graco distributor, or call 1-800-690-2894 to identify the nearest distributor. All written and visual data contained in this document reflects the latest product information available at the time of publication.