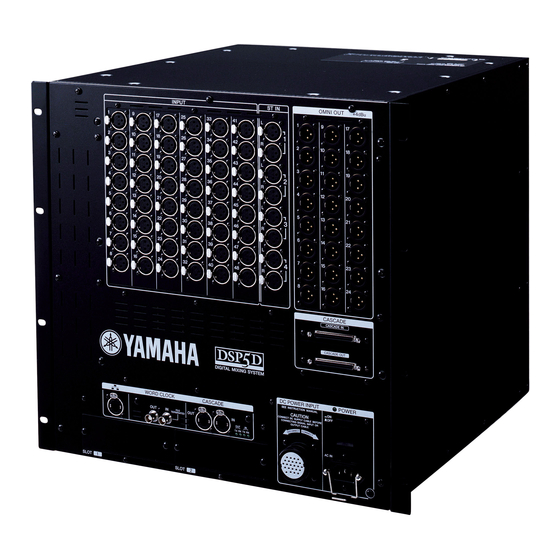
Yamaha DSP5D Upgrade Manual
Hide thumbs
Also See for DSP5D:
- Owner's manual (409 pages) ,
- Installation manual (14 pages) ,
- Brochure & specs (14 pages)
Advertisement
Quick Links
DSP5D Upgrade Guide
This document explains how to update the DSP5D firmware to the latest version.
Precautions (Please be sure to read this section first!)
・ The user assumes full responsibility for the update.
・ Back up all important data before updating.
・ If the DSP5D is cascade-connected to the PM5D, you may also need to update the PM5D when
updating the DSP5D. First check the PM5D firmware version as to whether it supports the DSP5D or
not, then update the PM5D. If the DSP5D is cascade-connected to an unsupported firmware version
of the PM5D, an error message "PM5D Unsupported Firmware Version" will be shown.
・ If you fail to follow these instructions properly, or turn off the DSP5D or unplug the cable while the
update is in progress, the DSP5D may be damaged.
・ If the DSP5D does not work properly after updating, and you've tried updating several times, please
contact your Yamaha dealer.
・ This documentation is copyrighted by Yamaha Corporation.
・ Reproducing or modifying all or part of this documentation without permission is strictly prohibited.
System Requirements
The system requirements below are necessary for updating the firmware.
・ An Ethernet port equipped computer with the DME-N Network Driver installed
(For details on the system requirements refer to the DSP5D Editor Installation Guide.)
・ One Ethernet cable
(If a single DSP5D is connected directly to the computer, you can use either a cross cable or straight
cable.)
DSP5D Upgrade Guide
1
Advertisement

Summary of Contents for Yamaha DSP5D
- Page 1 PM5D, an error message “PM5D Unsupported Firmware Version” will be shown. ・ If you fail to follow these instructions properly, or turn off the DSP5D or unplug the cable while the update is in progress, the DSP5D may be damaged.
-
Page 2: Preparing For The Update
For instructions on how to install and set up the DME-N Network Driver, refer to the DME-N Network Driver Installation Guide for DSP5D. If you are connecting the computer to a single DSP5D, we recommend that you make the following network settings (initial settings for the DSP5D). -
Page 3: Update Procedure
The numbers below correspond to the DSP5D Loader step number. Press the POWER switch (A) of the DSP5D to turn it on. Click the [Next] button. The IN/OUT [TX]/[RX] LEDs (B) light in succession from the left. Wait for about 30 seconds until all four LEDs go into their normal lit state, then click the [Next] button. - Page 4 • Is the power to the DSP5D turned on? • Are the IP addresses set properly on the computer and the DSP5D? • Are the IP address and the MAC address for the DSP5D set properly on the DME-N Network Driver? Press the DSP5D POWER switch (A) to turn it off, then press the POWER switch again while holding down the Mode switch (B) on the rear panel.
- Page 5 [Browse] button. Press the POWER switch (A) of the DSP5D to turn it off, then turn it on again. In about 20 seconds after the DSP5D is turned on, the four IN/OUT [TX]/[RX] LEDs (B) on the front panel light in either one of the ways shown below.
-
Page 6: Initializing The Internal Memory
“Initializing the Internal Memory” section below. Initializing the Internal Memory After the firmware is updated, make sure to initialize the internal memory before using the DSP5D. While holding down the rear panel Mode switch, turn on the power. The four front panel IN/OUT [TX]/[RX] LEDs will light. -
Page 7: Confirming The Firmware Version
The DSP5D update has been completed. If you have backed up the necessary data, load it using the PM5D SAVE/LOAD function or the DSP5D Editor. If necessary, you can check the current firmware version to confirm whether the firmware has been properly updated or not.


