Advertisement
Quick Links
Advertisement

Related Manuals for Keurig K-Elite


Summary of Contents for Keurig K-Elite
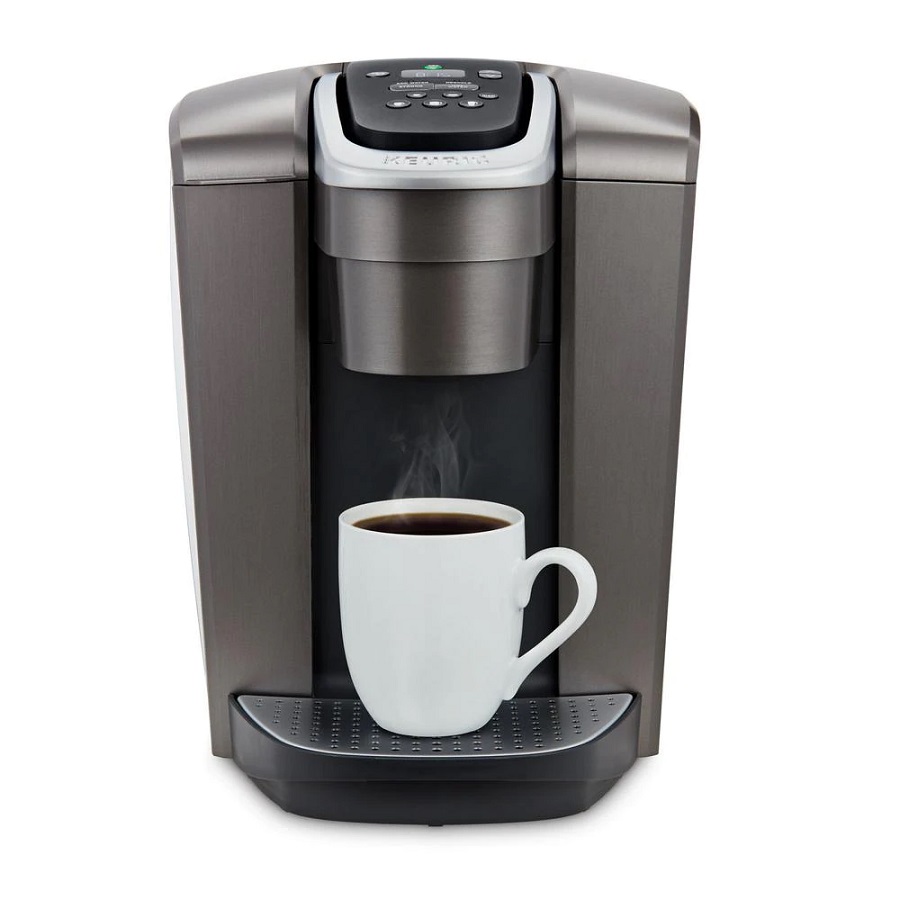
- Page 1 Use & Care Guide Get the most from your new Keurig brewer ®...
- Page 2 ICED brewer and plug into a grounded the reservoir straight up to remove it. outlet. If you have a Keurig® Water Filter, Place a large mug (12oz install it now. Refer to your Water Filter minimum) on the drip tray.
- Page 3 Clock allows you to set an Auto On time. Programming Brewer Features Auto Off: Press the settings button and use the up and down To program your K-Elite brewer, use the settings button ® arrows to set your preferred off time. Off time can be set up and down arrows .
-
Page 4: Caring For Your Brewer
K-Cup® pod holder. holes. Gently move it around to loosen any coffee grounds. Lower the handle completely and run two water-only brew cycles. Do not insert a K-Cup® pod. TIP: Refer to support.Keurig.com for video instructions on cleaning the entrance/exit needles. -
Page 5: Descaling Your Brewer
Water Filter, remove and set aside. NOTE: The cleaning action of Keurig® Descaling Solution may result in a “foam” dispensed from the brewer. This is natural, as the solution is reacting with the scale inside. For a brewer that is heavily scaled, the brewer may not fill properly after the descaler is added. - Page 6 J. K-Cup® Pod Assembly Housing K. Drip Tray Plate L. Drip Tray M. Drip Tray Base For replacement parts, please visit www.Keurig.com Coffeehouse taste in your own home. FIND YOUR PERFECT POD With over 70 brands and hundreds of varieties, find your match at keurig.com/new...