Advertisement
Quick Links
Advertisement

Related Manuals for Janome Memory Craft 11000


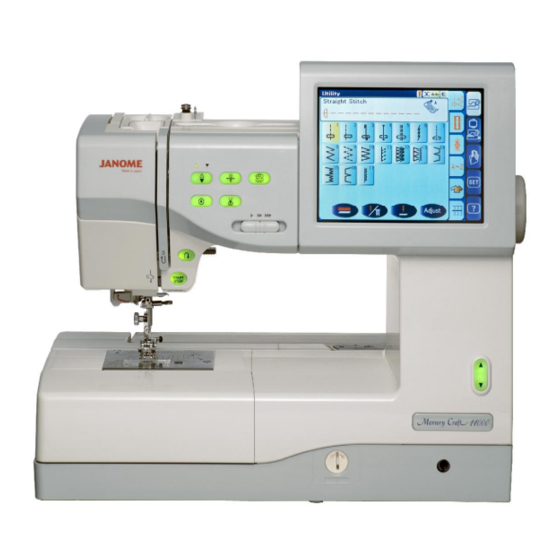
Summary of Contents for Janome Memory Craft 11000
- Page 1 Installation for Version 2.0 Trim Upgrade Kit...
- Page 2 Removing the Top Cover 4. Slowly remove the top cover slightly away exposing the bobbin winder motor plug. Gently disconnect the bobbin winder plug from the top of the A-board. 5. Remove the top cover and the pressure dial.
- Page 3 Removing the Belt Cover 1. Lift the handle and loosen (do not remove) the screw on the right hand side. 2. Remove the large white cap under the hand wheel and the large white cap under the machine socket. 3. Remove the two screws.
- Page 4 Locking Tab 4. Gently start removing the cover from the top rear side, pulling the cover away from the rear panel 5. Make sure to go carefully around the power ports and machine socket. 6. Remove the belt cover.
- Page 5 Removing the Front Cover 1. Remove the screw and the thread guide. Thread guide 2. Loosen the screw underneath the free arm. 3. Remove the screw that is holding the Front Cover from this Bracket...
- Page 6 4. Loosen the screw above the USB box making sure not to pinch your base plug connector wires. 5. Remove Bracket 6. Loosen the screw above the hand wheel.
- Page 7 7. As you pull out the front cover, disconnect the hooks that hold the front and the rear covers together. Push Front Cover 8. Lift Front Panel up and out from the bottom to unclip it from the base unit. Please make sure you don’t pull the Front Panel out to far as it is...
- Page 8 9. Front Panel should be only sitting out from the machine as shown. Please make sure you don’t pull the Panel out to far as some connection may disconnect from the machine.
- Page 9 Tension Unit Removal 1. Unplug the two wires coming from the tension unit going into circuit board U. (Black 3-Pin, Grey 7-Pin). 2. Remove the screw from the top bracket of the tension unit. 3. Open the face cover and remove the screw from the bottom of the tension unit that goes into the grey plastic tension guide.
- Page 12 Tension Unit Installation 1. With a small flat head screwdriver in your left hand, hold the micro switch closed for presser foot up/down. Slide the tension unit with your right hand being careful of the micro switch. 2. Reinstall the two screws that hold the tension unit in.
- Page 13 Front Panel Installation 1. Attach the front cover to the machine being careful not to pinch any wires. 2. Lift Front Panel up and into the bottom of the Base Unit Please make sure you don’t pull the Front Panel out to far as it is still connect to the machine.
- Page 14 4. Tighten the screw above the hand wheel. 5. Tighten the screw underneath the free arm. 6. Install the thread guide and tighten the screw. Thread guide...
- Page 15 7. Insert Bracket, but don’t screw in. Let the Bracket rest up against the Front Cover. 8. Insert screw to hold the Front Cover to the Bracket 9. Tighten the screw above the USB box, making sure that the white wires are out of the way when tightening the crew...
- Page 16 Adjusting the Ordinary Foot Sensor 1. Press the Start-Stop and reverse button and turn the machine on. Wait for the adjusting screen to appear and then release the buttons. Press 3. The screen will show H when the presser bar is up and will show L 2.
- Page 17 Belt Cover Installation 1. Install the belt cover. 2. Make sure to go carefully around the power ports and machine socket. 3. Lift the handle and tighten the screw.
- Page 18 Belt Cover Installation 4. Install and tighten the two screws. 5. Insert the two white caps.
- Page 19 Reinstalling the Top Cover 1A. Install the presser bar dial, making sure that groove on the dial lines up with the slot on the machine. 1B. Lift the handle and gently insert the top cover. 2. Gently reconnect the bobbin winder plug from the top cover into the A board.
- Page 20 4. Lift the handle. Install and tighten the small silver screw on the left hand side of the machine 5. Remove the two large white caps on the top cover.
- Page 21 Installing Face Plate 1. Remove the two screws that hold the Face Plate bracket to the machine and remove the Face Plate. 2. Screw New Type Face Plate to machine making sure that it lines up with the Top Cover and Front Cover.