Axis W100 User Manual
Body worn solution
Hide thumbs
Also See for W100:
- User manual (69 pages) ,
- Manual (53 pages) ,
- Installation manual (31 pages)

Related Manuals for Axis W100


Summary of Contents for Axis W100
- Page 1 Axis body worn solution AXIS W100 Body Worn Camera AXIS W700 Docking Station 1-bay AXIS W701 Docking Station 8-bay AXIS W800 System Controller AXIS TW1200 Mini Bullet Sensor User Manual...
-
Page 2: Table Of Contents
Open AXIS Body Worn Manager ........ -
Page 3: Axis Body Worn Solution
The system is supported by different types of content destinations such as evidence management systems (EMS), video management systems (VMS), and media servers. You can use Axis body worn integration API to integrate with any third party VMS or EMS. Go to www.axis.com/developer-community-intro to join the Axis Developer community, and get access to the Axis body worn integration... -
Page 4: Get Started
The recommended workflow to install and configure your system is: 1. Install your system on page 5 2. Open AXIS Body Worn Manager and configure system settings. See Access AXIS Body Worn Manager for the first time on page 6 3. -
Page 5: Install Your System
2. Connect the docking stations to the Docking stations ports on the system controller. 3. Connect a computer to the same network as the system controller. 4. Power on the devices. 5. Dock the cameras. 6. Continue to Access AXIS Body Worn Manager for the first time on page 6... -
Page 6: Configure Your System
1. Open a browser and enter the IP address or host name of the system controller. If you do not know the IP address, see Access AXIS Body Worn Manager for the first time on page 6 . 2. Enter the username root and your administrator password. -
Page 7: Content Destinations
They all require a connection file to integrate with the Axis body worn system. The connection file is generated in your content destination. For information about how to generate the connection file, please refer to the user help in your content destination. - Page 8 The pre-buffer has a dedicated space on the camera storage. When using the maximum resolution 1080p in very complex scenes with a lot of movement, or in low light, the pre-buffer memory can get full, resulting in a slightly shorter pre-buffer time than configured in AXIS Body Worn Manager.
-
Page 9: Create A User
Extend the system 1. Connect the new system controller to the same network as the existing body worn system. 2. Access the new system controller, see Access AXIS Body Worn Manager for the first time. 3. Select Extend an existing system. - Page 10 Axis body worn solution Configure your system 2. Use your CA (certificate authority) to sign the CSR (certificate signing request). 3. Install certificate Create a certificate signing request 1. Go to Settings > Certificates. 2. Click Create. 3. In Create self-signed certificate, enter your values and click Create.
-
Page 11: Manage Users
Remove a user 1. Go to Users. 2. Click the user you want to delete. 3. Open the context menu 4. Click Remove. Important Never remove body worn users from your content destination. Always use AXIS Body Worn Manager to remove users. -
Page 12: Manage Your System
2. Enter your old password and your new password. 3. Click Save. Download system report You can download a system report from your body worn system. Axis support uses the system report for troubleshooting. 1. Go to Support > System report. 2. Click Download system report. -
Page 13: Replace System Hardware
2. Wait for the storage LED on the camera to turn green, which means that all recordings are transferred. 3. Open AXIS Body Worn Manager and remove the camera that you want to replace, see Remove a camera. 4. Undock the old camera. -
Page 14: System Restore
Restore system. To restore the system, you need a master key, see Download master key. If you want to reset the body worn system to factory default settings, and can access it through AXIS Body Worn Manager, see Reset system. -
Page 15: Adjust Date And Time
The master key is generated and downloaded during the system setup. • You can also download a master key at any time in AXIS Body Worn Manager To download the master key in AXIS Body Worn Manager: 1. Go to Support > Master key. -
Page 16: Upgrade System Firmware
An upgrade of the system firmware takes effect immediately. All system controllers in the system are upgraded. Un-docked cameras are upgraded on docking. 1. Go to axis.com/support/firmware and download the firmware file to your computer. 2. Open AXIS Body Worn Manager on page 6 3. -
Page 17: System Controller User Guide
Axis body worn solution System controller user guide System controller user guide Number Name Description Status LED Green: The system controller is ready to use. Amber: Storage warning. Less than 8% storage left. Red: General warning. Connection with Content destination failed, or storage error. -
Page 18: Camera User Guide
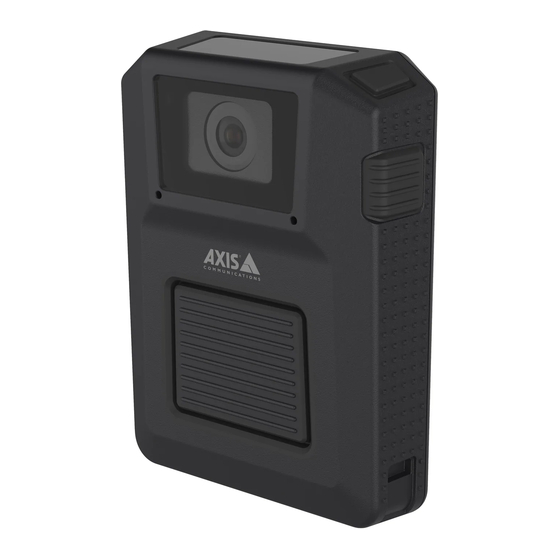
Axis body worn solution Camera user guide Camera user guide Product overview Power button Front recording indicator Display Top button Function button Camera lens Front button... -
Page 19: Daily Use
Axis body worn solution Camera user guide Number Name Description Docking status Green: Camera is ready to use (battery charged, files transferred, software up to date). Pulsing amber: Battery charging, file transfer, software update (any combination of) is ongoing. Recording status Green: Buffering video. - Page 20 Red: 0–0.5 hours of recording left This can be configured in AXIS Body Worn Manager. Download and print the AXIS W100 Daily Use Guide to help the camera users in their daily work. AXIS W100 Daily Use Guide AXIS W100 Daily Use Guide...
- Page 21 Axis body worn solution Camera user guide Starting a shift We recommend checking a few things before starting a shift: • Before you undock the camera, make sure that the docking status is green, which indicates that the battery is charged, all files are transferred, and that the software is up to date.
- Page 22 TICE TICE • Always remove the camera from the body worn system through AXIS Body Worn Manager before storing it. When you remove the camera from the system, the camera enters shipping mode, which ensures a healthy battery level. • Always store the camera at the recommended storage temperature. If you are storing the camera for less than 3 months, the recommended storage temperature range is -20°C (-4 °F) to 45°C (113 °F).
- Page 23 The pre-buffer has a dedicated space on the camera storage. When using the maximum resolution 1080p in very complex scenes with a lot of movement, or in low light, the pre-buffer memory can get full, resulting in a slightly shorter pre-buffer time than configured in AXIS Body Worn Manager.
-
Page 24: Troubleshooting
Axis body worn solution Troubleshooting Troubleshooting If you can’t find what you’re looking for here, try the troubleshooting section at axis.com/support. Basic troubleshooting Problem Cause Solution Body worn camera Camera doesn't turn on. Camera is in shipping mode. Add the camera to the body... -
Page 25: Check System Status
Cause Solution System controller Can't find system controller in You are using an old version of Upgrade to AXIS IP Utility AXIS IP Utility. AXIS IP Utitlity. version 4.14 or later. System controller is turned off. Connect the system controller to the power supply. - Page 26 Axis body worn solution Troubleshooting Message Cause Solution Cameras Locked Camera lost connection Unlock cameras with the body worn system because: • it wasn’t docked for over 8 weeks • the system controller that the system was initially created on was replaced...
-
Page 27: Body Worn Camera Error Feedback
Axis body worn solution Troubleshooting Message Cause Solution controller until the problem is resolved. There are new system Add system controllers controllers connected but not added to the system Content destination Authorization failed There is an incorrect signature Try generating a new in the connection file. - Page 28 Axis body worn solution Troubleshooting Behavior What it means What to do The camera Is not added in the body Add the camera to the body worn system, see Add worn system. cameras. LED: All flash amber A user is not assigned to the camera..
-
Page 29: General Troubleshooting Steps
2. Upgrade the body worn camera with the latest firmware, see Upgrade system firmware. 3. Dock the camera and remove it from the system through AXIS Body Worn Manager. This resets the camera to factory default. Add the camera to the system again. See Reset camera. -
Page 30: Learn More
Secure passwords Important Axis devices send the initially set password in clear text over the network. To protect your device after the first login, set up a secure and encrypted HTTPS connection and then change the password. The device password is the primary protection for your data and services. Axis devices do not impose a password policy as they may be used in various types of installations. -
Page 31: Need More Help
Axis body worn solution Need more help? Need more help? Contact support Contact support at axis.com/support. - Page 32 User Manual Ver. M3.3 Axis body worn solution Date: August 2019 © Axis Communications AB, 2020 Part No. T10135878...