Advertisement
Quick Links
Please Contact Moen First
For Installation Help, Missing or
Replacement Parts
(USA)
1-800-BUY-MOEN (1-800-289-6636)
Mon - Fri 8:00 AM to 7:00 PM, Eastern
Sat. 9:00 AM to 3:00 PM Eastern
WWW.MOEN.COM
(Canada)
1-800-465-6130
Mon - Fri 7:30 AM to 7:00 PM, Eastern
WWW.MOEN.CA
Por favor, contáctese primero
con Moen
Para obtener ayuda de instalación, piezas
faltantes o de recambio
011 52 (800) 718-4345
Lunes a viernes de 8:00 a 20:00 hs.
(Costa Este)
Sáb. 8:00 a 18:30 hs. (Costa Este)
WWW.MOEN.COM.MX
Veuillez d'abord contacter Moen
En cas de problèmes avec l'installation, ou pour
obtenir toute pièce manquante ou de rechange
1-800-465-6130
Du lundi au vendredi :
de 7 h 30 à 19 h, HE
WWW.MOEN.CA
HELPFUL TOOLS
For safety and ease of faucet replacement, Moen recommends the
use of these helpful tools.
Installation Guide
Guía de Instalación
Guide d'installation
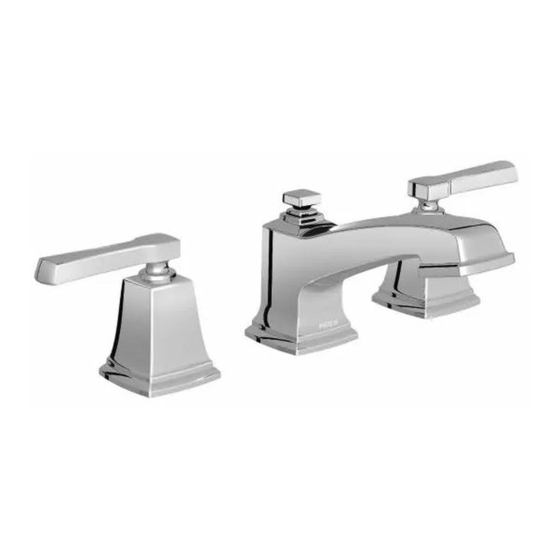
TWO-HANDLE LAVATORY FAUCET
Model T6220 Series
MEZCLADORA PARA LAVABO DE
DOS MANERALES
Modelo T6220 Série
ROBINET DE LAVABO À DEUX POIGNÉES
Modèle T6220 Serie
HERRAMIENTAS ÚTILES
Para que el cambio de la llave sea fácil y seguro, Moen le recomienda
usar estas útiles herramientas.
INS10396A - 1/16
OUTILS UTILES
Par mesure de sécurité et pour faciliter l'installation, Moen suggère
l'utilisation des outils suivants.
Sealant
Sellador
Mastic
Advertisement

Related Manuals for Moen T6220 Series


Summary of Contents for Moen T6220 Series
- Page 1 OUTILS UTILES For safety and ease of faucet replacement, Moen recommends the Para que el cambio de la llave sea fácil y seguro, Moen le recomienda Par mesure de sécurité et pour faciliter l’installation, Moen suggère use of these helpful tools.
-
Page 2: Parts List
Parts List Handle Assembly (x2) Drain Plug Spout Assembly Drain Waste Seat Mounting Shank Plastic Mounting Bracket Spout Shank Metal Mounting Bracket Aerator Tool .* Spout Mounting Nut Lift Rod Installation Tool Pivot Rod Clip Lift Rod Strap Included in Valve 9000 & 69000 Lista de piezas Conjunto del maneral (x2) Tapón de desagüe... - Page 3 INS10396A - 1/16 Cold Frio Froid Caliente Chaud Turn water supply off. • If 9000 rough-in valve is installed, remove & discard spout mounting shank with Installation Tool (N) (not included) as shown in Steps 2 through 5. Cierre el suministro de agua. •...
- Page 4 Thin sink / Fregadero delgado / Comptoir mince Thick sink / Fregadero grueso / Comptoir épais >1/2" (13mm) <1/2" (13mm) Discard Deseche Jeter Place the Spout Assembly (B) into center opening in sink. Hold For sinks thinner than ½" use (K) and (L). Hand tighten the Mounting Nut (M). For decks thicker than ½" use only (L). Discard (K). Hand tighten the Spout Shank (D) and Mounting Shank (C) together when installing.
- Page 5 INS10396A - 1/16 Option: Flat-Sided Handles Opción: Manerales de costados planos Option : poignées à côté plat Place Handle Assemblies (A) onto valve bodies as shown. Position (A) with handles pointing in the off direction as shown. When handle is flush with deck, rotate approximately quarter turn Holding the handle stationary with one hand, thread the base of the so flat faces forward.
- Page 6 SÍ Make final tightening of drain nut with channel locks or an adjustable Insert Drain Plug Body (I) into Drain Waste Seat (J). Install Lift Rod (F) into opening on the top of the Spout Assembly wrench. Ensure drain body opening faces back of sink as shown in inset (B).
- Page 7 INS10396A - 1/16 Flushing Option / Opción de enjuague / Rincer Option Cold Frio Froid Caliente Chaud Turn hot and cold water to the on position. Installation complete. Attach Aerator Tool (E) to aerator. Loosen aerator from spout and set aside. Abra el agua fría y caliente.
- Page 8 Il suffit d’écrire area code and telephone number. estado a otro o de una provincia o nación a otra. Moen lo à Moen inc. à l’adresse indiquée ci-dessous, pour expli- asesorará en el procedimiento a seguir para hacer válida quer le défaut, d’inclure une preuve d’achat, d’inscrire...