Dymo LabelWriter 4XL Quick Start Manual
Hide thumbs
Also See for LabelWriter 4XL:
- User manual ,
- Quick start manual (25 pages) ,
- Specifications (2 pages)
Table of Contents
Advertisement
Available languages
Available languages
Quick Links
π
H-2788
DYMO
LABELWRITER
®
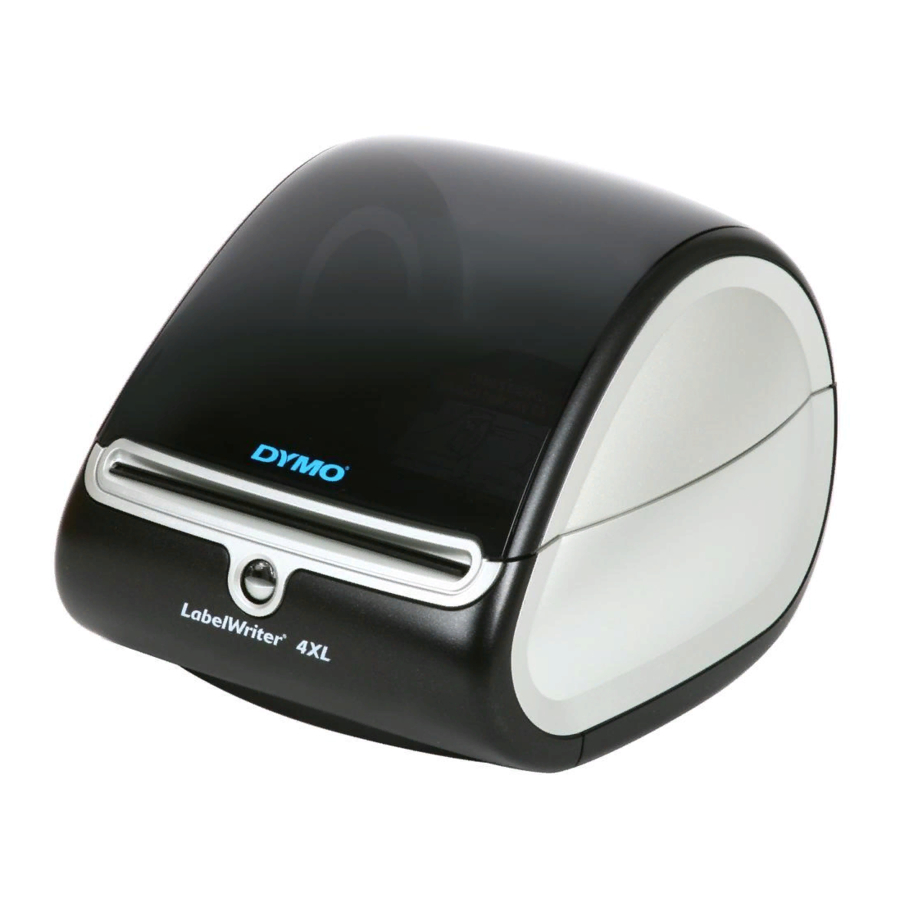
PRINTER FEATURES
The Dymo LabelWriter 4XL printer is a direct thermal
printer and does not use ink or toner. Instead, the printer
uses heat from a thermal print head to print on specially
treated, heat-sensitive labels.
Figure 1 depicts the major components of the printer.
Top Cover
Label Roll
Label Spool
Label Release
Form-feed Button
And LED
Figure 1
Software must be downloaded from the manufacturer's website.
Visit www.dymo.com/en-US/online-support for more information.
PAGE 1 OF 9
1-800-295-5510
uline.com
4XL
®
FEATURES
Label Eject
Button
Connector
SOFTWARE INSTALLATION
The form-feed button on the front of the printer
advances a single label. The label eject button is used
to remove labels from the printer when changing rolls.
The status light visually shows the current state of the
printer:
• Solid blue - power is on and printer is ready.
• Flashing blue - labels are not loaded properly or the
label roll is empty.
Label Feed
Path And
Tear Bar
USB
Para Español, vea páginas 4-6.
Pour le français, consulter les pages 7-9.
DC Power
Connector
Cable
Channel
0719 IH-2788
Advertisement
Table of Contents

Related Manuals for Dymo LabelWriter 4XL


Summary of Contents for Dymo LabelWriter 4XL
- Page 1 The form-feed button on the front of the printer advances a single label. The label eject button is used The Dymo LabelWriter 4XL printer is a direct thermal to remove labels from the printer when changing rolls. printer and does not use ink or toner. Instead, the printer...
-
Page 2: Connecting The Printer
CONNECTING THE PRINTER NOTE: For Windows, do not connect the printer 4. Plug the USB cable Figure 4 USB Port to your computer until instructed to do so into the USB port on during the software installation. the bottom of the printer. - Page 3 PRINTING PRINTING THE FIRST LABEL The first time you start DYMO Label software, a list of available label types is displayed on the left side of the The first time you open the application, you are asked window and an address label is displayed in the Edit to register the software.
-
Page 4: Características De La Impresora
El botón de avance de papel de la parte delantera de la impresora avanza una única etiqueta adhesiva. El botón La impresora Dymo LabelWriter 4XL es una impresora de expulsión de etiquetas adhesivas se utiliza para quitar térmica directa y no utiliza tinta ni tóner. En lugar de ello, las etiquetas de la impresora al cambiar el rollo. - Page 5 CONECTAR LA IMPRESORA NOTA: En el caso de Windows, no conecte la 4. Conecte el cable USB al puerto USB ubicado en la impresora a una computadora hasta que se le parte inferior de la impresora. (Vea Diagrama 3) indique que debe hacerlo durante el proceso de 5.
- Page 6 IMPRIMIR IMPRIMIR LA PRIMERA ETIQUETA La primera vez que inicie el software DYMO Label, se mostrará un listado de tipos de etiquetas adhesivas La primera vez que abra la aplicación, se le solicitará disponibles en el lado izquierdo de la ventana y una que registre el software.
-
Page 7: Caractéristiques De L'imprimante
CARACTÉRISTIQUES DE L'IMPRIMANTE Le bouton d'alimentation à l'avant de l'imprimante distribue une seule étiquette. Le bouton d'éjection L'imprimante Dymo LabelWriter 4XL est une imprimante d'étiquettes est utilisé pour retirer les étiquettes de thermique directe et elle ne requiert pas d'encre ou l'imprimante lors du changement de rouleau. -
Page 8: Branchement De L'imprimante
BRANCHEMENT DE L'IMPRIMANTE REMARQUE : Pour Windows, ne raccordez 4. Branchez le câble USB dans le port USB en dessous l'imprimante à un ordinateur que lorsque vous de l'imprimante. (Voir Figure 3) en aurez reçu l'instruction lors de l'installation 5. Insérez les câbles Figure 4 Port USB du logiciel. - Page 9 IMPRESSION IMPRESSION DE LA PREMIÈRE ÉTIQUETTE La première fois que vous démarrez le logiciel DYMO Label, une liste de types d'étiquettes est affichée sur le La première fois que vous ouvrirez l'application, vous côté gauche de la fenêtre et une étiquette d'adresse serez invité...