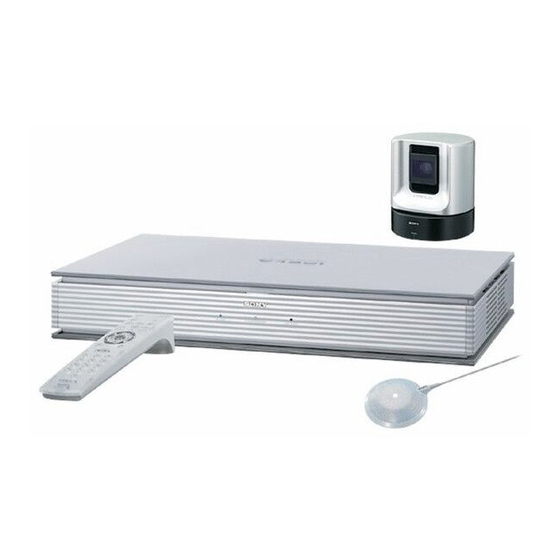
Sony PCS-G50 Manual
Starting a videoconference in the boardroom
Hide thumbs
Also See for PCS-G50:
- Service manual (200 pages) ,
- System integration manual (122 pages) ,
- Operating instructions manual (17 pages)
Advertisement
Quick Links
Starting a Videoconference in the Boardroom:
1. Turn on the projector using the white Epson remote control by
pressing the red power button.
2. Turn on the Sony video conference system by pressing the green
power button on the Sony remote control. This will also turn on the
LCD monitor.
3. If you are going to be using a computer for a presentation, it is
best to turn on the projector prior to docking your laptop.
4. The video conference unit will start up
and the initial screen will appear. The
projector must be on to see this screen.
5. Use the main control buttons to highlight
the "Phone Book" icon (it will turn yellow)
and press the "ENTER" button to bring up
the phone book listings. To add multiple
locations you can press the "CONNECT/
DISCONNECT" button and go to the
"Phone Book" icon
6. The phone book will appear with the
most recent numbers dialed appearing first.
7. Use the main control buttons to move
thru the phone book until you find the
location you wish to connect to and press
the "ENTER" button. Select "Dial" from
the list of choices and press the "ENTER"
button to connect.
Page 1
Advertisement

Related Manuals for Sony PCS-G50


Summary of Contents for Sony PCS-G50
- Page 1 2. Turn on the Sony video conference system by pressing the green power button on the Sony remote control. This will also turn on the LCD monitor. 3. If you are going to be using a computer for a presentation, it is best to turn on the projector prior to docking your laptop.
- Page 2 (one of the 4 corners, or none). 13. Use the volume control on the Sony remote to increase or decrease the audio level from the other sites. If you are not hearing any audio, ensure the audio amp is turned on, and the ‘VidCon’ volume control and ’Master’...
- Page 3 14. When in a conference, you can adjust the camera by using the main control button to pan and tilt the camera, and the zoom button to zoom the picture in or out. There are also 6 preset camera locations available by pressing #1-6 on the keypad.
- Page 4 Sending Computer Images: Connect your laptop to the dock or to • the loose cable on the DSB Box (Seen Right). Select which input your computer is • hooked up to by pressing the RGB A or RGB B button on the top of the DSB Box.
- Page 5 Sending DVD Signal: Turn on the DVD Player and insert • your DVD. Press the “VIDEO INPUT” button • Use the main control buttons to • change the VIDEO IN label to DVD PLAYER and press “ENTER” Your DVD video should now appear •...
-
Page 6: Ending A Video Conference
Ending a Video Conference: Press “CONNECT/DISCONNECT” button. You will be asked • a question Disconnect? Press “CONNECT/DISCONNECT” button again or the • “PUSH/ENTER” button to end meeting connection. The screen view will return to your main window. Press the green “power off” button, you will be asked if you •... - Page 7 Connecting a Laptop to a Projection Unit Turn the projection unit on and check it is on “computer” input by pressing the “source” button on the remote. Connect the laptop to the projector with the VGA cable or by docking the unit. Turn the laptop on - the computer should automatically sense it is hooked up to the projector and your screen resolution may change.
- Page 8 Page 8...
- Page 9 Page 9...
- Page 10 Sony PCS-G50 Videoconference Remote (Boardroom) Stop/start sending computer signal On/Off (green) • click once to turn on conference unit and monitor. • click twice to turn off conference unit Mute and monitor. Volume Control Camera Zoom Display Video Input Select...