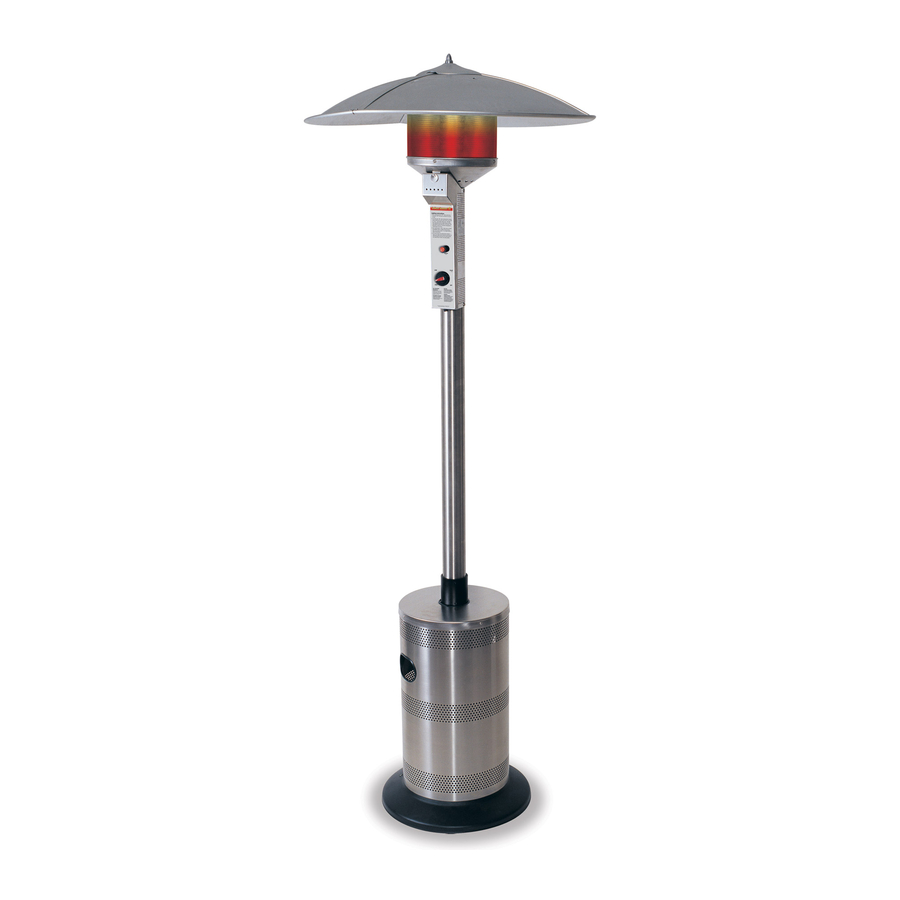
Blue Rhino Endless Summer 200209 Owner's Manual
Blue rhino outdoor patio heater owner's manual 200209
Hide thumbs
Also See for Endless Summer 200209:
- Catalog (34 pages) ,
- Replacement manual (17 pages) ,
- Owner's manual (44 pages)
Chapters
Table of Contents

Related Manuals for Blue Rhino Endless Summer 200209


Summary of Contents for Blue Rhino Endless Summer 200209
- Page 1 Owner’s Manual Manual del Usuario M o d e l N o . 200209 WARNING FOR YOUR SAFETY: For Outdoor Use Only (outside any enclosure) Solamente Para Uso En Exteriores (fuera de cualquier recinto)
- Page 2 Contact 1-800-762-1142 for assistance. Do not return to place of purchase. Owner’s manual and assembly instructions: model 200209 outdoor patio heater WARNING FOR YOUR SAFETY: Improper installation, adjustment, alteration, service or maintenance can cause injury or property damage.
-
Page 3: Table Of Contents
THE INSTALLATION OF THIS UNIT MUST CONFORM WITH LOCAL CODES, OR IN THE ABSENCE OF LOCAL CODES, THE NATIONAL FUEL GAS CODE, ANSIZ223.1-1988 (CAN1-B149 INSTALLATION CODE). Owner’s manual and assembly instructions: model 200209 outdoor patio heater Save these instructions for future reference. If you are assembling this unit... -
Page 4: Safety First
(approximately 45 minutes after use). Notice: This product should not be used with any fuel other than liquid propane. Use of other fuels will detract from heaters performance and will void your warranty. Owner’s manual and assembly instructions: model 200209 outdoor patio heater 1/15/03... -
Page 5: For Your Safety
• Do not clean heater with combustible or corrosive cleaners. Use warm, soapy water. • Do not paint engine, engine access panel or dome. Owner’s manual and assembly instructions: model 200209 outdoor patio heater “20 lb.” LP Cylinder Valve 18”-19”... -
Page 6: Component Listing & Hardware
Components Contact 1-800-762-1142 for assistance. Do not return to place of purchase. Hardware Picture Owner’s manual and assembly instructions: model 200209 outdoor patio heater Used in Description Step(s) Carriage Bolt Bolt 1 & 2 Large Screw Small Screw Dome Screw Small Lockwasher 1 &... -
Page 7: Assembly Instructions
Retain these nuts for use in Step 9. You are now ready to begin assembly of your patio heater. Owner’s manual and assembly instructions: model 200209 outdoor patio heater Step 1 – Attach Legs to Base •... -
Page 8: Step 2 Attach Platform To Legs
• Insert Gas Line up through large hole in Platform from underneath between center and left leg as shown in illustration. • Slide Shroud Cover over Gas Line, then over Platform/Leg assembly until bottom of Shroud rests on Base. Owner’s manual and assembly instructions: model 200209 outdoor patio heater 1/15/03... -
Page 9: Step 5 Attach Engine To Post
• Use top three setscrews to adjust Post’s angle as necessary. • Tighten all six setscrews. Note: Post must be perpendicular to Base. Failure to do so will adversely affect burner performance. Owner’s manual and assembly instructions: model 200209 outdoor patio heater 1/15/03... -
Page 10: Step 7 Connect Gas Line To Engine
• Slide Dome Cap over Dome Bolt, lining up notches in cap with Dome Ribs. Thread on finial until tight. Contact 1-800-762-1142 for assistance. Do not return to place of purchase. Owner’s manual and assembly instructions: model 200209 outdoor patio heater 1/15/03... -
Page 11: Step 9 Attach Dome To Emitter
Note: Be careful not to kink flexible hose of Gas Line. • Secure cylinder in place by attaching loose end of Cylinder Restraint Chain to hole in left leg. Owner’s manual and assembly instructions: model 200209 outdoor patio heater 1/15/03... -
Page 12: Step 12 Check For Leaks
• Release Gas Line fitting from Cylinder valve and re-attach making sure connection is secure. (see Step 11) • If you continue to see bubbles after several attempts, contact 1-800-762-1142 for assistance. • Turn Cylinder Valve OFF. Owner’s manual and assembly instructions: model 200209 outdoor patio heater 1/15/03... -
Page 13: Step 13 Replace Engine Access Panel
• Install (1) AA battery. Negative end of battery goes in first. • Replace battery cover cap by turning cap clockwise. Note: Once you have successfully completed assembly Steps 1-14 you are ready to begin operating your heater. Owner’s manual and assembly instructions: model 200209 outdoor patio heater 1/15/03... -
Page 14: Operation
• Push Igniter button once. Pilot Light flame will appear and be visible through Viewing Hole. • Release Control Knob after 30 seconds. Pilot Light will remain lit. If not, return to step 1. Owner’s manual and assembly instructions: model 200209 outdoor patio heater 1/15/03... -
Page 15: Re-Lighting
Turn Cylinder Valve clockwise to OFF and disconnect Regulator when heater is not in use. Note: After use, some discoloration of the emitter screen is normal. Owner’s manual and assembly instructions: model 200209 outdoor patio heater WARNING FOR YOUR SAFETY: Be careful when attempting to manually ignite this heater. -
Page 16: Operation Checklist
After Operation Gas control is in OFF position. Gas Tank valve is OFF. Disconnect Gas line. Heater is upright in a secure location. Owner’s manual and assembly instructions: model 200209 outdoor patio heater 1/15/03... -
Page 17: Troubleshooting
Note: Bottom 1” of emitter normally does NOT glow. Carbon build-up Thick black smoke Owner’s manual and assembly instructions: model 200209 outdoor patio heater And this condition exists: Cylinder valve is closed Blockage in orifice or pilot tube Air in gas line... -
Page 18: Maintenance
TIP: Use high-quality automobile wax to help maintain the appearance of your heater. Apply to exterior surfaces from the pole down. Do not apply to emitter screen or domes. Owner’s manual and assembly instructions: model 200209 outdoor patio heater 1/15/03... -
Page 19: Storage
Caution: Use only original equipment replacement parts. Use of unauthorized parts or modification of parts will void warranty and create an unsafe condition. Caution: Always allow heater to cool before attempting service. Owner’s manual and assembly instructions: model 200209 outdoor patio heater 1/15/03... -
Page 20: Warranty
Warranty Terms Manufactured by Blue Rhino Global Sourcing, 104 Cambridge Plaza Drive, Winston-Salem, NC 27103 USA. 1-800-762-1142. Manufacturer will cover: All parts found to be defective due to materials or workmanship for 2 years from the date of original purchase. -
Page 21: Specifications
Maximum – 150 PSI Minimum – 5 PSI Manifold Pressure: 11.00 in. W.C. Engine: IPP E3 Safety Features: 100% Burner shut-off Tilt Switch Manufacturer: Blue Rhino Global Sourcing Made In: China Owner’s manual and assembly instructions: model 200209 outdoor patio heater 1/15/03... - Page 22 éste o de cualquier otro aparato. Manual de usuario e instrucciones de montaje: calentador de patio exterior, modelo 200209 Si necesita ayuda llame al 1-800-762-1142 No devuelva el artículo al lugar de compra Una instalación, ajuste, alteración,...
- Page 23 ANSIZ223. 1-1988 (CAN1-B149 CÓDIGO DE LA INSTALACIÓN). Manual de usuario e instrucciones de montaje: calentador de patio exterior, modelo 200209 ......9 Conserve estas instrucciones para futuras consultas.
-
Page 24: La Seguridad, Lo Primero
Push Push Pilot (Push in) Manual de usuario e instrucciones de montaje: calentador de patio exterior, modelo 200209 Si necesita ayuda llame al 1-800-762-1142 No devuelva el artículo al lugar de compra ¡La Seguridad, lo Primero! Lea y familiarícese con los contenidos de este manual, especialmente con las siguientes precauciones. - Page 25 • No limpie el calentador con limpiadores combustibles o corrosivos. Utilice agua templada y jabonosa. • No pinte el motor, el acceso al motor o la cúpula. Manual de usuario e instrucciones de montaje: calentador de patio exterior, modelo 200209 Bombona de PL de 9 kg Collar Válvula...
-
Page 26: Instrucciones Para El Armado Lista De Componentes Y Equipo
Conjunto de línea de gas/regulador Patas (3) Base Placa de lastre Manual de usuario e instrucciones de montaje: calentador de patio exterior, modelo 200209 Si necesita ayuda llame al 1-800-762-1142 No devuelva el artículo al lugar de compra Ferretería Imagen Usado Cant. -
Page 27: Componentes Generales Y Características
• No apriete por completo hasta el Paso 2. • Acople el gancho “S” de la cadena de fijación de la bombona a la pata izquierda. Manual de usuario e instrucciones de montaje: calentador de patio exterior, modelo 200209 1/15/03... -
Page 28: Paso 2 Acoplar La Plataforma A Las Patas
Para apretar, utilice una llave de 7/16” y una llave de tubo de 7/16” para la tuerca. Manual de usuario e instrucciones de montaje: calentador de patio exterior, modelo 200209 Si necesita ayuda llame al 1-800-762-1142 No devuelva el artículo al lugar de compra Paso 2: Acoplar la plataforma a las patas •... -
Page 29: Paso 5 Acoplar El Motor Al Poste
• Apriete los seis tornillos de fijación. Nota: El poste debe estar perpendicular a la base. No hacerlo afectará negativamente al rendimiento del quemador. Manual de usuario e instrucciones de montaje: calentador de patio exterior, modelo 200209 1/15/03... -
Page 30: Paso 7 Conectar La Línea De Gas Al Motor
Manual de usuario e instrucciones de montaje: calentador de patio exterior, modelo 200209 Si necesita ayuda llame al 1-800-762-1142 No devuelva el artículo al lugar de compra Paso 7: Conectar la línea de gas al motor • Acople la línea de gas a la válvula de control. -
Page 31: Paso 9 Acoplar La Cúpula Al Emisor
• Asegure la bombona en su sitio acoplando el extremo suelto de la cadena de fijación de la bombona al orificio de la pata izquierda. Manual de usuario e instrucciones de montaje: calentador de patio exterior, modelo 200209 SECCIÓN TRANSVERSAL Grapa de la Línea de gas... -
Page 32: Paso 12 Comprobar Si Hay Fugas
Manual de usuario e instrucciones de montaje: calentador de patio exterior, modelo 200209 Si necesita ayuda llame al 1-800-762-1142 No devuelva el artículo al lugar de compra Paso 12: Comprobar si hay fugas •... -
Page 33: Paso 13 Volver A Colocar El Panel De Acceso Al Motor
Nota: Una vez haya completado con éxito el montaje desde el Paso 1 al 14, ya está listo para hacer funcionar su calentador. Manual de usuario e instrucciones de montaje: calentador de patio exterior, modelo 200209 1/15/03... -
Page 34: Antes De Activar La Alimentación De Gas (On)
Pilot (Push in) HIGH HIGH Manual de usuario e instrucciones de montaje: calentador de patio exterior, modelo 200209 Si necesita ayuda llame al 1-800-762-1142 No devuelva el artículo al lugar de compra Funcionamiento Precaución: NO intente poner en marcha el calentador hasta que haya leído y comprendido todas las precauciones indicadas en la... -
Page 35: Reencendido
Nota: Tras su uso, es normal que la pantalla del emisor presente alguna decoloración. Manual de usuario e instrucciones de montaje: calentador de patio exterior, modelo 200209 ADVERTENCIA PARA SU SEGURIDAD: Tenga cuidado al encender manualmente este calentador. -
Page 36: Lista De Control De Operaciones
Manual de usuario e instrucciones de montaje: calentador de patio exterior, modelo 200209 Si necesita ayuda llame al 1-800-762-1142 No devuelva el artículo al lugar de compra Lista de Control de Operaciones Para que la experiencia con su calentador sea segura y agradable, lleve a cabo la siguiente comprobación antes de cada uso. -
Page 37: Solución De Problemas
NO brillan. Acumulación de carbonilla Humo espeso y negro Manual de usuario e instrucciones de montaje: calentador de patio exterior, modelo 200209 Y se da está situación: La válvula de la botella está cerrada Obstrucción en el orificio o el tubo de la llama piloto Aire en la línea de gas... -
Page 38: Mantenimiento
No aplique en la pantalla del emisor ni en la cúpula. Manual de usuario e instrucciones de montaje: calentador de patio exterior, modelo 200209 Si necesita ayuda llame al 1-800-762-1142 No devuelva el artículo al lugar de compra Mantenimiento Para disfrutar de años de rendimiento excepcional de su calentador,... -
Page 39: Almacenamiento
Precaución: Deje siempre que el calentador se enfríe antes de realizar cualquier reparación. Manual de usuario e instrucciones de montaje: calentador de patio exterior, modelo 200209 1/15/03... -
Page 40: Garantía
Términos de la Garantía Fabricado por Blue Rhino Global Sourcing, 104 Cambridge Plaza Drive, Winston-Salem, NC 27104 USA 1-800-762-1142. El fabricante cubrirá: Todas las piezas que resulten ser defectuosas debido a los materiales empleados o a la calidad del trabajo durante 1 año a partir de la fecha de adquisición por parte del comprador original. -
Page 41: Especificaciones
11 pulg. (27,9 cm) columna de agua . Motor: IPP E3 Características de seguridad: Desactivación total del quemador Conmutador de inclinación Fabricante: Blue Rhino Global Sourcing Fabricado en: China Manual de usuario e instrucciones de montaje: calentador de patio exterior, modelo 200209 1/15/03... - Page 42 Si necesita ayuda llame al 1-800-762-1142 No devuelva el artículo al lugar de compra Manual de usuario e instrucciones de montaje: calentador de patio exterior, modelo 200209 1/15/03...
- Page 43 Si necesita ayuda llame al 1-800-762-1142 No devuelva el artículo al lugar de compra Manual de usuario e instrucciones de montaje: calentador de patio exterior, modelo 200209 1/15/03...
- Page 44 Blue Rhino Global Sourcing Blue Rhino Global Sourcing A wholly owned subsidiary of Blue Rhino Corporation (NASDAQ-RINO) Empresa filial y enteramente propiedad de Blue Rhino Corporation 104 Cambridge Plaza Drive, Winston-Salem, NC 27104 USA (NASDAQ-RINO) 1.800.762.1142, www.bluerhino.com 104 Cambridge Plaza Drive, Winston-Salem, NC 27104 USA 1.800.762.1142, www.bluerhino.com...