
Related Manuals for Kettler Carbon 7099-000

Summary of Contents for Kettler Carbon 7099-000
- Page 2 • • Do not use the foosball table until it has been Waste disposal: KETTLER® products are fully and correctly assembled and checked. recyclable. At the end of its useful life, please • dispose of correctly and safely complying with Set the table up on a level surface.
- Page 3 If there • For technical reasons, we reserve the right to carry are any problems please contact KETTLER®. out preliminary assembly work (e.g. addition of tubing plugs). • Before assembling the equipment, study the drawings and photos carefully then assemble in the •...
- Page 4 Packa e Conti e nts (continued) Number lncluded-16 Allen Bolts Number lncluded- Number lncluded 2x Color 1 lOx Color 1 2x Color 2 Number lncluded-4 lOx Color 2 (M3.9X35 Screw) Number Included- Number lncluded- 16 Number lncluded-4 (M2.8 X 11.5 Screw) (M4 X 25 Screw) Number lncluded-2 Number Included-...
- Page 5 Assembly Pictures Similar Step 1 4 required 4 required 16 required 1 required Place legs into cabinet corner with the screwholes facing inward. Lightly screw in all four bolts in to each leg by hand. Next use an Allen Wrench to tighten all bolts.
- Page 6 Assembly Step 1 (continued) Screw in floor levelers into all four legs. Assembly Pictures Similar IMPORTANT: Have two Step 2 people complete Step 2. Setting the table upright Turn the table onto its feet to prepare for the next assembly step.
-
Page 7: Rod Assembly
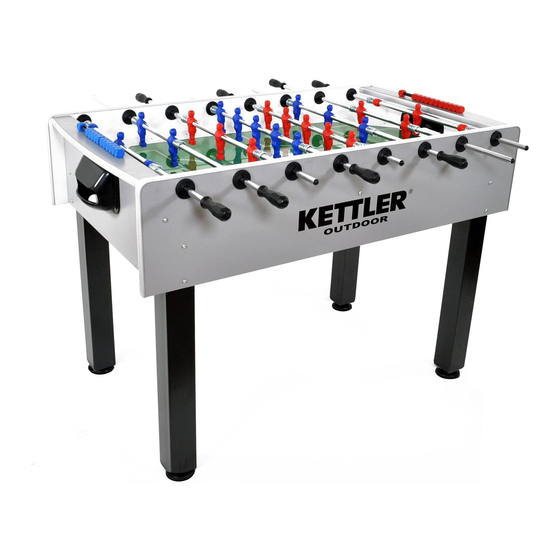
Assembly Step 3 Rod Assembly 2 sets required The foosball table comes with 4 rods for each team. The bar scheme is as follows: Rod with lx player color 1 (Goalie) Rod with 2x players color 1 (Defense) Rod with 3x players color 2 (Forwards) Rod with Sx players color 1 (Mid-Fielders) Rod with Sx players color 2 (Mid-Fielders) Rod with 3x players color 1 (Forwards) - Page 8 Rod bushing assembly Rod bushing assembly Insert the 2 part inner bushing in the open cabinet hole around the pole as shown Insert the 2 part end cap in the open cabinet hole around the pole as shown. Set into cabinet hole.
- Page 9 Assembly Step 5 8 required Rod Handle Assembly Place the rod handle onto the end of the rod. ( A ) Lightly tap handle using a hammer until the handle end reaches the line on the rod closest to the table. ( B ) REPEAT THE STEP 6 A-8 FOR EACH ROD...
-
Page 11: Required Parts
Assembly Pictures Similar Required Parts Required 2 Required 8 Goal Assembly Located goal holes on each end of the table. Place ball holders over goal holes with the opening on the bottom. Fasten ball holder to cabinet by screwing in all four screws. - Page 12 FOOSBALL TABLE COVER The foosball table comes with a cover included when purchased. Always cover your foosball table when not using. This protects the table from the elements and increases the life of the product to provide many years of enjoyment! The cover is equipped with a Velcro side opening for ease of use and a tie down...
- Page 14 Log onto www.kettlerusa.com/warranty and register your KETTLER ® Cavalier Foosball Table Warranty online! www.facebook.com/kettlerusa www.youtube.com/kettlerusa twitter.com/kettler_usa...
- Page 15 All rights reserved. No part of this manual may be ® reproduced, stored in a retrieval system, or transmitted in any form, or by any means, such as electronic, mechanical, photocopying or otherwise, without the prior written permission of KETTLER ® KETTLER ®...