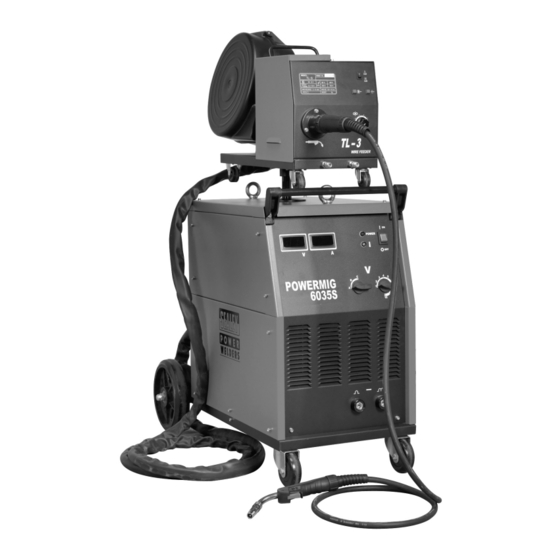
Summary of Contents for Sealey POWERMIG Series
- Page 1 INSTRUCTIONS FOR POWERMIG WELDERS POWERMIG6025S MODEL No's: POWERMIG6035S © Jack Sealey Limited POWERMIG6025S, POWERMIG6035S Issue: 1 - 18/09/12...
-
Page 2: Safety Instructions
It is particularly important to use an RCD together with portable products that are plugged into an electrical supply not protected by an RCCB. If in doubt consult a professional electrician. You may obtain a Residual Current Device by contacting your Sealey dealer. you must also read and understand the following instructions concerning electrical safety. -
Page 3: Introduction And Specifications
Ideal for industrial use where 400V 3ph supply is not a problem. These top of the range 3ph units, are covered by the Sealey 12 month warranty plus an additional 24 months on the main transformer. Model No's POWERMIG6025S and POWERMIG6035S both feature portable wire drive system with 2 and 4 touch on/off mechanism and 5mtr umbilical extension, to allow access in to high or tight areas where the welder will not fit. -
Page 4: Unpacking And Contents
5.2.5 Now connect the gas pipe (G). Push the brass fitting on the end of the 4.2.6 GAS REGULATOR gas pipe into the brass socket until it clicks into place. 4.2.7 GAS BOTTLE RETAINING ChAIN fig.3 Original Language Version POWERMIG6025S, POWERMIG6035S Issue: 1 - 18/09/12 © Jack Sealey Limited... - Page 5 5.6.5 Set the regulator flow rate to 4litres/min depending on the material to be welded, also taking into consideration any draughts which are strong enough to disturb the gas flow. Original Language Version © Jack Sealey Limited POWERMIG6025S, POWERMIG6035S Issue: 1 - 18/09/12...
- Page 6 (see fig.13). Once the knobs are removed the rollers can be pulled off the geared drive wheels. If possible, try not to dislodge the square keys from the keyways. Original Language Version © Jack Sealey Limited POWERMIG6025S, POWERMIG6035S Issue: 1 - 18/09/12...
- Page 7 Adjust tension by turning overheating occurs and cuts off the power supply; it will reset the pressure knob as shown in fig.15. automatically within a few minutes, after cooling down. Original Language Version © Jack Sealey Limited POWERMIG6025S, POWERMIG6035S Issue: 1 - 18/09/12...
- Page 8 If welding a vehicle, disconnect vehicle battery or fit an “Electronic connected as described in Section 5.4. Ensure that the locking Circuit Protector” to battery, (available from your Sealey dealer). nut/ring is fully tightened and the wire has been fed through to the 9.2.2...
-
Page 9: Maintenance
To keep the contact tip free from 9.4.6 Ensure that the earth clamp is in contact with the workpiece. spatter, we recommend the use of Sealey anti-spatter spray 9.4.7 Press the torch button, keeping the torch at a safe distance from the (MIG/722308) available from your Sealey Dealer. -
Page 10: Troubleshooting
Parts support is available for this product. To obtain a parts listing and/or diagram, please log on to www.sealey.co.uk, email sales@sealey.co.uk or phone 01284 757500. NOTE: It is our policy to continually improve products and as such we reserve the right to alter data, specifications and component parts without prior notice.


