Advertisement
Quick Links
Installation instructions, accessories
Volvo Car Corporation Gothenburg, Sweden
Instruction No
Instruction No
Version
Version
31265625
31265625
1.3
1.3
IMG-332637
IMG-332637
© Volvo Car Corporation
Part. No.
Part. No.
31265619, 30758015, 30758016, 30758017, 30758018, 31330003, 31330004
31265619, 30758015, 30758016, 30758017, 30758018, 31330003, 31330004
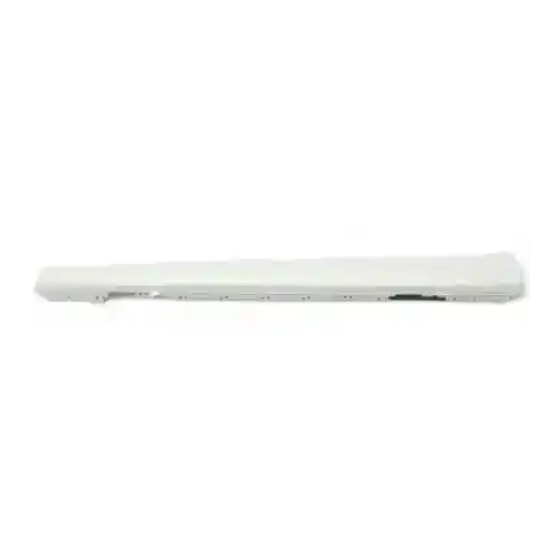
Side scuff plate
Side scuff plate
Side scuff plate- 31265625 - V1.3
Page 1 / 16
Advertisement

Summary of Contents for Volvo 31265619
- Page 1 Instruction No Version Version Part. No. Part. No. 31265625 31265625 31265619, 30758015, 30758016, 30758017, 30758018, 31330003, 31330004 31265619, 30758015, 30758016, 30758017, 30758018, 31330003, 31330004 Side scuff plate Side scuff plate IMG-332637 IMG-332637 © Volvo Car Corporation Side scuff plate- 31265625 - V1.3...
- Page 2 Installation instructions, accessories Volvo Car Corporation Gothenburg, Sweden Equipment A0000162 IMG-239664 IMG-239660 IMG-239940 IMG-332608 © Volvo Car Corporation Side scuff plate- 31265625 - V1.3 Page 2 / 16...
- Page 3 Installation instructions, accessories Volvo Car Corporation Gothenburg, Sweden IMG-348168 © Volvo Car Corporation Side scuff plate- 31265625 - V1.3 Page 3 / 16...
- Page 4 Explanatory text is also given for more complicated steps. In the event of any problems with the instructions or the accessory, contact your local Volvo dealer. Note! Some steps in these installation instructions are presented with illustration only.
- Page 5 Installation instructions, accessories Volvo Car Corporation Gothenburg, Sweden Clean the door sills thoroughly on both sides, even underneath. IMG-332639 Clean the door sill panels where the decor panel's cradle is to sit on both sides using isopropanol. Wipe dry. IMG-332640 ©...
- Page 6 Installation instructions, accessories Volvo Car Corporation Gothenburg, Sweden Applies to vehicles with Drive E Carefully drill out the rivets. IMG-348161 IMG-348163 © Volvo Car Corporation Side scuff plate- 31265625 - V1.3 Page 6 / 16...
- Page 7 Installation instructions, accessories Volvo Car Corporation Gothenburg, Sweden Remove the panel. Remove the remains of the rivets. IMG-348166 Applies to all models Take the cradles for one side from the kit. The cradles are marked out and only fit in one place.
- Page 8 Installation instructions, accessories Volvo Car Corporation Gothenburg, Sweden Align the front edge of the cradle at the rear edge of the joint between the front and rear door sill panel. Note! Ensure that the tape does not adhere yet. At the same time hook the cradle at the upper edge on the door sill panel with the hooks.
- Page 9 Installation instructions, accessories Volvo Car Corporation Gothenburg, Sweden Take pop rivets from the kit. Rivet the holder to the door sill panel. IMG-332649 Remove the protective tape from the pieces of mounting tape on the rear cradle. IMG-332650 © Volvo Car Corporation Side scuff plate- 31265625 - V1.3...
- Page 10 Installation instructions, accessories Volvo Car Corporation Gothenburg, Sweden Illustration A Align the lugs at the front edge in the rear cradle in the holes at the front. Note! Ensure that the tape does not adhere yet. At the same time, hook the holder on top of the door sill panel using the hooks.
- Page 11 Installation instructions, accessories Volvo Car Corporation Gothenburg, Sweden Take pop rivets from the kit. Rivet the holder to the door sill panel. IMG-332659 Carefully twist off the hooks from the cradles. IMG-332660 © Volvo Car Corporation Side scuff plate- 31265625 - V1.3...
- Page 12 Installation instructions, accessories Volvo Car Corporation Gothenburg, Sweden Hook the sill decor onto the cradle. Align the holes in the panel with the hooks in the cradles. Press the decor strip into position securely so that all hooks engage. IMG-332661 Press the sill decor opposite the mounting lug for the centre hole against the underneath of the door sill panel.
- Page 13 Installation instructions, accessories Volvo Car Corporation Gothenburg, Sweden Rivet the mounting lug to the car body with a rivet. Now drill and rivet the holes alternately in front of and behind the newly installed rivet. Note! The front hole must be secured with plastic rivets and saved until last.
- Page 14 Installation instructions, accessories Volvo Car Corporation Gothenburg, Sweden Illustrations A and B Note! First detach the central pin from the clip by tapping it in and then pulling it out, but leave it inside the clip a few millimeters. This is done because the decor panel springs in when the clip is attached and the central pin can break off when tapped in.
- Page 15 Installation instructions, accessories Volvo Car Corporation Gothenburg, Sweden IMG-348167 Note! Do not tighten the clips and screws fully yet. IMG-348163 © Volvo Car Corporation Side scuff plate- 31265625 - V1.3 Page 15 / 16...
- Page 16 Installation instructions, accessories Volvo Car Corporation Gothenburg, Sweden IMG-348165 Tighten screws and clips. Repeat steps 4-25 for the other side. IMG-348164 © Volvo Car Corporation Side scuff plate- 31265625 - V1.3 Page 16 / 16...

