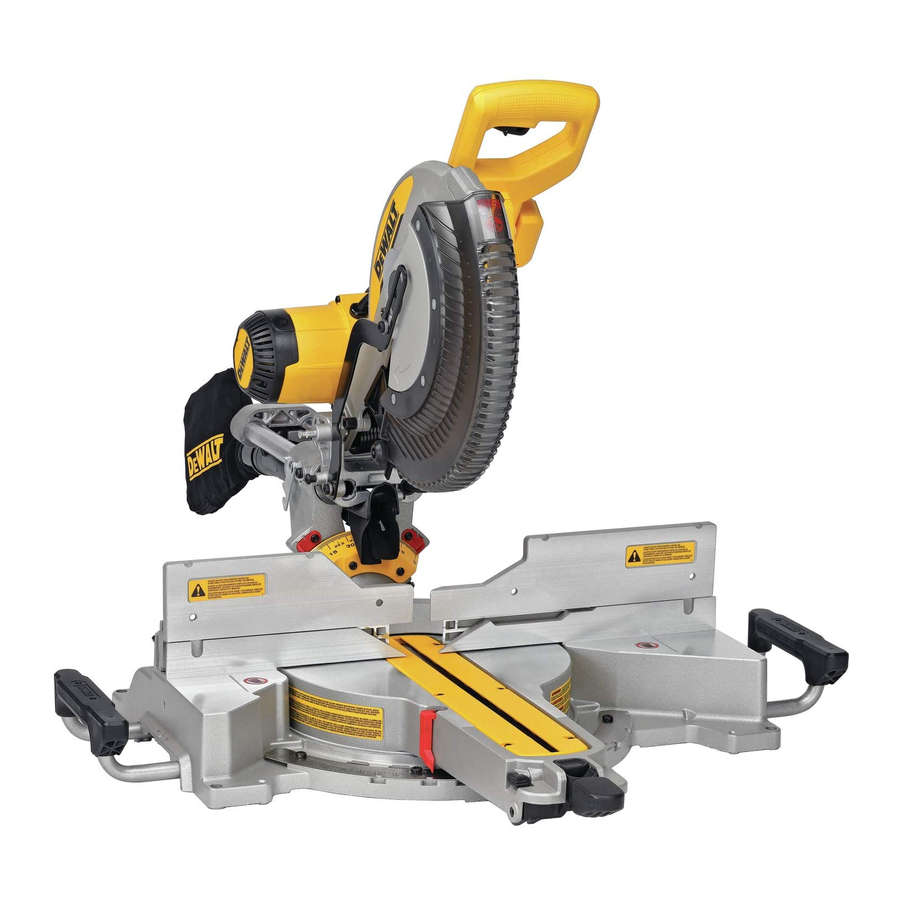
DeWalt DWS780 Instruction Manual
12" (305 mm) double bevel sliding compound miter saw
Hide thumbs
Also See for DWS780:
- User manual ,
- Original instructions manual (168 pages) ,
- Instruction manual (61 pages)
Advertisement
Advertisement
Table of Contents

Summary of Contents for DeWalt DWS780
- Page 1 Instruction Manual DWS780 12" (305 mm) Double Bevel Sliding Compound Miter Saw...
- Page 2 Definitions: Safety Alert Symbols and Words This instruction manual uses the following safety alert symbols and words to alert you to hazardous situations and your risk of personal injury or property damage. DANGER: Indicates an imminently hazardous situation which, if not avoided, will result in death or serious injury. WARNING: Indicates a potentially hazardous situation which, if not avoided, could result in death or serious injury.
-
Page 3: General Power Tool Safety Warnings
ENGLISH f ) Keep cutting tools sharp and clean. Properly maintained cutting tools with sharp cutting GENERAL POWER TOOL SAFETY WARNINGS edges are less likely to bind and are easier to control. WARNING: Read all safety warnings, instructions, illustrations and specifications g ) Use the power tool, accessories and tool bits, etc. -
Page 4: Additional Safety Rules For Miter Saws
r ) After finishing the cut, release the switch, hold the saw head down and wait for • NEVER STAND ON TOOL. Serious injury could occur if the tool is tipped or if the cutting tool is unintentionally contacted. the blade to stop before removing the cut-off piece. Reaching with your hand near the coasting blade is dangerous. - Page 5 Check the contents of your miter saw carton to make sure that you have received all parts. In addition to this instruction manual, the carton should contain: ON UPPER GUARD: 1 DWS780 miter saw PROPERLY SECURE BRACKET WITH BOTH SCREWS BEFORE USE. WALT 12” (305 mm) diameter saw blade...
-
Page 6: Assembly And Adjustments
ENGLISH To transport the saw, lower the arm of the saw and press in the lock down pin to secure Fig. D 17 the arm. ASSEMBLY AND ADJUSTMENTS WARNING: To reduce the risk of serious personal injury, turn unit off and disconnect it from power source before making any adjustments or removing/installing attachments or accessories. - Page 7 Adjusting the Bevel Stop to 45° Left or Right (Fig. A, I) Fig. G To adjust the right 45° bevel angle, loosen the bevel lock knob 11 and pull the 0° bevel stop to override the 0° bevel stop. When the saw is fully to the right, if the bevel pointer does not indicate exactly 45°, turn the left 45°...
-
Page 8: Operation
Fig. J To lock the saw head in the down position, push the saw head down, push the lock down pin 17 in and release the saw head. This will hold the saw head safely down for moving the saw from place to place. - Page 9 NOTE: To provide greater crosscut capacity with reduced stroke, the blade on the DWS780 Always be sure the blade has stopped before removing it from the kerf.
- Page 10 When smoothest cuts are desired for molding and other precision work, a sharp (60 tooth Cutting Picture Frames, Shadow Boxes And Other Four-Sided carbide) blade and a slower, even cutting rate will produce the desired results. Projects (Fig. P, Q) Ensure that the material does not move or creep while cutting; clamp it securely in place. Always To best understand how to make the items listed here, we suggest that you try a few simple let the blade come to a full stop before raising arm.
-
Page 11: Cutting Crown Molding
Cutting Base Molding (Fig. S) Inside corner Outside corner ALWAYS MAKE A DRY RUN WITHOUT POWER BEFORE MAKING ANY CUTS. 1. Bevel left 33.9° 1. Bevel right 33.9° Straight 90° cuts: Left side 2. Miter table set at right 31.62° 2. Miter table set at left 31.62° Position the wood against the fence and hold it in place as shown in Figure S. -
Page 12: Maintenance
Fig. V Cutting Plastic Pipe or Other Round Material Plastic pipe can be easily cut with your saw. It should be cut just like wood and CLAMPED OR HELD FIRMLY TO THE FENCE TO KEEP IT FROM ROLLING. This is extremely important when making angle cuts. -
Page 13: Specifications
3. Dust build-up can block the worklight and prevent it from accurately indicating the line Accessories of cut. WARNING: Since accessories, other than those offered by D WALT, have not been tested 4. Follow miter saw’s instruction manual to remove and install blade. with this product, use of such accessories with this tool could be hazardous. - Page 14 TABLE 1: COMPOUND MITER CUT (POSITION WOOD WITH BROAD FLAT SIDE ON THE TABLE AND THE NARROW EDGE AGAINST THE FENCE) SET THIS BEVEL ANGLE ON SAW...


