Table of Contents
Advertisement
Advertisement
Table of Contents

Summary of Contents for ADC Diagnostix 700 Series
- Page 1 Diagnostix neroids Pocket, Palm, Clock Type Use, Care, & Maintenance ®...
-
Page 2: Size Chart
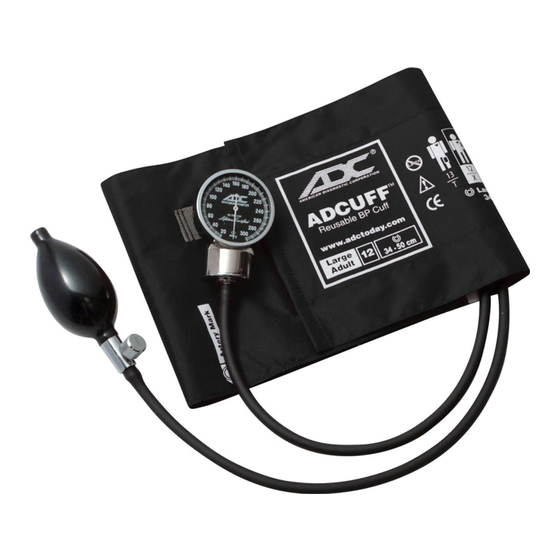
® neroid Sphygmomanometer (manometer, cuff, bladder, bulb and valve) Thank you for choosing an DC ® DI GNOSTIX neroid Sphygmomanometer. Your new ® DI GNOSTIX aneroid is designed to provide unrivaled durability, and unparalleled comfort. Every component has been carefully designed to maximize performance. This Use, Care, &... - Page 3 W RNING: Do not apply cuff to delicate or damaged skin. Check cuff site frequently for irritation. W RNING: Only use the cuff when the range markings indicated on the cuff show that the proper cuff size is selected, otherwise erroneous readings may result. W RNING: llow space between patient and cuff.
- Page 4 Most models are preassembled and ready for use. In units requiring assembly, the bulb and valve should connect to the tube closest to the Index Line. The gauge connects to the re- maining tube. Operation of Diagnostix Palm neroids This booklet contains operating and mainte- Trigger Valve Cuff Connector Port...
- Page 5 bladder, bulb, and the DFLOW valve), 8 foot length ™ coiled tubing, luer connectors, mounting hardware, and operating instructions. The DI GNOSTIX™ 752M is mounted on a height adjustable, Spider-Leg 5 leg ™ mobile stand. The DI GNOSTIX™ 750D is mounted on a desktop stand.
-
Page 6: Measurement Procedure
Measurement Procedure 1. Patient Position The patient should sit or lie comfortably. The arm should be fully supported on a flat surface at heart level. (If the arm’s position varies, or is not level with the heart, measure- ment values obtained will not be consistent with the patient’s true blood pressure.) When seated, the patient should have their back and arm supported, and their legs should not be crossed. -
Page 7: Care And Maintenance
Inflate cuff 20-30 mmHg above the point at which the radial pulse disappears. NOTE: Cuff pressure range is 0 mmHg to 300 mmHg. 4. Position the Stethoscope Position the chestpiece in the antecubital space below the cuff, distal to the brachium. Do not place chestpiece underneath the cuff, as this impedes accurate measurement. - Page 8 printed oval when the unit is fully deflated (Figure 3). Should the indicator needle of the manometer rest outside of this calibration mark, then the manometer must be re-calibrated NOTE: Store gauge with to within ±3 mmHg when compared to a reference device that valve in full exhaust position.
-
Page 9: Symbol Definitions
Manometer Quality Control (Figure 4) Serial number and Lot number are automati- cally assigned to every aneroid during manufac- turing, ensuring every item is "controlled". The Serial Number can be located on the face- plate of each aneroid (Figure 4). The Lot number is located on the outside label of the manometer packaging (Figure 5). -
Page 10: Warranty
Warranty merican Diagnostic Corporation’s ( DC ) warranty service extends to the original retail ® purchaser only and commences from the date of delivery. DC warrants its products against defects in materials and workmanship under normal use and service as follows: •...


