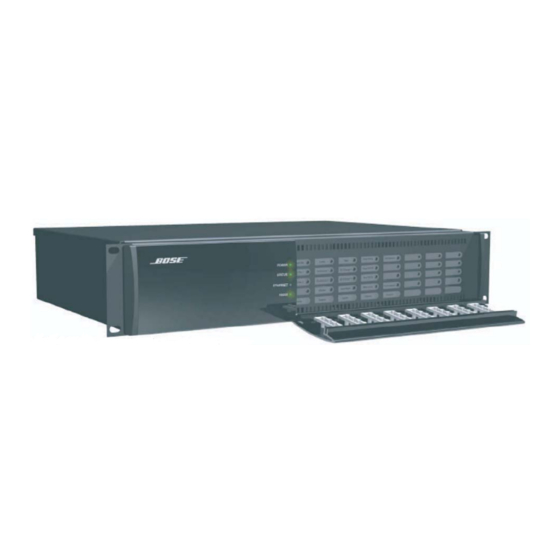
Bose ControlSpace ESP-88 Installation
Gpio card
Hide thumbs
Also See for ControlSpace ESP-88:
- Service manual (109 pages) ,
- Safety instructions & install manual (15 pages) ,
- Installation instructions (2 pages)
Advertisement
Quick Links
ControlSpace
ESP-88 GPIO card
™
Installation should only be performed by trained service personnel.
1. Turn off and unplug the ESP-88 and detach the top cover by removing the 8 screws.
2. Remove the bracket farthest to the right by unscrewing its two screws (save these screws).
The GPIO card will replace this bracket. See Figure 1.
3. Attach one end of the ribbon wire to the GPIO connector.
4. Position the GPIO card in the chassis and screw the card into place. See Figure 1 and Figure 2.
Figure 1
Figure 2
Advertisement

Related Manuals for Bose ControlSpace ESP-88


Summary of Contents for Bose ControlSpace ESP-88
- Page 1 ControlSpace ESP-88 GPIO card ™ Installation should only be performed by trained service personnel. 1. Turn off and unplug the ESP-88 and detach the top cover by removing the 8 screws. 2. Remove the bracket farthest to the right by unscrewing its two screws (save these screws). The GPIO card will replace this bracket. See Figure 1. 3. Attach one end of the ribbon wire to the GPIO connector. 4. Position the GPIO card in the chassis and screw the card into place. See Figure 1 and Figure 2. Figure 1 Figure 2...
- Page 2 5. Attach the free end of the GPIO ribbon wire to the available connector located beside the first GPIO card connector on the motherboard. See Figure 6. Reattach the top cover and fasten the 8 screws. Plug in the power supply and turn on the ESP-88. 7. Use the ControlSpace™ designer software to verify the card was inserted correctly: a) Press scan and confirm that the software detects the card. b) If the card was installed correctly, right-clicking the ESP-88 and displaying its properties will show that GPIO usage is in slot 1 and slot 2. See Figure 4. 8. If an error message appears, or the software does not properly detect the GPIO card, repeat the installation instructions. Be sure that the ribbon wire is completely pushed into both connectors. Figure 3 Figure 4 ©2006 Bose Corporation, The Mountain Framingham, MA 01701-9168 USA For installation instructions in other languages, please visit pro.bose.com. AM299788 Rev.00 pro.bose.com...